You know what I’m talking about!
One of my favorite snacks of all time is Jell-O. It brings me back to childhood and always reminds me of Jigglers no matter what shape it’s in. Though we don’t make it nearly as much as we should, it’s one of those snacks that takes time therefore we often pass it up. It’s silly since there is a speedy method, but we’re impatient.
As you may know, I’ve been on Pinterest. I can’t get away from that place. Someone really needs to put some type of timer on there for how long you can be on it per day. Or maybe I just need to have self control….. Nah, that’s an awful idea. 
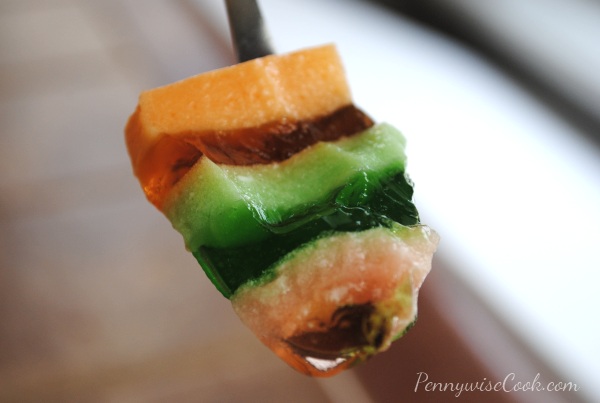
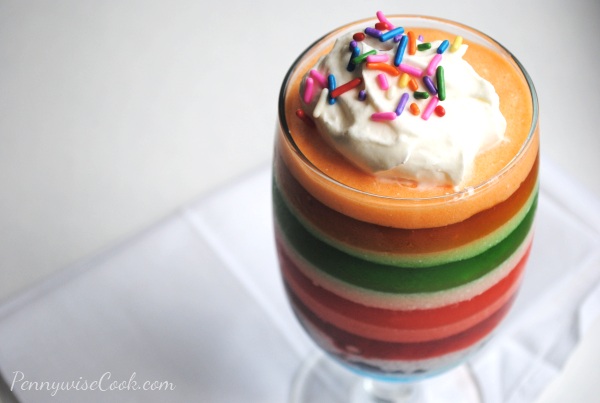
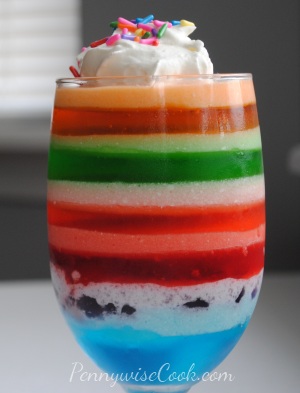
I’m not going to lie, it took some time. Each layer has to set before the next can be applied. Even with the speedy method it seemed to take a while. You see the bottom layer there? Where the purple kinda stepped into the blue’s kool-aid? Yep. That’s where we got a little impatient. As we went on you can see that we learned out lesson and to make sure they set properly before moving on.
When picking out your Jell-O, there aren’t as many flavor options in sugar-free. So you’ll have to get a little crazy and get the kind full of sugar in order to have pretty colors. Unless your store is just a lot cooler than mine and they have a lot of sugar-free flavors.
I will tell you, the regular Jell-O didn’t set as fast or as well as the sugar-free. The blue and purple in that picture were regular and needed a lot more time that the others. Just FYI.
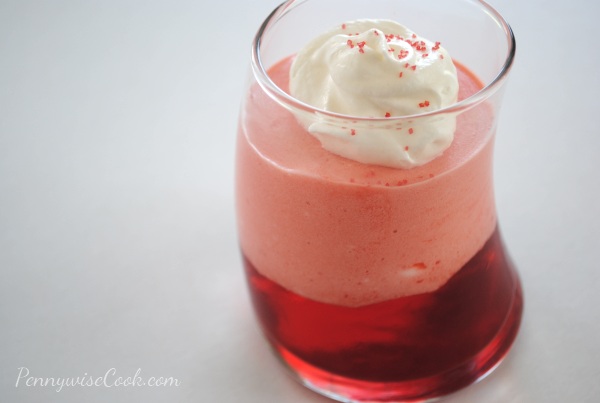
With some of the leftover red that we had, I made up this little parfait. The lighter color is simply already made Jell-O with a little cool whip stirred in. This was such a refreshing treat! I think my most favorite part of these snacks is that they are sweet and satisfy my craving for something sweet. Yet all the while they are low calorie and healthy! But don’t tell the kiddos.
How about making some Jell–O Treats of your own?

Springtime is here! Celebrate the beautiful colors blooming with this colorful way to make Jell-O!
Ingredients
- 1 (small) Box of Jell-O for how many colors you'd like to make
- 1 Tub of Cool Whip
- Glasses to pour Jell-O into (I'd say at least 3)
Method
- Prepare your first flavor according to the speedy method on the package. Pour a little into the bottom of each glass. Divide it among however many glasses you have. Leave about 1/3 of it to combine with cool whip.
- Place those glasses in the refrigerator to set. Meanwhile mix 1/4- 1/3 cup cool whip with the leftover Jell-O. When glasses in the refrigerator have set most of the way, pour a little of the cool whip Jell-O into each of those glasses.
- Continue this method until you have used all of your colors.
- You can add a dollop of cool whip to the top and sprinkles if you'd like!
Notes
Like I said before, I'd recommend only using sugar-free Jell-O. Just make sure that you don't rush it. They each need time to set to look pretty
If you are extremely impatient you can place it in the freezer to get it to set a little faster. We did this with a couple of the flavors. Just note that it sets really fast.

Like this post? SHARE it!
 |


Speak Your Mind