Search Results for: spice rack

From Spice Rack to K-Cup Holder {Before & After}

If you have a Keurig, then you are probably aware of the ungodly prices for accessories and extras that go along with it. Honestly, I’m just glad that the machines themselves have come down in price. If you don’t have a Keurig yet and have considered getting one, you might check out Amazon. They have decent prices on the machines and they also have a huge K-Cup sale on Fridays!

Chances are that you’ve seen the K-Cup carousels and the fancy little drawers for the Keurigs. Both range in price from around $25- $35 at most stores. Sure they are handy, but after the cost of all the K-cups you have to buy and the cost of the machine itself, who wants to shell out yet another $25 for that? Somebody who really needs a place to store their K-cups I guess.

I am just too cheap to pay for one of those, so I’ve made do with the box they come in.

Until now…

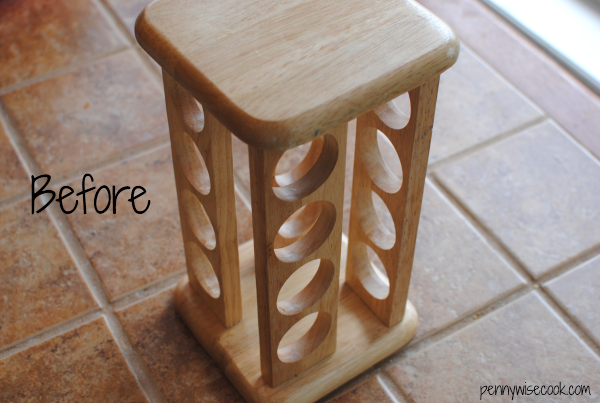
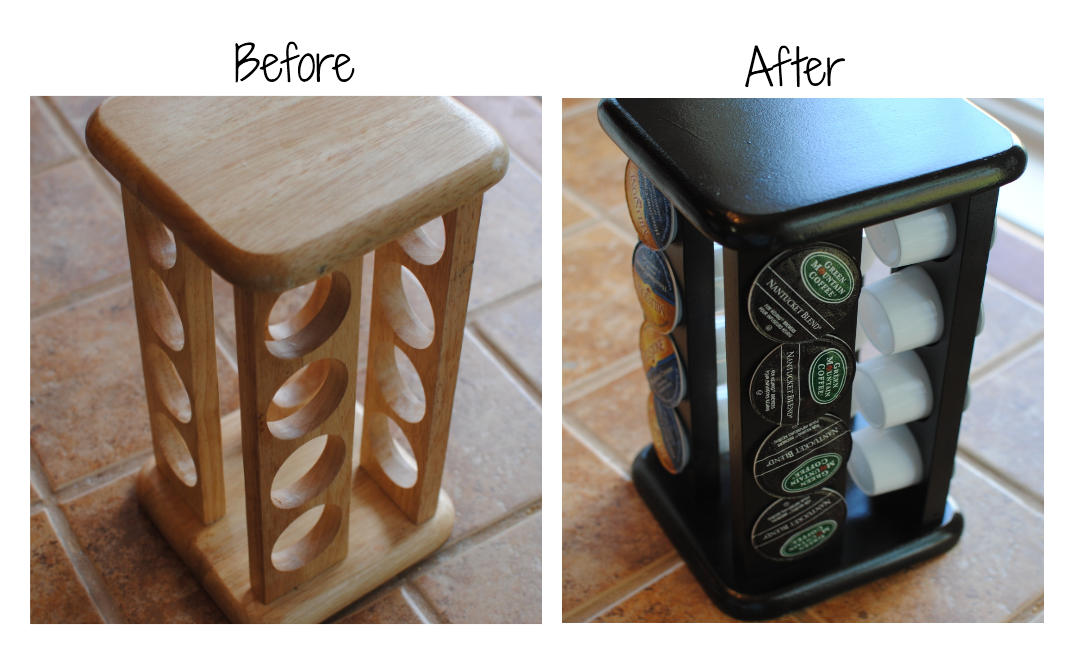
Goodwill is my hero. They have given me inspiration for a lot of things and now they have swooped in to save the day for my K-cup dilema! I found this empty spice rack at my local store for just $.99. To most, this would look like junk. One might think their spices wouldn’t fit its holes or think the color was all wrong. Or some might just have no idea what it is.

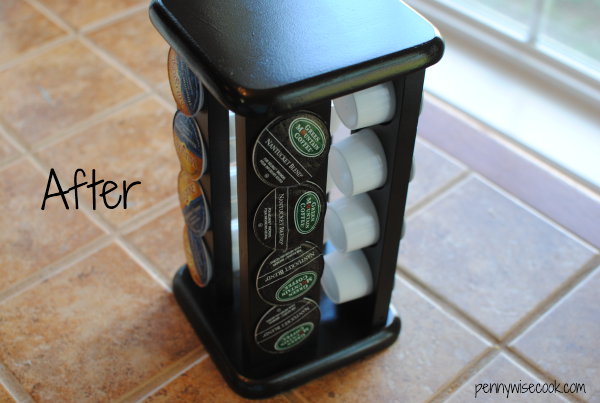
But I saw my new K-cup holder in this thrift store treasure. So I went home, cleaned it up a bit and then gave it a shiny new coat of spray paint to bring it into modern-day. Wow, what a difference!

The K-cups fit just perfectly and it’s not too big nor too small for my kitchen. Just goes to show that someone’s trash (or Goodwill donation) is someone else’ treasure!

Who needs a $25 K-cup carousel when you can repurpose a Goodwill spice rack for $.99?

Question of the Day: Do you have a K-cup holder? If so, what kind?


Like this post? SHARE it!

Related Posts Plugin for WordPress, Blogger...

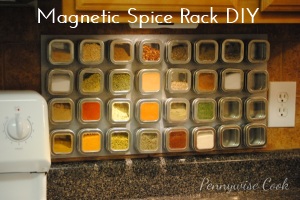
Magnetic Spice Rack DIY

Happy Saturday! It’s a good day for a DIY project don’t ya think?

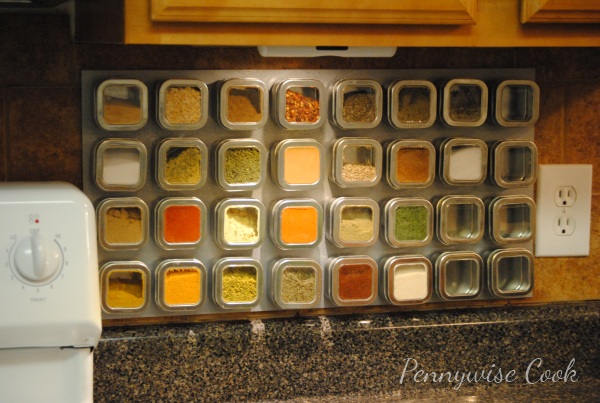
I have a confession. I absolutely love my spice rack. I’m not sure if it’s the stainless steel tins or the beautiful colors that it creates in my kitchen, but I have a love for my spice rack unlike any that I have for my other kitchen gadgets. My KitchenAid stand mixer is a close second though. 😉

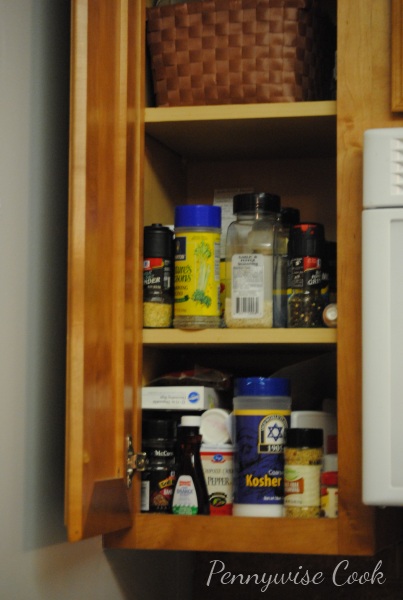
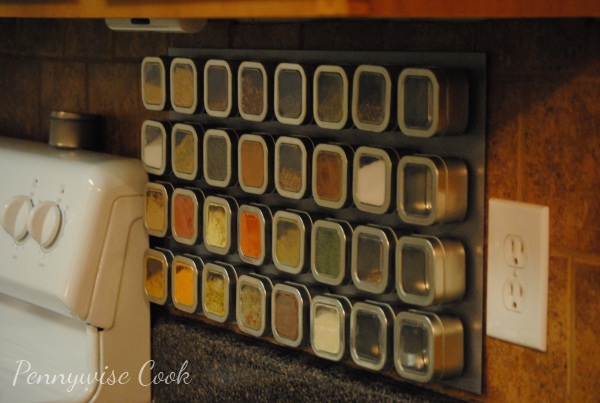
You see, this is my spices cabinet before. In this picture, I’ve actually removed quite a bit of them already so you don’t see them stacked to the top like they normally are, but you get the idea. We have a small house so there just aren’t many places for spices to go. They got the cold shoulder into the smallest possible cabinet available. So I got the bottles flying out at me every time that I went to grab my parsley flakes and one day I said enough is enough. I scoured the web looking at tutorials on how to make your own spice rack and I found some that were magnetic. A light bulb went off in my head and I was hooked. I got some fantastic ideas, but most involved expensive materials and things you had to purchase online. Unfortunately I was in a get-it-now mood so I came up with my own plan.

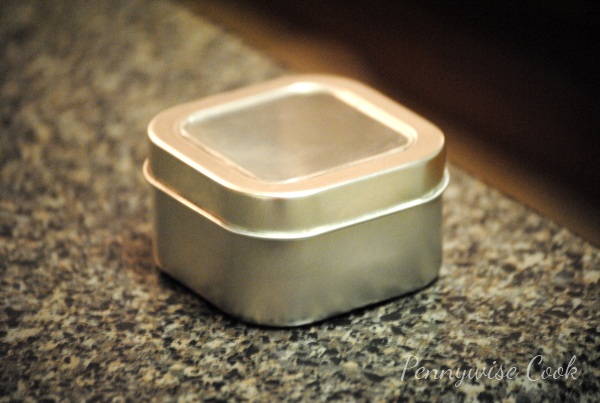
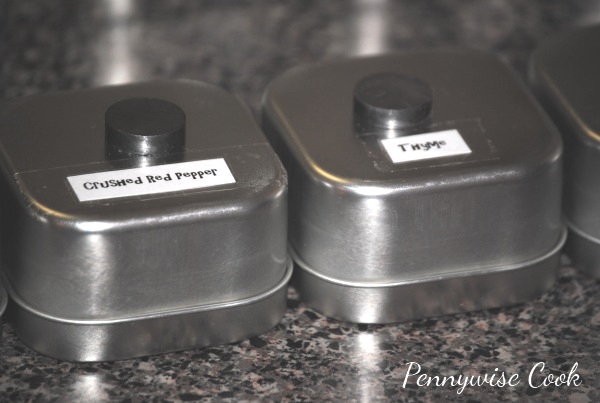
I took myself down to about 5 different stores including your obvious places like Target and Walmart looking for spice tins. Most don’t have anything close to what you see above. I did find something similar at Old Time Pottery, but for $1.99 a pop that just wasn’t going to do. I was imagining a big and magnificent spice rack and at that price, I would be completely broke. I finally settled on ordering them online from Specialty Bottle. They were a much more affordable $.64 per tin. I got the 4 oz tins and they are plenty large enough. Shipping was a bit expensive, but still cheaper than what I would have paid at Old Time Pottery.

Next I needed a piece of metal for the tins to adhere to. Most suggestions that I saw were to order stainless steel sheets online. I can’t believe how expensive those sheets of metal can get. You can’t just walk into Lowes and purchase one. Trust me, I tried. You can however, get a piece of steel at Lowes. I purchased an 18″x20″ piece of it for around $10 there. Using my noggin I realized that if its not stainless, it can rust and around the kitchen there is lots of moisture. I opted to get some Rustoleum that mimics stainless steel to coat it with that ran us another $5 bucks. I actually got the “hammered” look and it turned out wonderful! If you want something that will fit in better with your kitchen colors, they have tons of color options of Rustoleom that would be beautiful on a spice rack.

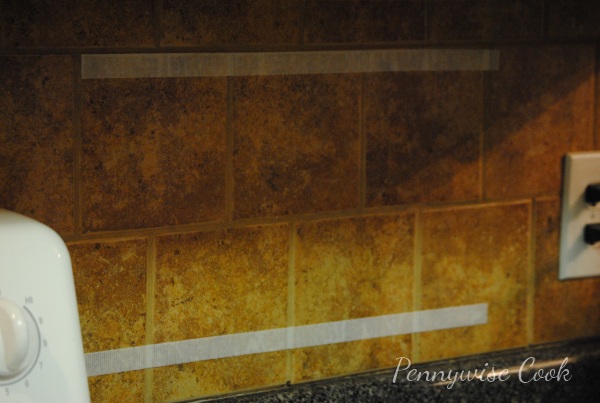
Instead of the usual method of hanging the sheet metal, we opted for using Velcro. It may sound silly, but we have a tile back splash and I didn’t want to risk breaking the tile in the process. Surprisingly enough, the Velcro has worked out fantastically. It ran us about $5 in total.

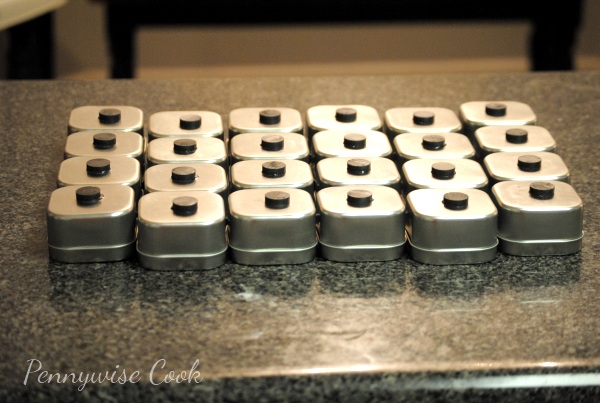
Next, I needed magnets. After all, you can’t have a magnetic spice rack without those! I purchased 4 packs of 8 ct regular plain jane magnets at Lowes for about $2.50 each. Total= $10. I also used Locktite Super Glue to adhere them to the tins. I didn’t use much at all so they didn’t look messy.

I’m pretty good at knowing what certain spices look like, but I am not great at it with others. It’s amazing how some look like others once you get them up there on that rack. I simply typed up the name of my spices on a Word document and cut them out. Then taped them on the back of the tins. When I need to be sure, I just take it off and look. Simple enough and they look clean on the front without words. They have spice labels for sale on Amazon. Most are less than $3, but these didn’t cost me a dime.

All in all, my Magnetic Spice Rack cost us about $50 plus the shipping for the tins. They have sites that sell these premade online, but I’m very happy with the result that we got for our money. And it was actually quite easy as it turns out!

If you are wanting to do one of these, use your imagination. Don’t always listen to what others suggest. I’m glad that we didn’t because this was possibly a lot cheaper than we would have paid ordering from places online or purchasing some of the other expensive materials.

Yay for DIY!


Like this post? SHARE it!

Related Posts Plugin for WordPress, Blogger...

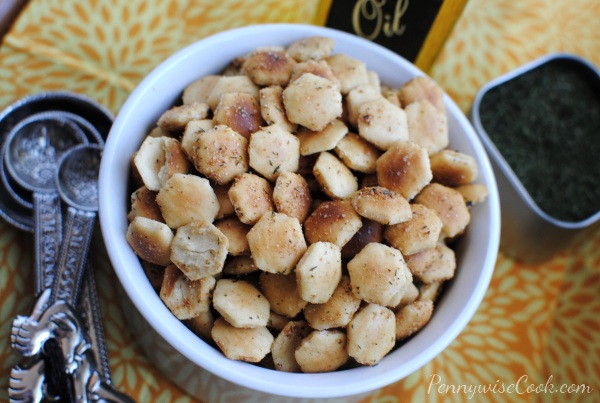
Ranch Oyster Crackers

How was your weekend? We had a really great weekend full of physical activity and fun. My husband’s parents came for a visit and we enjoyed being with them. I also ran a 5k and came in 238th. Woo hoo! No really, I am proud of that considering there were around 2,000 people in this race. As long as I wasn’t last, I’m happy.

I’m always snacking on something. I don’t like feeling really full during the day so I usually end up “grazing” (that’s what my husband and I call it) throughout the day. I’ve got a simple favorite that’s easy to make and is a great snack idea for a party or get together. People easily grab a handful at a time, but usually come back for seconds. You may have heard of these yummy ranch crackers before, but in case you hadn’t I thought I’d share.

One of my favorite parts of this recipe is that it’s inexpensive. (My favorite kind) Most everything in it is something you might have a hand. Spices, a little bit of oil, and some oyster crackers. If you don’t usually have oyster crackers, you can find them at Dollar Tree or most grocery stores for around $1.

When I was refreshing my memory for how to make these Ranch Oyster Crackers, I came across this version at Peas and Thank You. I liked the idea of not using store bought ranch mix, so I tried this one out.

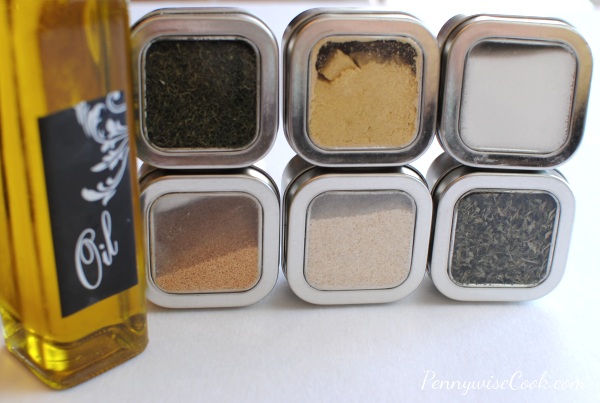
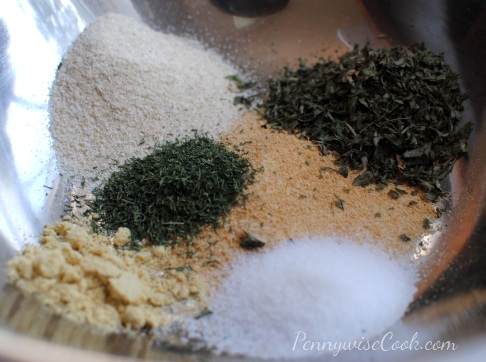
It starts out with 6 different spices: garlic powder, onion powder, dried mustard, dill, dried parsley, and salt. You don’t have to use these. You are more than welcome to use whichever spices you have on hand or think might be tasty. These are a great starting point.

Pop them into a bowl and they will look pretty and earthy like this.

Do you have a favorite kitchen gadget? Maybe one spoon or pan that you love and use more than another? These are my favorite measuring spoons. Since I was using them to measure out all of those spices, I had to stop and take a picture of them. I just love ’em.

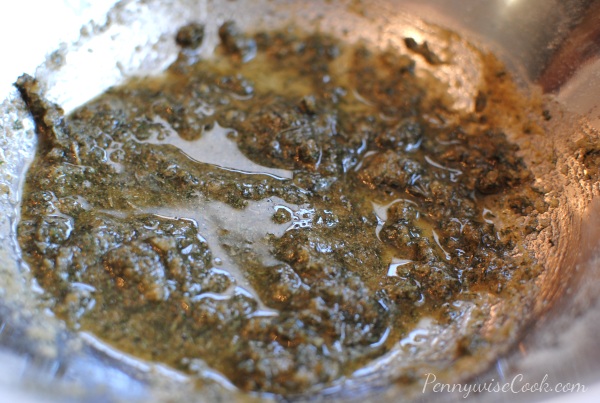
Back to the recipe. So you add some olive oil to the spices and mix them up. This is a part of the recipe that I might change the next time that I make it. See the notes for why.

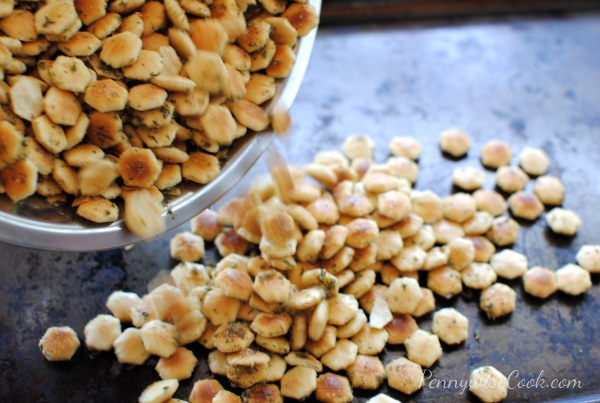
Then you mix the oyster crackers into the spices and oil mixture. Pour them evenly onto a baking sheet. Don’t stare at my baking sheet! It’s really old. Bake them to toast them up and help the spices bake in.

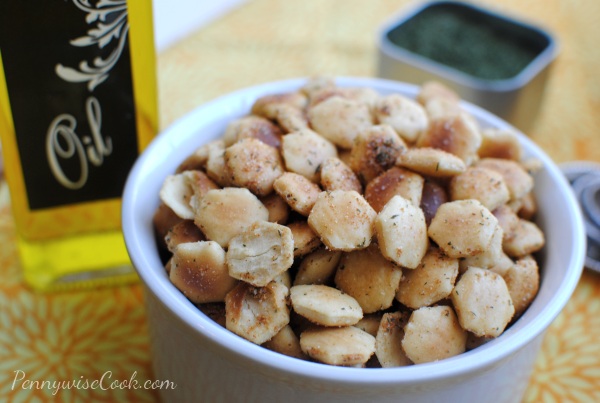
What are the magic words? Tah-dah!

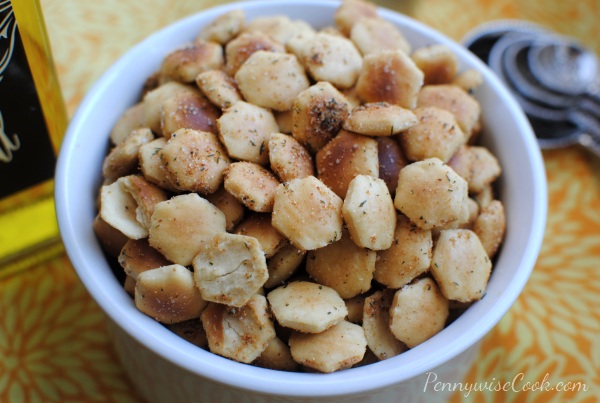
Your spices and oil have transformed oyster crackers into a flavorful and tasty snack.

Ranch Oyster Crackers

Ranch Oyster Crackers

Spice up those cute little oyster crackers with the flavor of ranch! So easy and cheap and makes the best snack.

Ingredients

  • 2 Tsp. Garlic Powder
  • 2 Tsp. Onion Powder
  • 1/2 Tsp. Dry Mustard
  • 1/2 Tsp. Dry Dill
  • 2 Tsp. Dry Parsley
  • 1 Tsp. Salt
  • 3 Tbsp Oil (Canola, Olive, Grapeseed etc.)
  • 8 oz Package Oyster Crackers

Method

  1. Preheat oven to 250 degrees.
  2. In a large bowl, combine dried spices. Stir in oil and mix well.
  3. Stir in oyster crackers and toss to coat.
  4. Transfer the crackers to a baking sheet.
  5. Bake for 10 minutes, then turn and bake another 10 minutes for a total of 20 minutes.

Notes

I liked these, however the powerful garlic taste was a bit much. I think I will be using only 1 tsp of both onion and garlic powder next time. I think I'll also only use 1 tsp of parsley next time as well.

I would recommend tossing the crackers in the oil FIRST and then tossing the crackers in each of the spices separately. Mixing spices in the oil makes for a pasty-like texture which can cake onto the crackers. The oil coating would help the spices stick better to the crackers. Just FYI and something that I noted.

http://www.pennywisecook.com/ranch-oyster-crackers/


Like this post? SHARE it!

Related Posts Plugin for WordPress, Blogger...

Helpful Kitchen Tips and Tricks

Here’s a list of posts and helpful tips and tricks that I’ve come across in the kitchen.

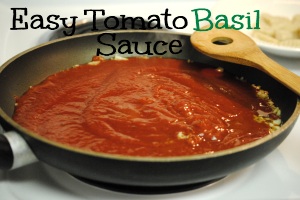
Easy Tomato Basil Sauce


Like this post? SHARE it!

Related Posts Plugin for WordPress, Blogger...

2-Ingredient Pumpkin Muffins

Alright, fess up all you pumpkin junkies. I see you everywhere drinking your Starbucks Pumpkin Spice Lattes and  swirling your Pumpkin Spice coffee creamer and eating your Pumpkin Pie ice cream. We are only 9 days into the month of September and you’re  already in full swing.

If only seeing a pumpkin meant that the weather automatically got cooler!

Now, I think one of the smartest inventions was pumpkin in a can. Gone are the days of needing to cut open a pumpkin and scrape all of the insides to create a puree for recipes.

Your can of pumpkin is one of only TWO ingredients that you’ll need to make these Pumpkin Muffins!

I also wanted to mention, for you healthy folks like myself, there are only about 140 calories per muffin! Because you’re not adding a lot of extra calories with oil and eggs, these are actually pretty healthy!

The other ingredient is cake mix. Can you say cheap? I think I paid a total of $2.25 for these muffins. My kinda treat, cheap and sweet.

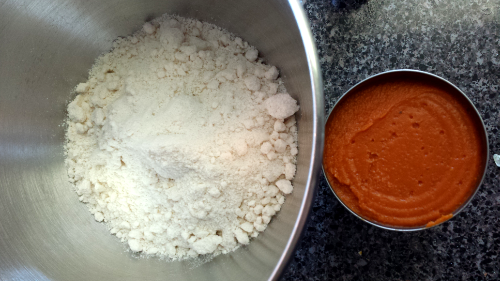
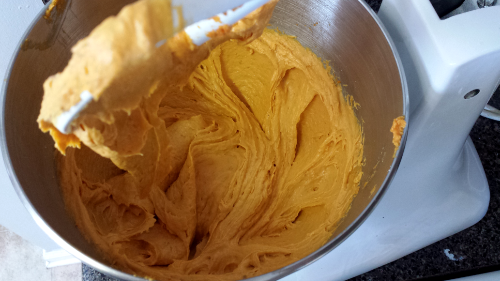
It takes a whirl in the mixer or about 50 strokes by hand to whip the muffin batter up.

Put your muffins in the oven!

These are probably some of the fluffiest most light and airy muffins that I make.

And heavens, if you crack one open when it’s still warm and slather it with butter, you will be in heaven y’all.

Pumpkin heaven…

Pumpkin or cinnamon cream cheese would be so incredible with these I’m sure. I enjoyed warming them up with butter and sprinkling a little cinnamon on them!

Though you don’t exactly need much instruction because these are so dang easy, here’s the recipe.

2-Ingredient Pumpkin Muffins
Recipe Type: Breakfast, Snack
2 simple ingredients come together to make the ultimate fall snack- Pumpkin Muffins.
Ingredients
  • 1 Box Yellow Cake Mix
  • 1 (standard) Can Pumpkin Puree
Instructions
  1. Preheat oven to 350°.
  2. Grease a couple muffin pans.
  3. Mix cake mix and pumpkin puree together.
  4. Fill muffin cup about 2/3 the way full. (Should make about 15 regular size muffins)
  5. Bake for 15-18 minutes.
  6. Allow to cool and eat!
Serving size: 1 Calories: 140
Notes

These would be super tasty with the addition of 1/2 cup chocolate chips!

Recipe courtesy of Melissa at This Girl’s Life Blog.


Like this post? SHARE it!

Related Posts Plugin for WordPress, Blogger...

3 Tips For Shopping at a Salvage Grocery Store

Have you ever seen those hole in the wall Salvage Grocery Stores in your area? I grew up going to one in my hometown with my mom and grandmother. I remember being a really good girl so that I could pick out an entire bag of candy. They had an entire shelf dedicated to candy and other sweets. Little did I know that one day I might like salvage grocery stores for something other than those treats.

Since moving away from home years ago, it has taken me a while to find one of these stores in our area. They aren’t like Walmart with one on every corner. Not only that, but it’s sometimes hard to decipher what kind of salvage a store might sell. From auto parts to furniture, there are several different types of salvage stores out there. Similar to thrift stores, salvage grocery stores offer deep discounts on groceries for various reasons. It might be that the cans are dented. It could be that the cereal boxes are smashed. Or perhaps the products are just overstocks, out of date, or just wouldn’t sell. Whatever the case, you’re sure to find at least 50% savings. They are a great way to save money on common grocery items, especially canned goods. Even though the packaging may look less than perfect, the food inside could still be just fine and best of all, inexpensive.

Tips for shopping at salvage grocery stores:

  • Consider expiration date. This is one of the biggest factors when purchasing at a salvage grocery. Expiration dates vary depending on the food. Canned foods generally last a lot longer than boxes foods such as cereal. Nutritional values may also deteriorate the closer to expiration a product gets.
  • Consider the condition of packaging. If you find a box of crackers that has been smashed to smithereens, they may not be very fresh even if in date. This is also the case if you find a package with a hole in it. Another thing to consider are canned goods. Most are ok with a dent, but be sure to look at the top ring. If the ring is dented, it will be difficult to open to get the contents out.
  • Use your common sense. Products like pasta and canned goods are generally still good even after their sell-by date. Anything containing liquids might be worth inspecting first. If it doesn’t look appealing, don’t buy it.

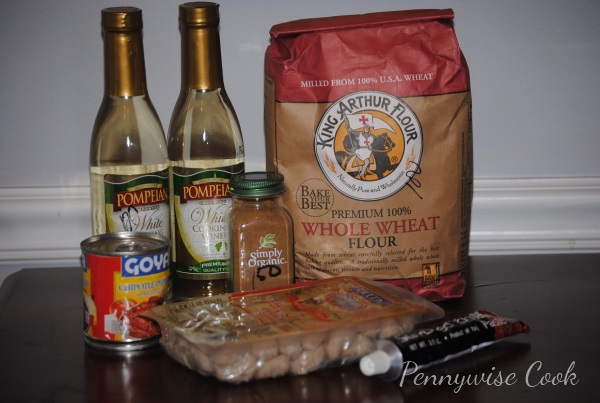
I found a local salvage grocery store about 30 minutes away and fell in love. Going in their this past week, they had several boxes of organic baby puffs for $.50 each. Score! Britton has been enjoying those. Digging through the spices, I found  a bottle of organic coriander for $1.50. Some other nice cooking finds were Whole Wheat Flour and Chipotle Peppers in Adobo Sauce. Everything that I bought was in date.

Here’s what I bought and paid:

  • Organic Coriander $1.50
  • King Arthur Whole Wheat Flour $1
  • Goya Chipotle Peppers in Adobo $.50
  • Pompeian White Cooking Wine $1 (!!)
  • Whole Wheat Gnocchi $1
  • Sun Dried Tomato Pasta in Tube $.50

I spent a total of $6.50 for gourmet ingredients that would have for sure cost double if not triple at any other grocery store. Very exciting indeed! You can find a salvage grocery store in your area here. This list may not be completely up to date, but it’s all I could find.

Have you ever shopped at one of these stores? Found any great finds?


Like this post? SHARE it!

Related Posts Plugin for WordPress, Blogger...