Valentine’s Day Granola Cookies

GranolaCookies

I’m a pretty big fan of granola. Are you? 

I bet you didn’t know that nothing says Happy Valentine’s Day more than granola.

It’s true.

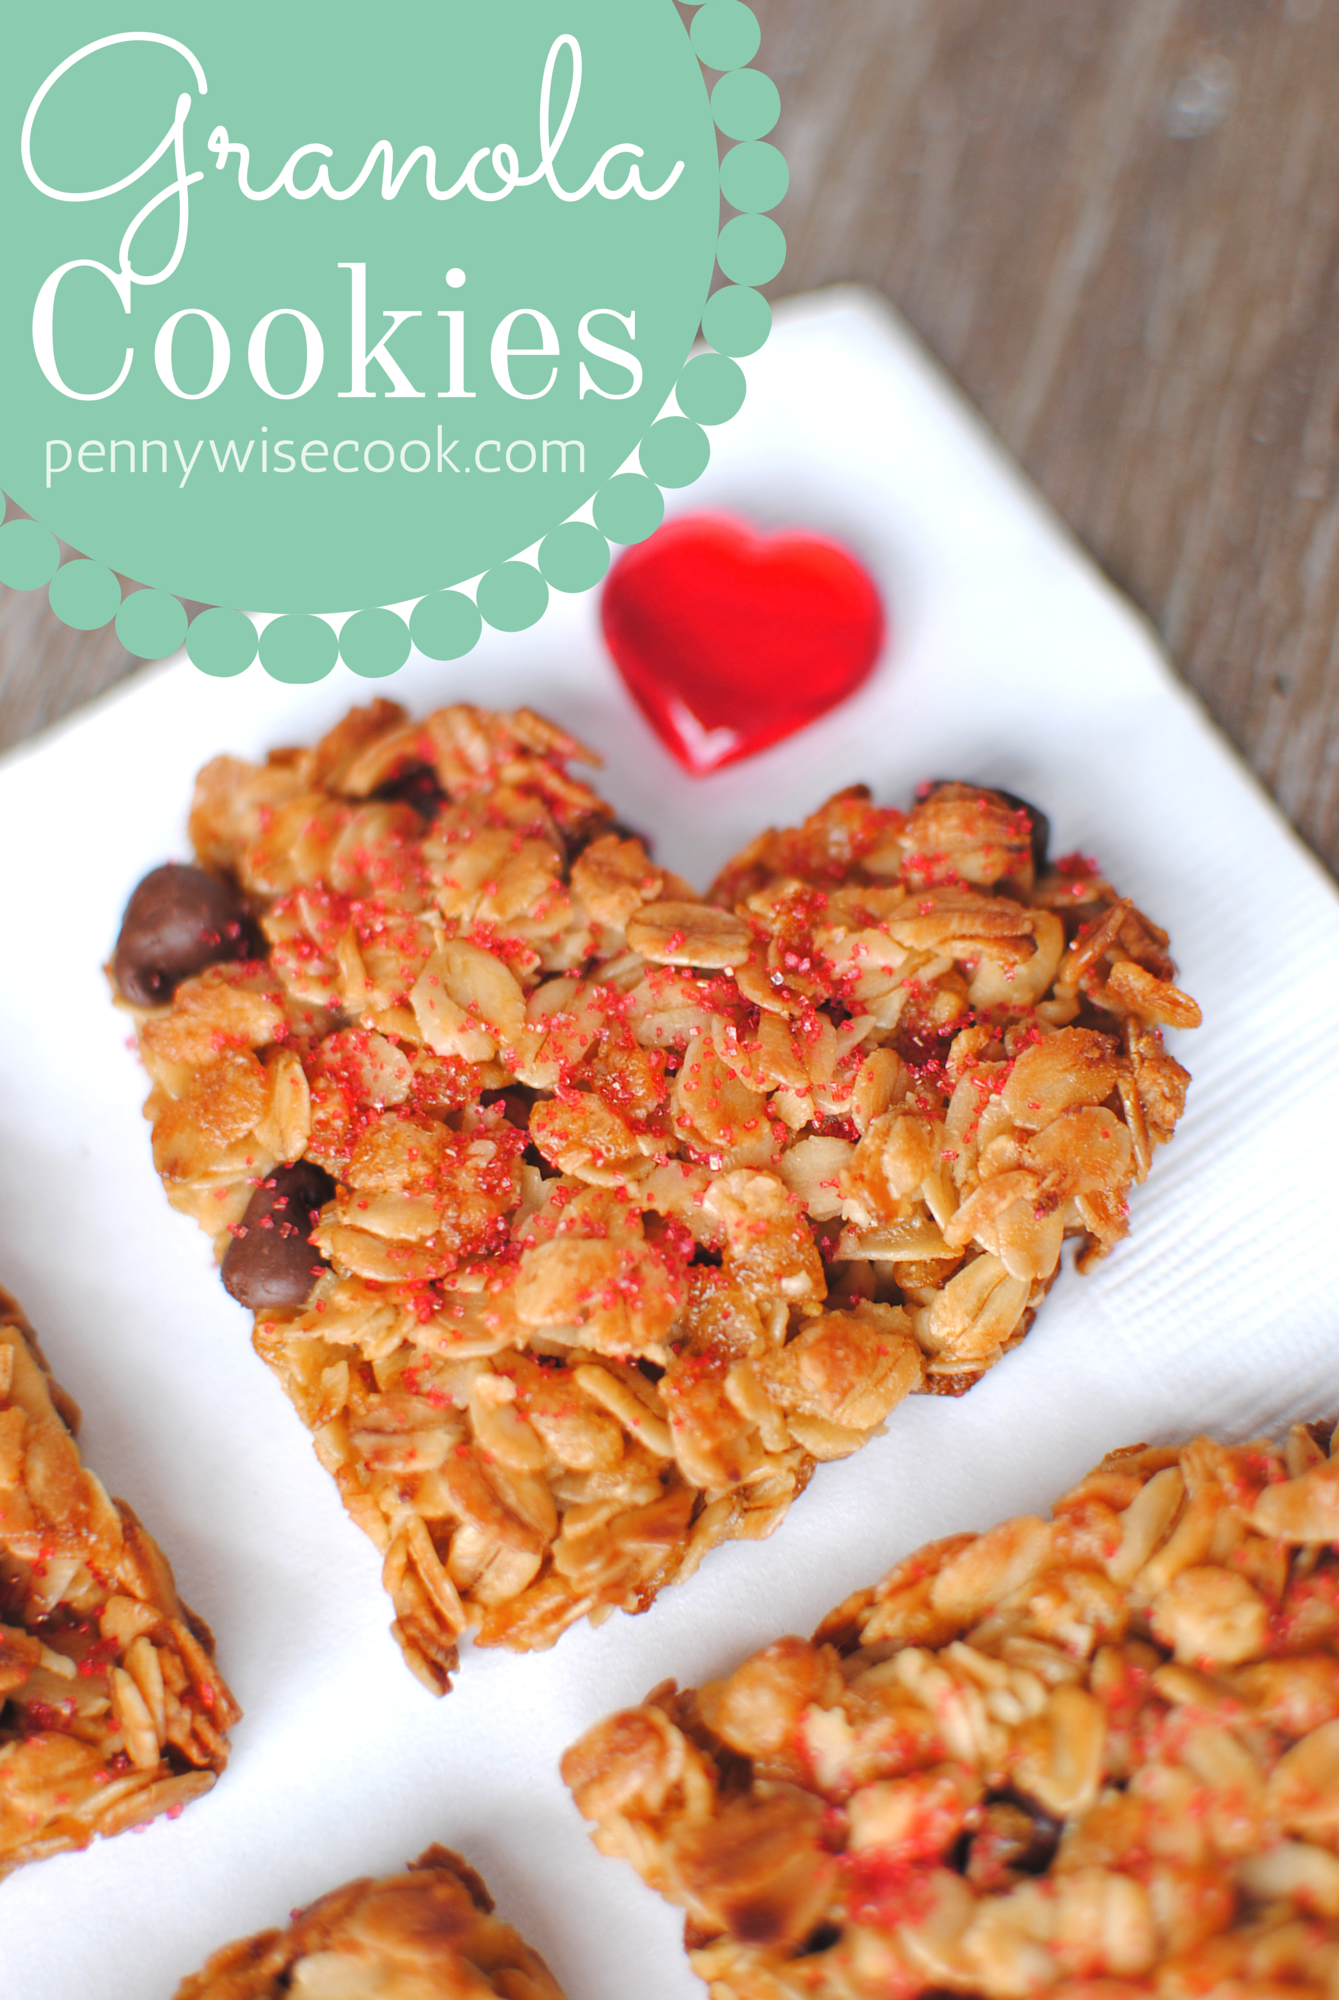
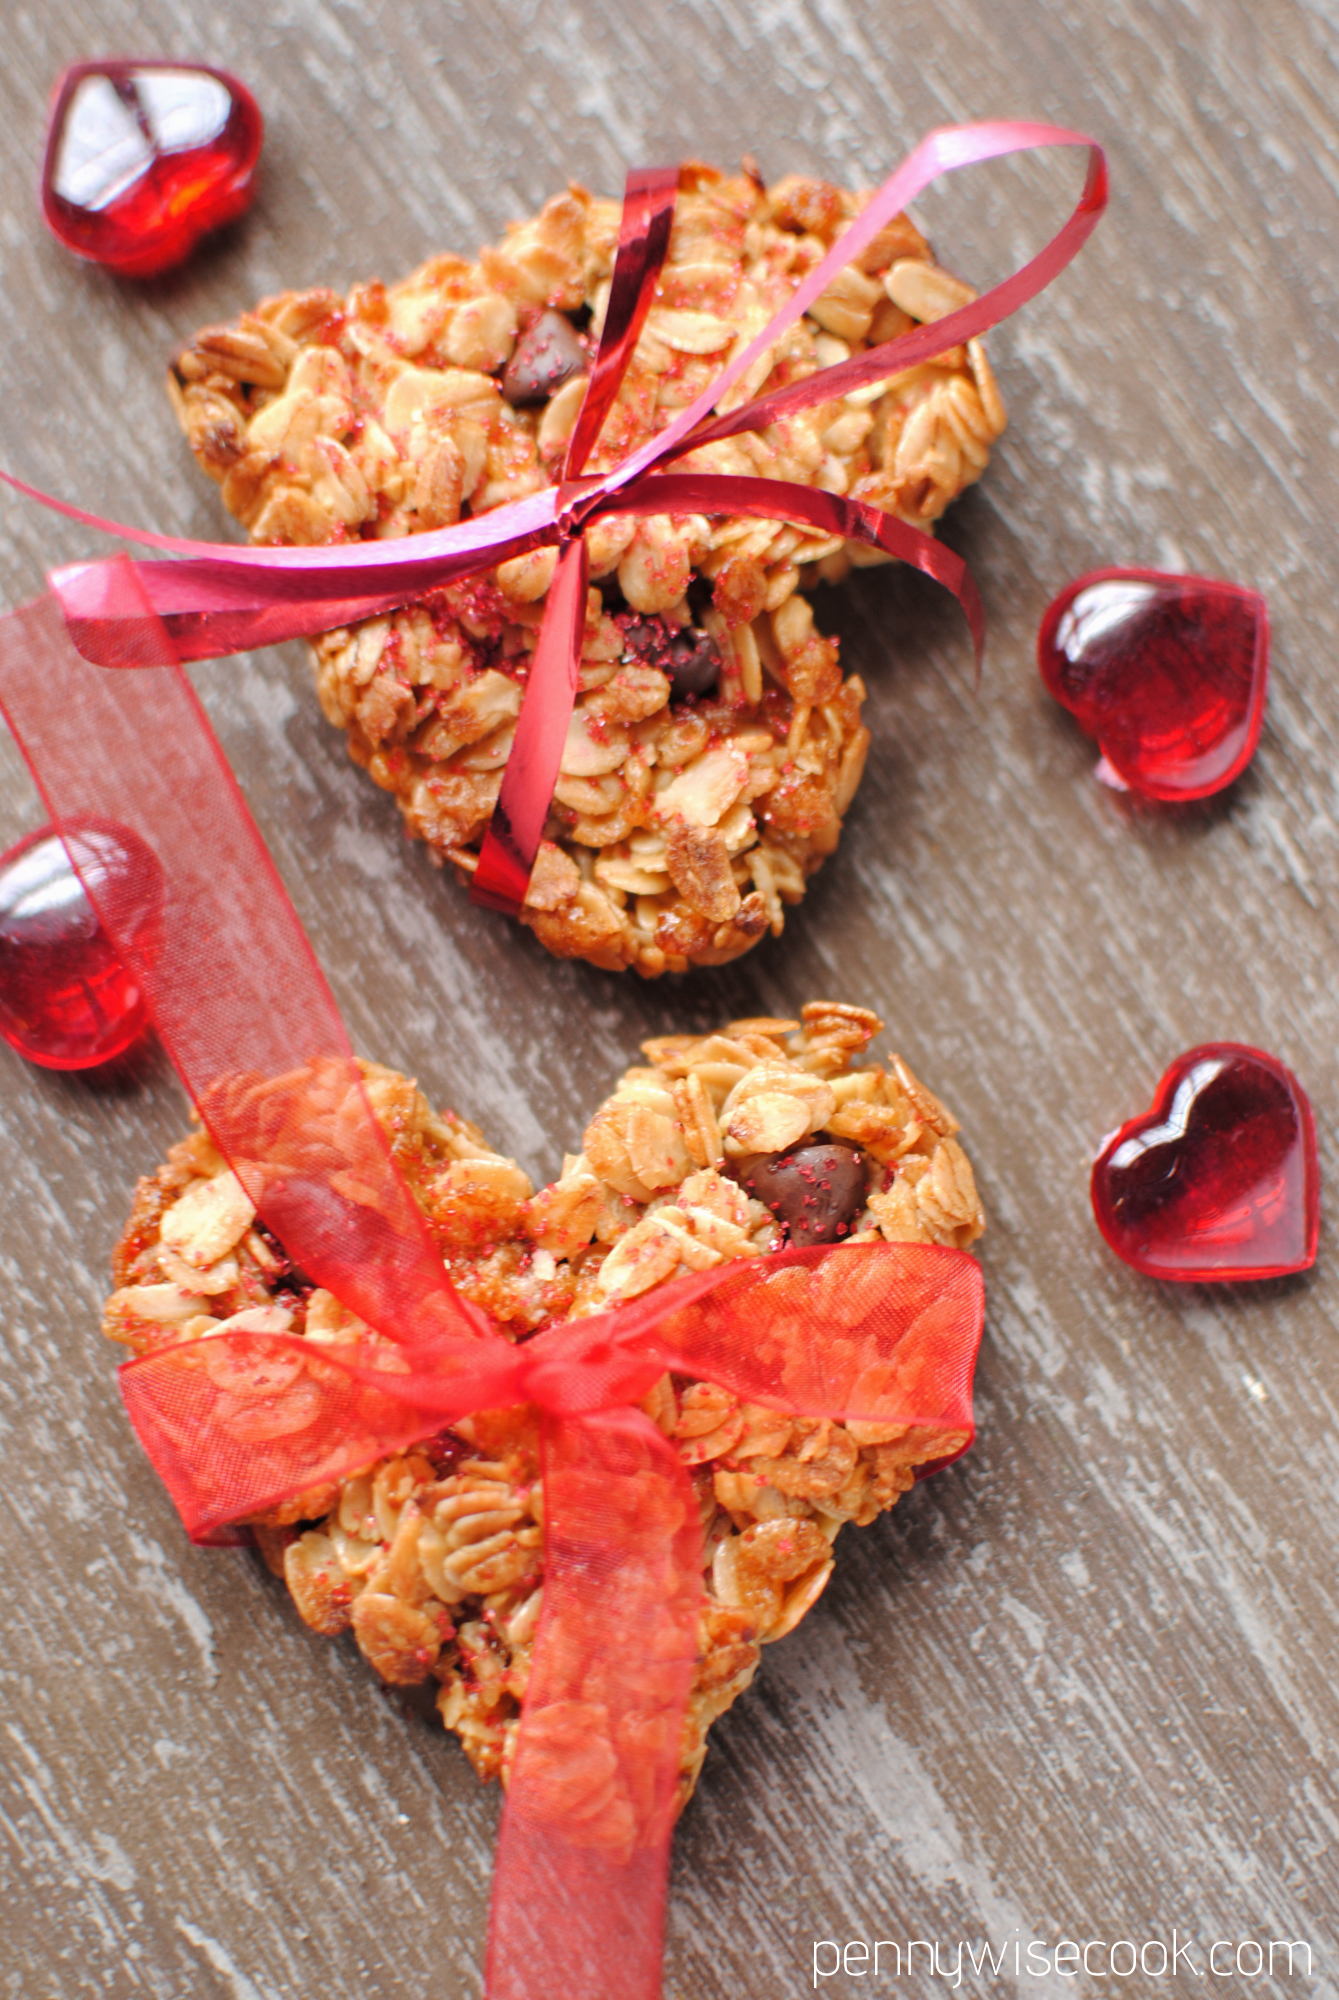
When you make these Valentine’s Day Granola Cookies, it’s like a big old gigantic bear hug of Valentine’s Day goodness. For one because you can make them into cute and adorable little hearts. And for two because you’ll make them healthier for your favorite Valentine.

Granola Cookies 1

These tasty cookies are made using better for you ingredients, so you can feel good about making these for your Valentine.

I recently read a research study that showed that corn oil is better at lowering cholesterol than extra virgin olive oil! You learn something new every day!

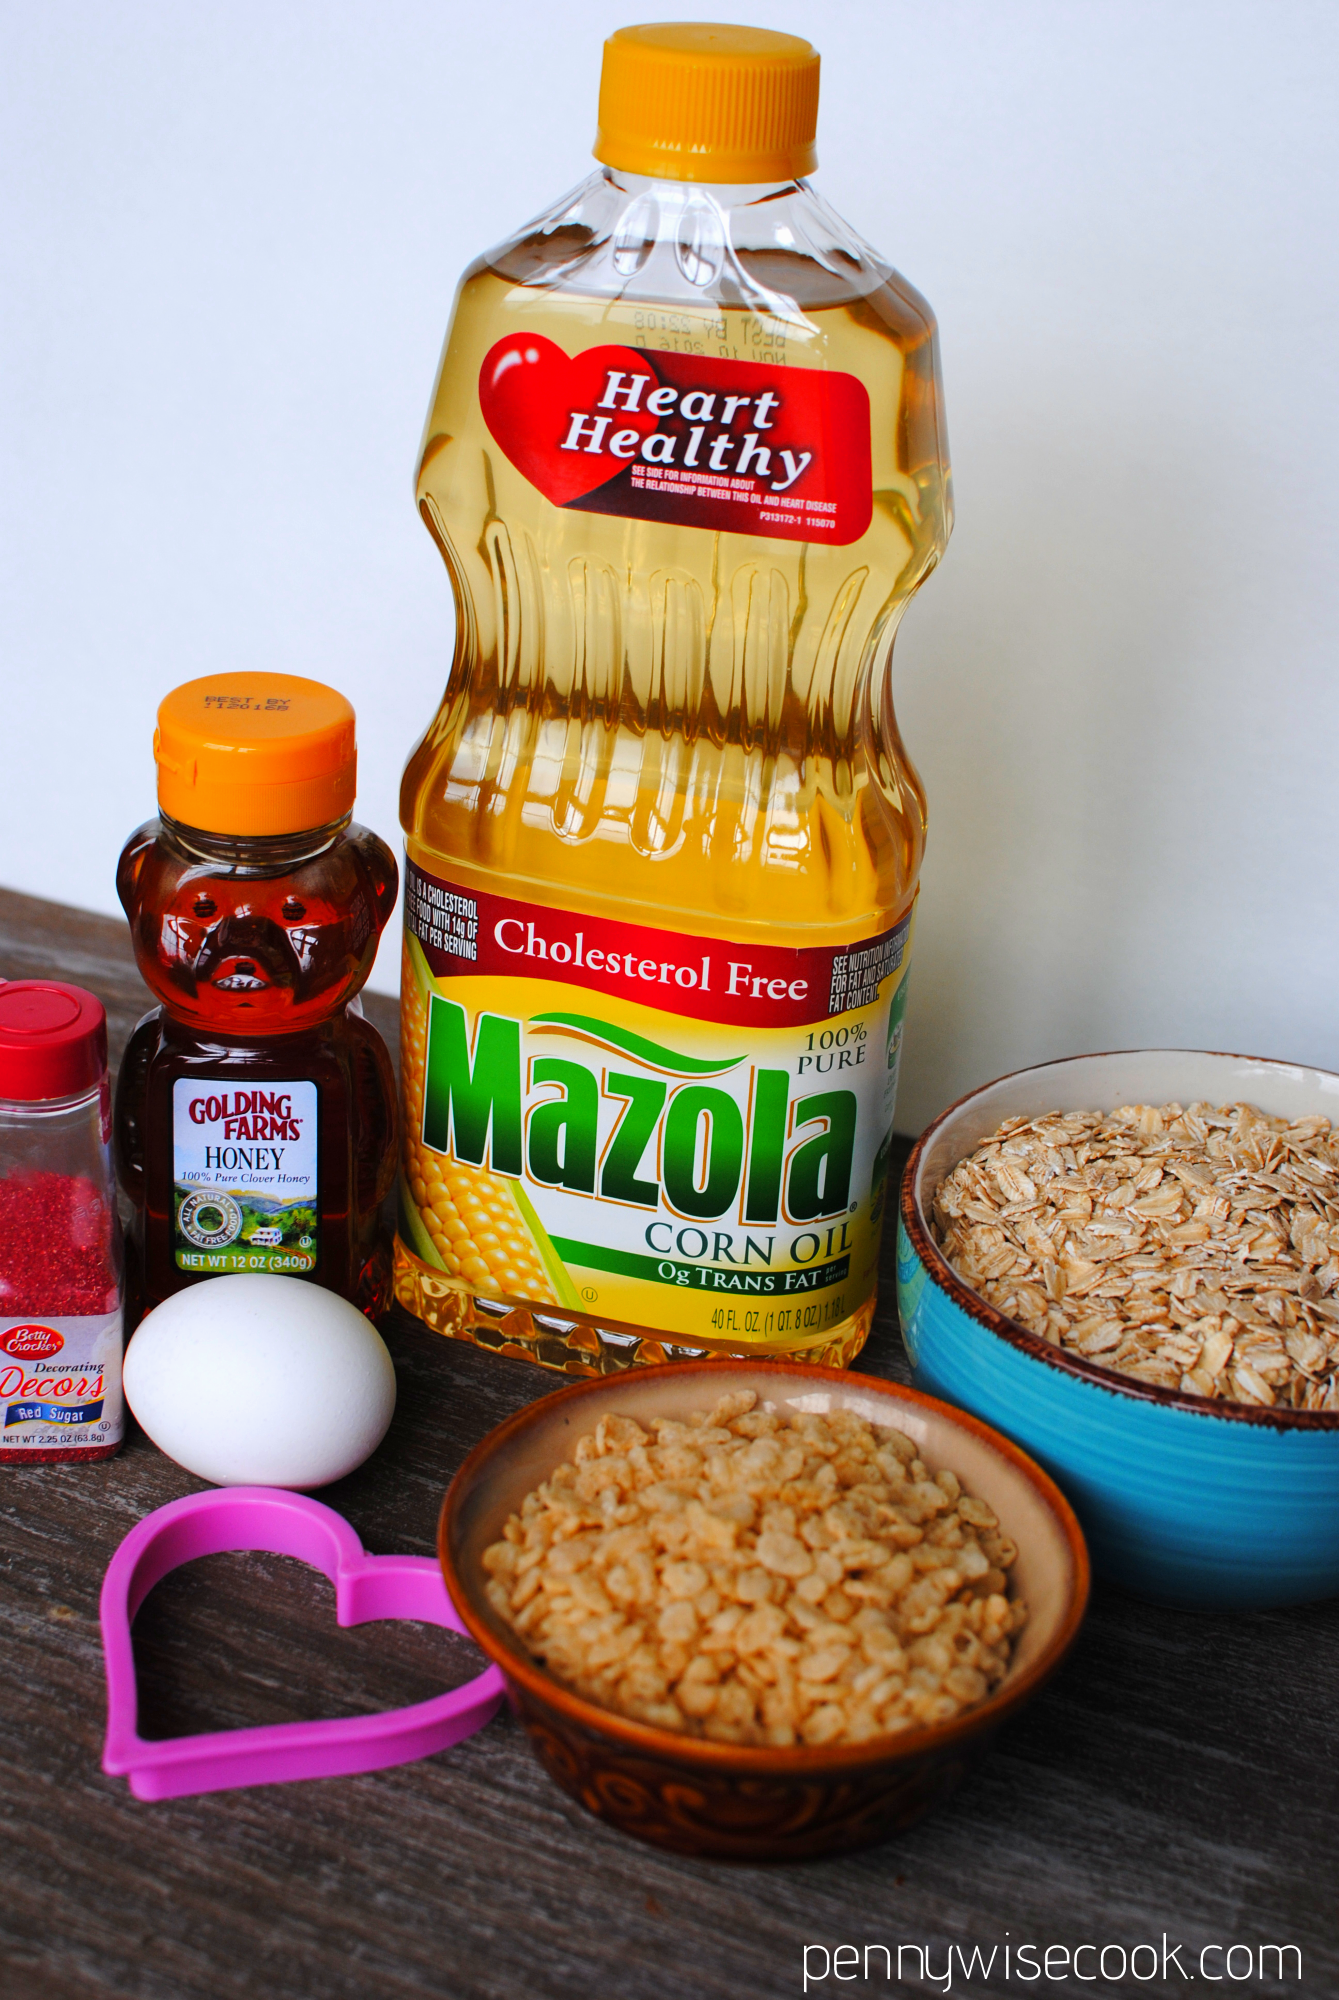
I like to use Mazola® Corn Oil because it has a neutral flavor and lets the other flavors in my cooking and baking stand out. Mazola® Corn Oil made a great addition to the granola cookies that I made. I’ve also used to it to make breaded chicken and stir-fry. 

Granola Cookies 2

I have a special tip for you. Happy Valentine’s Day from me. I love you. Yes, I do! I can’t take all the credit for it. I saw this on Rachael Ray recently and thought it was genius so I had to share. 

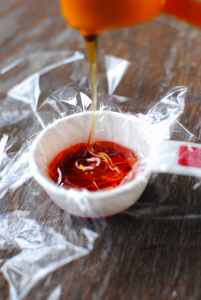
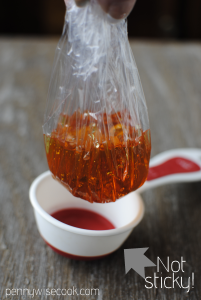
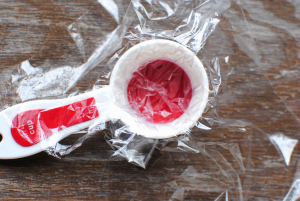
Sticky stuff like honey is so hard to measure out and then get out of the measuring cup. You lose some as you pour it out because it sticks. I never feel like I get all the honey out. Here’s a tip:

  • Put plastic wrap into your measuring cup
  • Fill with desired honey (or sticky substance like corn syrup)
  • Bunch at the top.
  • Snip off a small hole and squeeze out every last drop.
  • Throw away plastic wrap and have a CLEAN measuring cup with no honey lost in the process! 


Granola Cookies 4Granola Cookies 5Granola Cookies 6


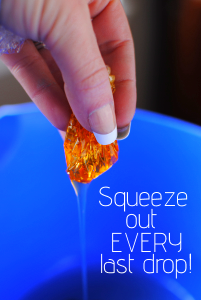
Genius, right? LIFE-changing!

Granola Cookies 7

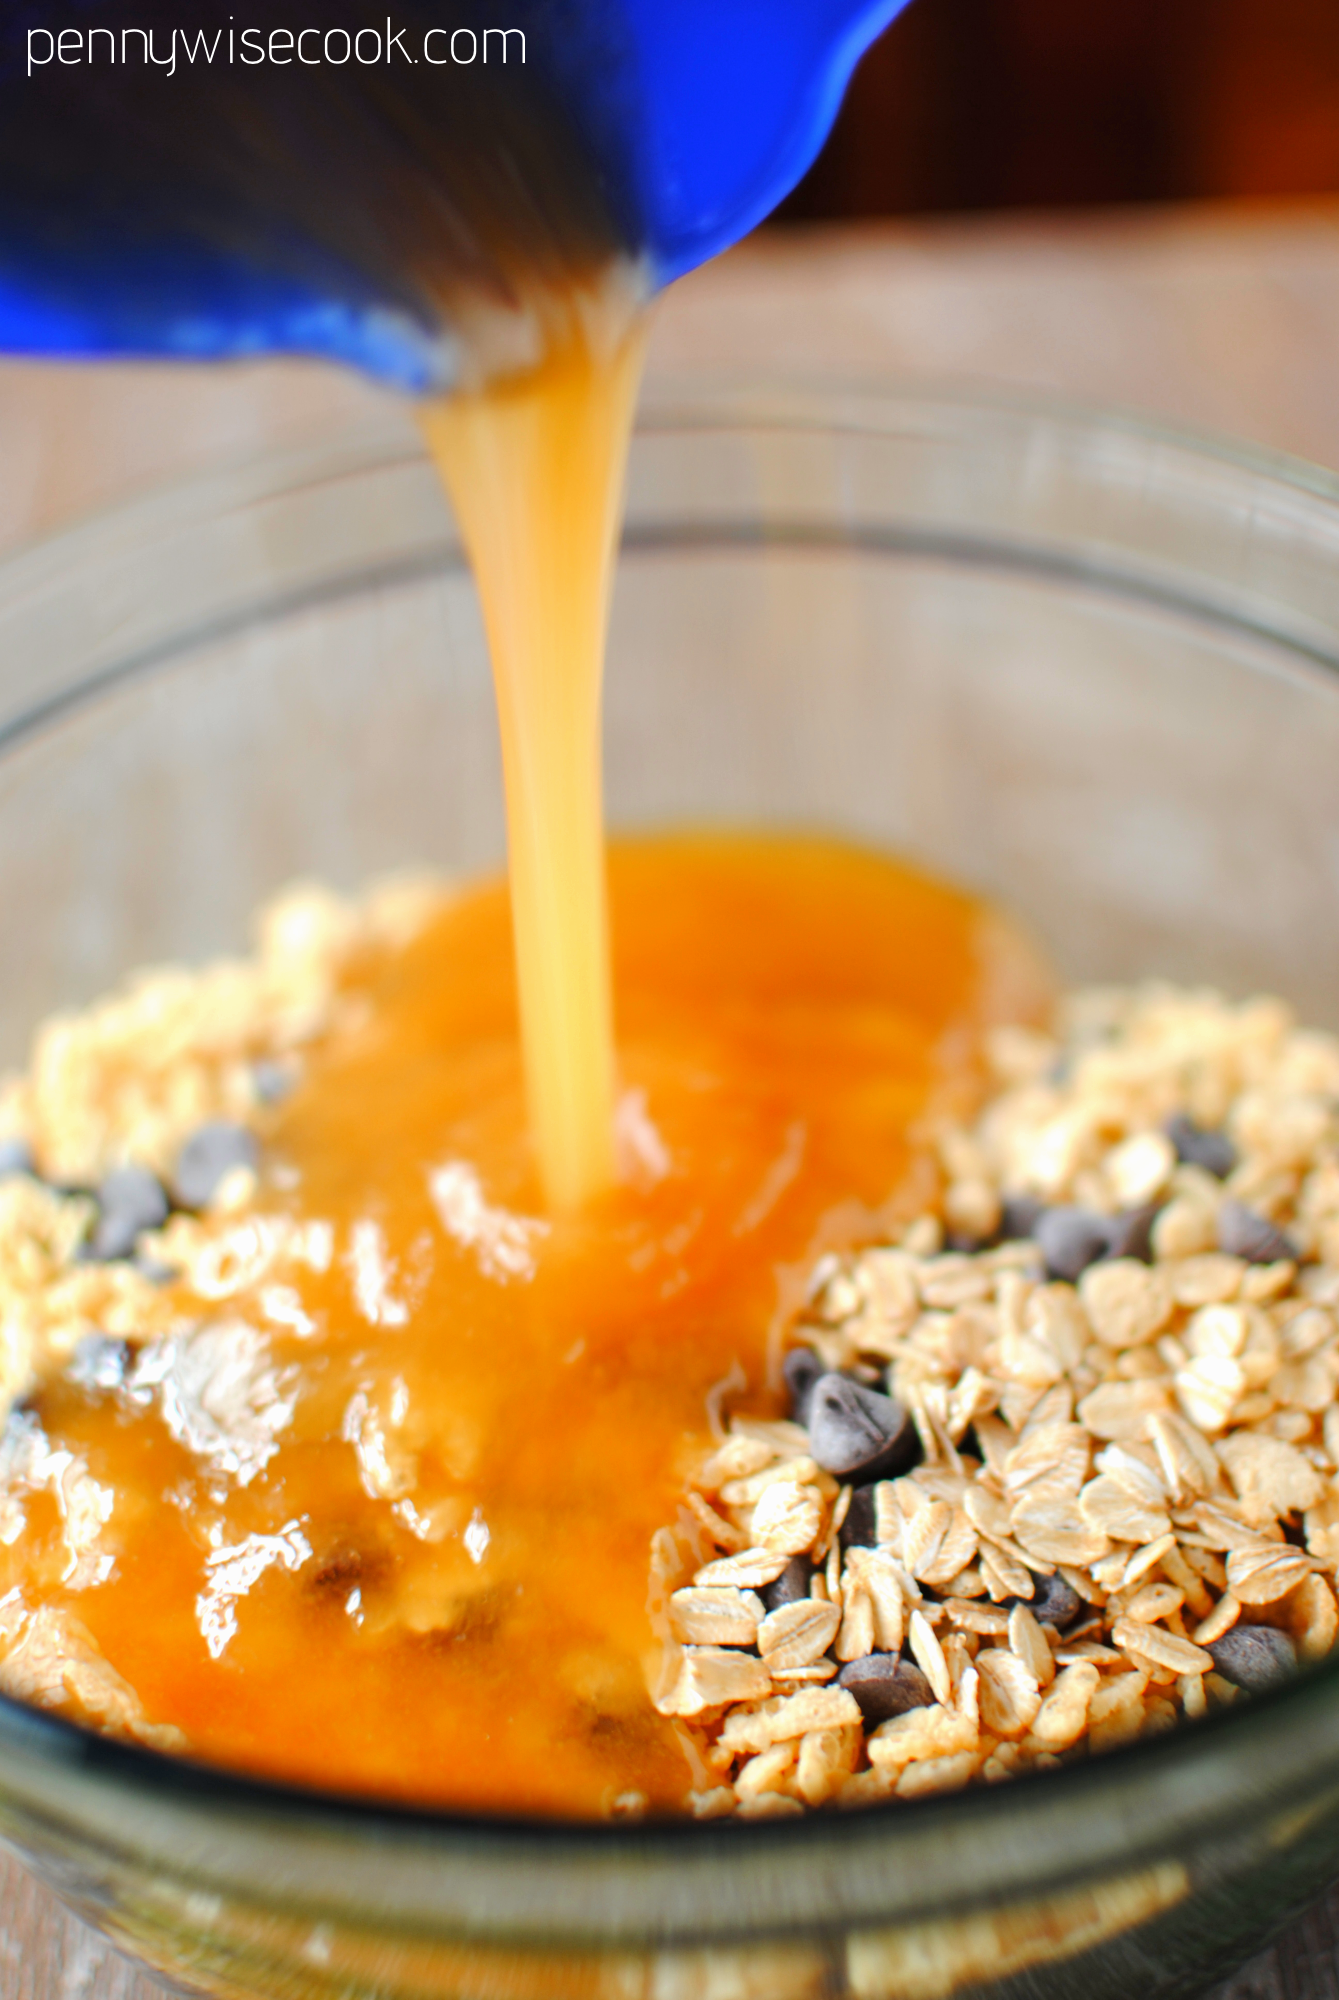
The Mazola® Corn Oil does a great job holding all my wet ingredients together. The egg whites and honey kinda want to go off and do their own gloppy goo mess, but the oil man. It keeps the harmony.

Granola Cookies 8

I will not lie to you, Valentine. I did eat from this very spoon.

Granola Cookies 9

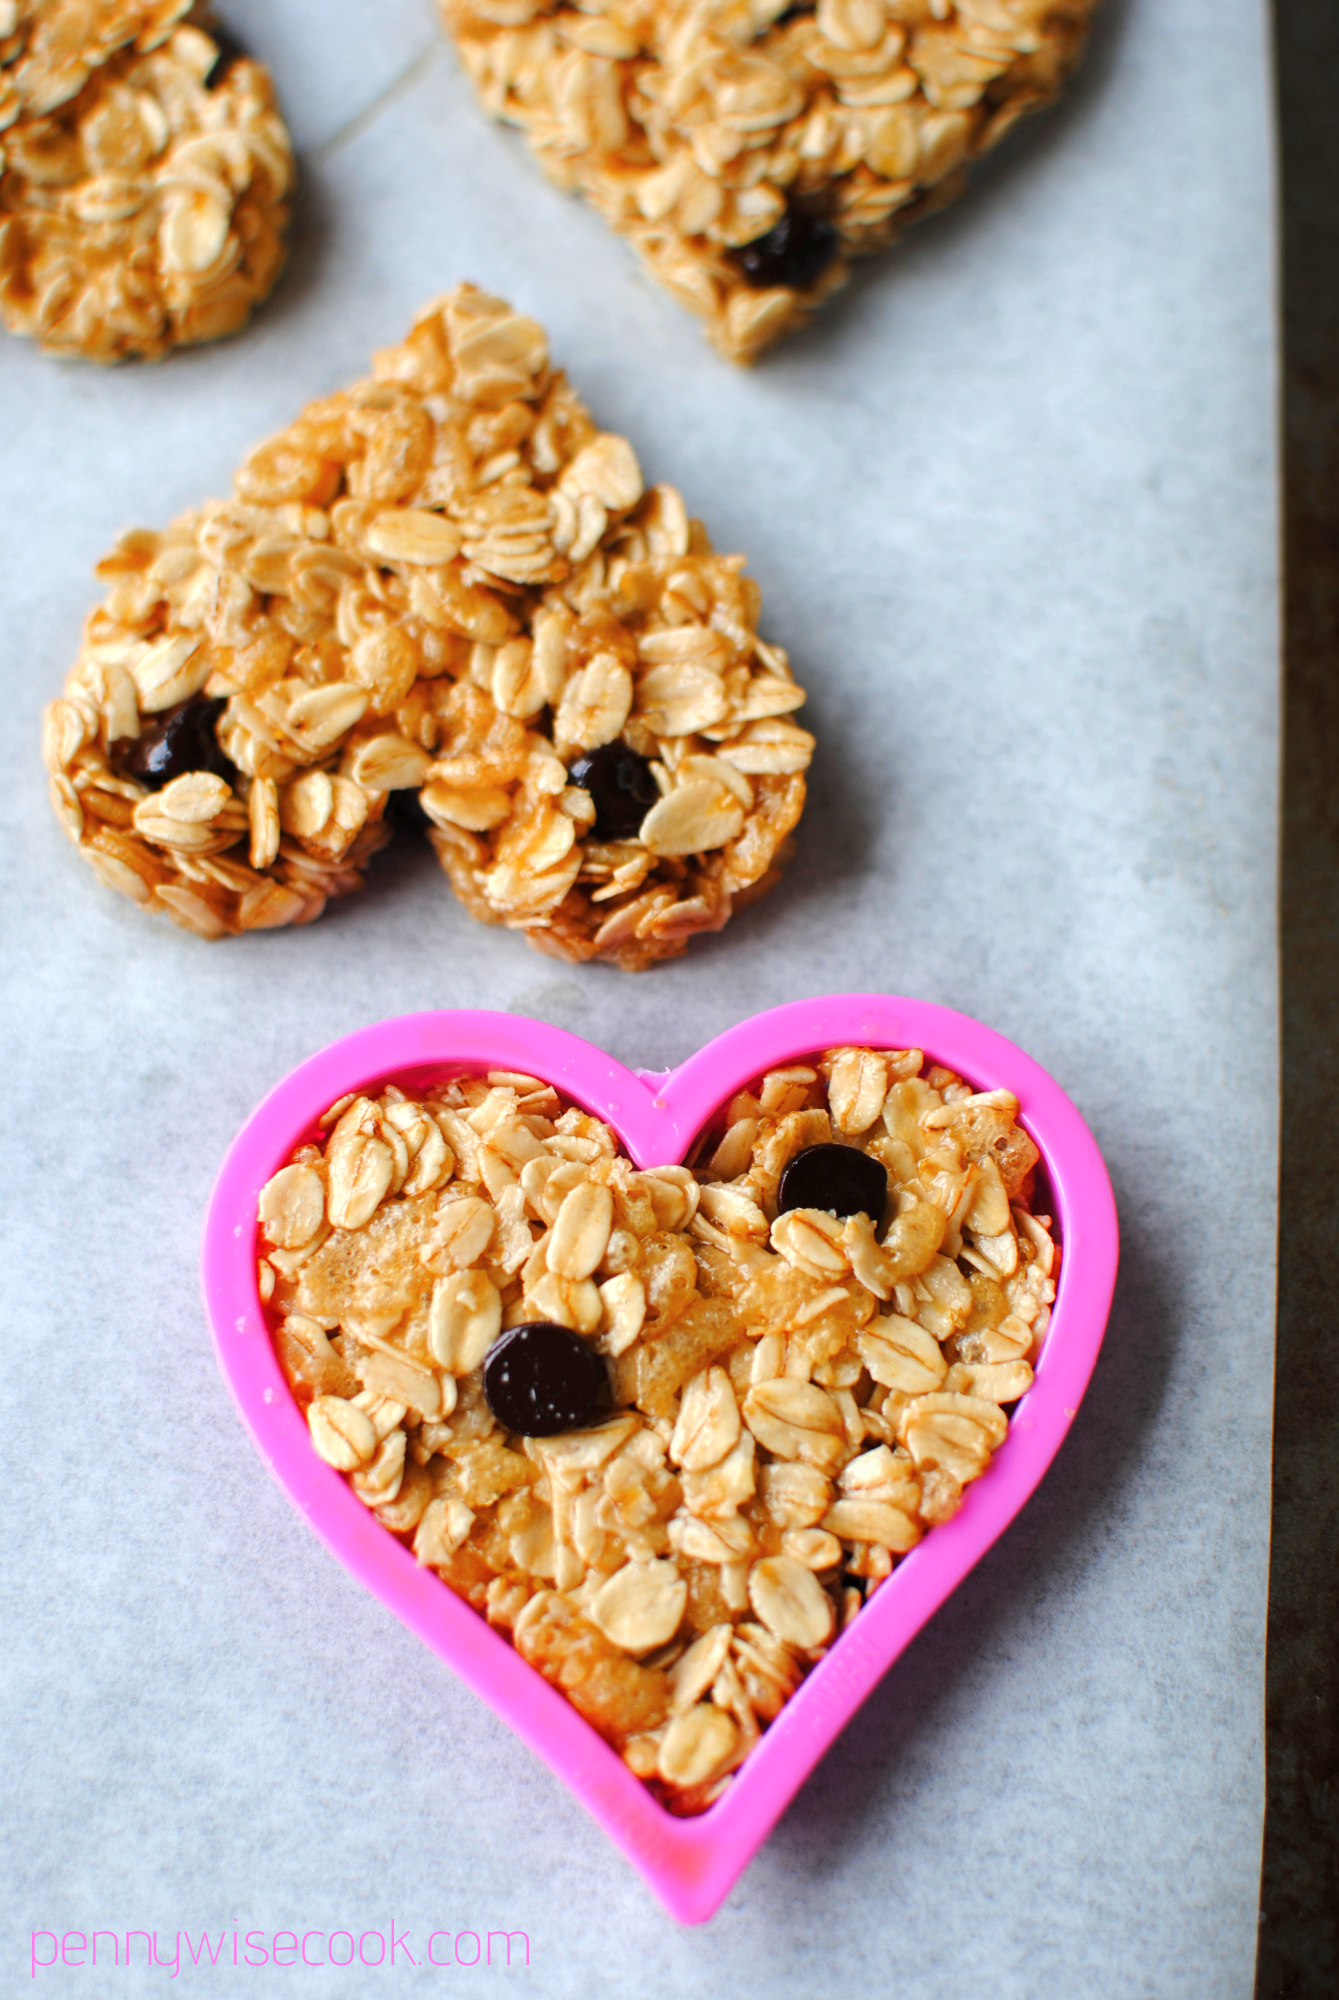
Here is yet another genius idea. I KNOW! I really, really love you.

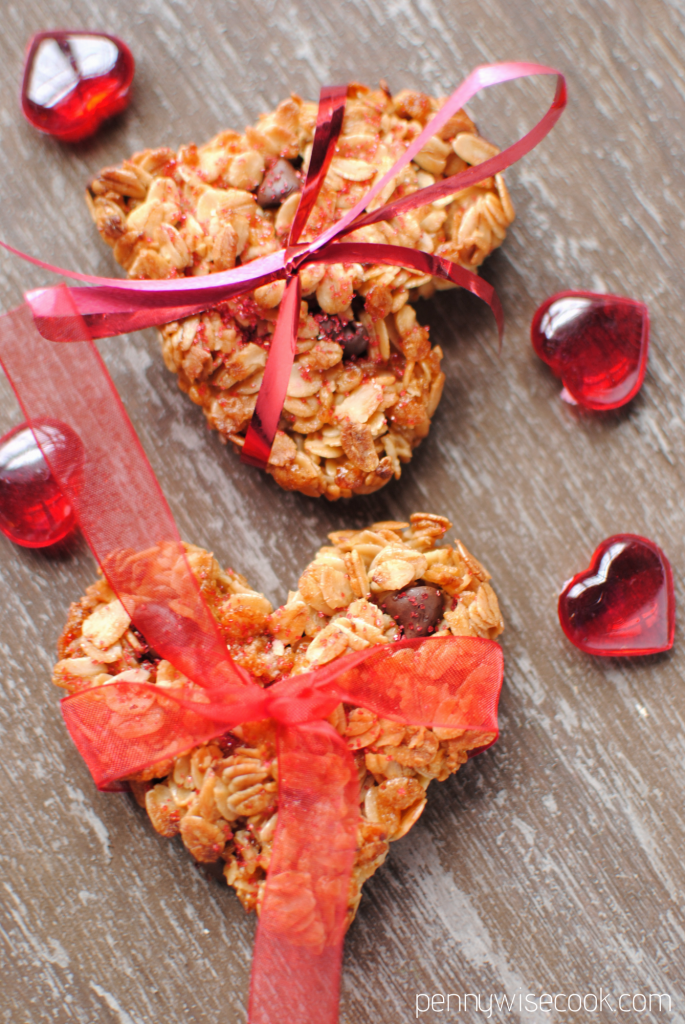
Put a cookie cutter on parchment paper (that’s on a cookie sheet). Spray it with a taddy bit of cooking spray to keep from sticking. Then spoon in your granola and pat down. Remove your cookie cutter and you have your heart-shaped cookie. 

Granola Cookies 10

I was so happy with how they turned out. I was going for a cookie-like texture and not a granola bar and this was exactly what I got!

Granola Cookies 11

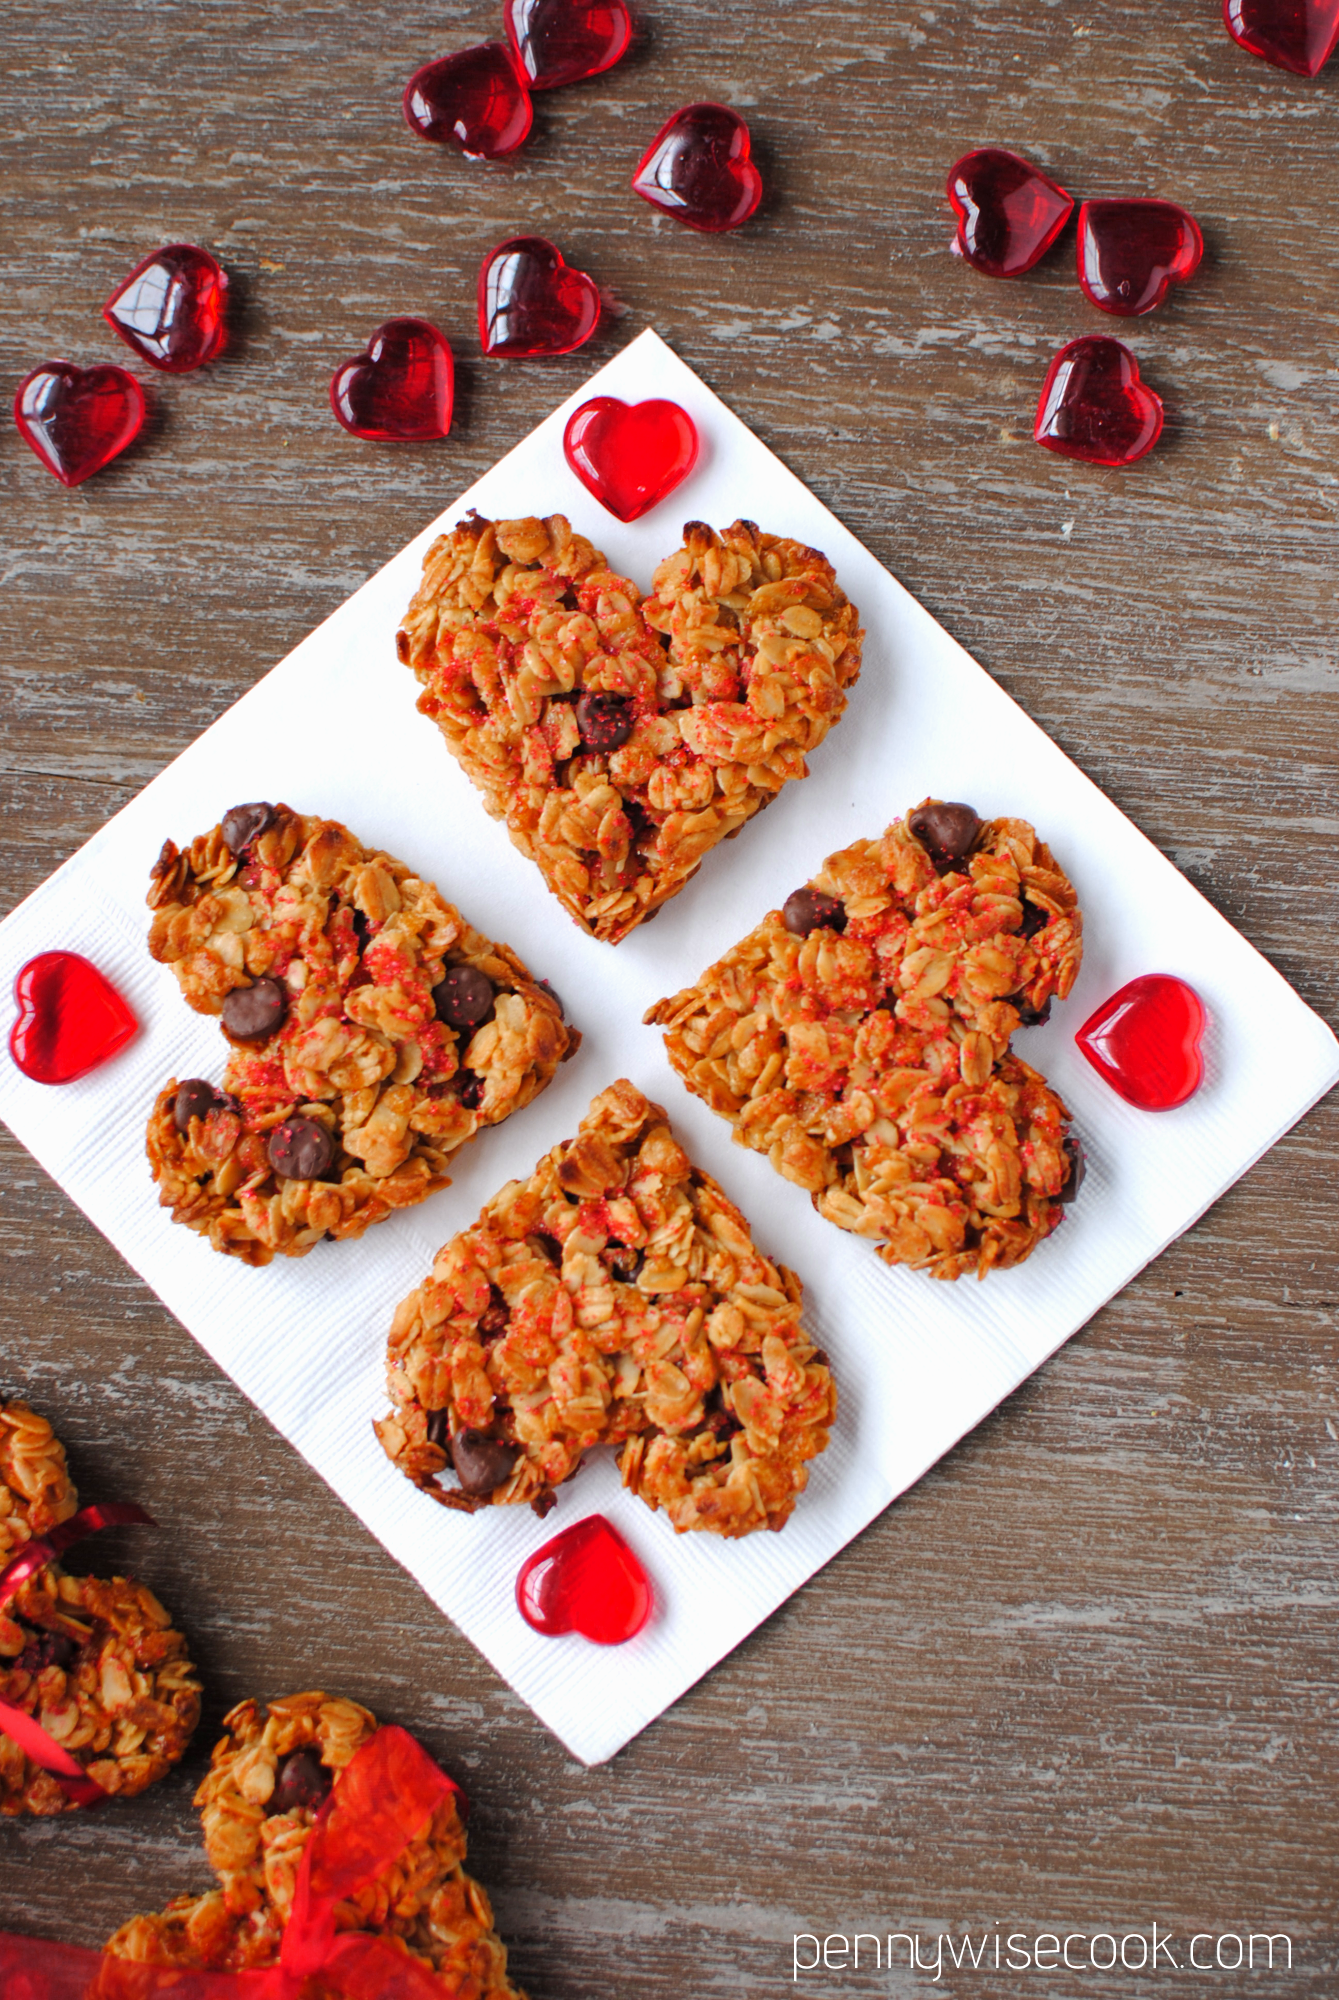
I’ll be making these often. I love how versatile they are. You can add in raisins or nuts or whatever you’d like. I added a few chocolate chips to these and red sprinkles on top to be festive. You can certainly leave them out to keep them better for you.

Check out more research facts about the benefits of Corn Oil and be sure to check out Mazola®, too!

Valentine's Day Granola Cookies
Yields 15
Skip the chocolate and try these better for you granola cookies instead!
Write a review
Print
Ingredients
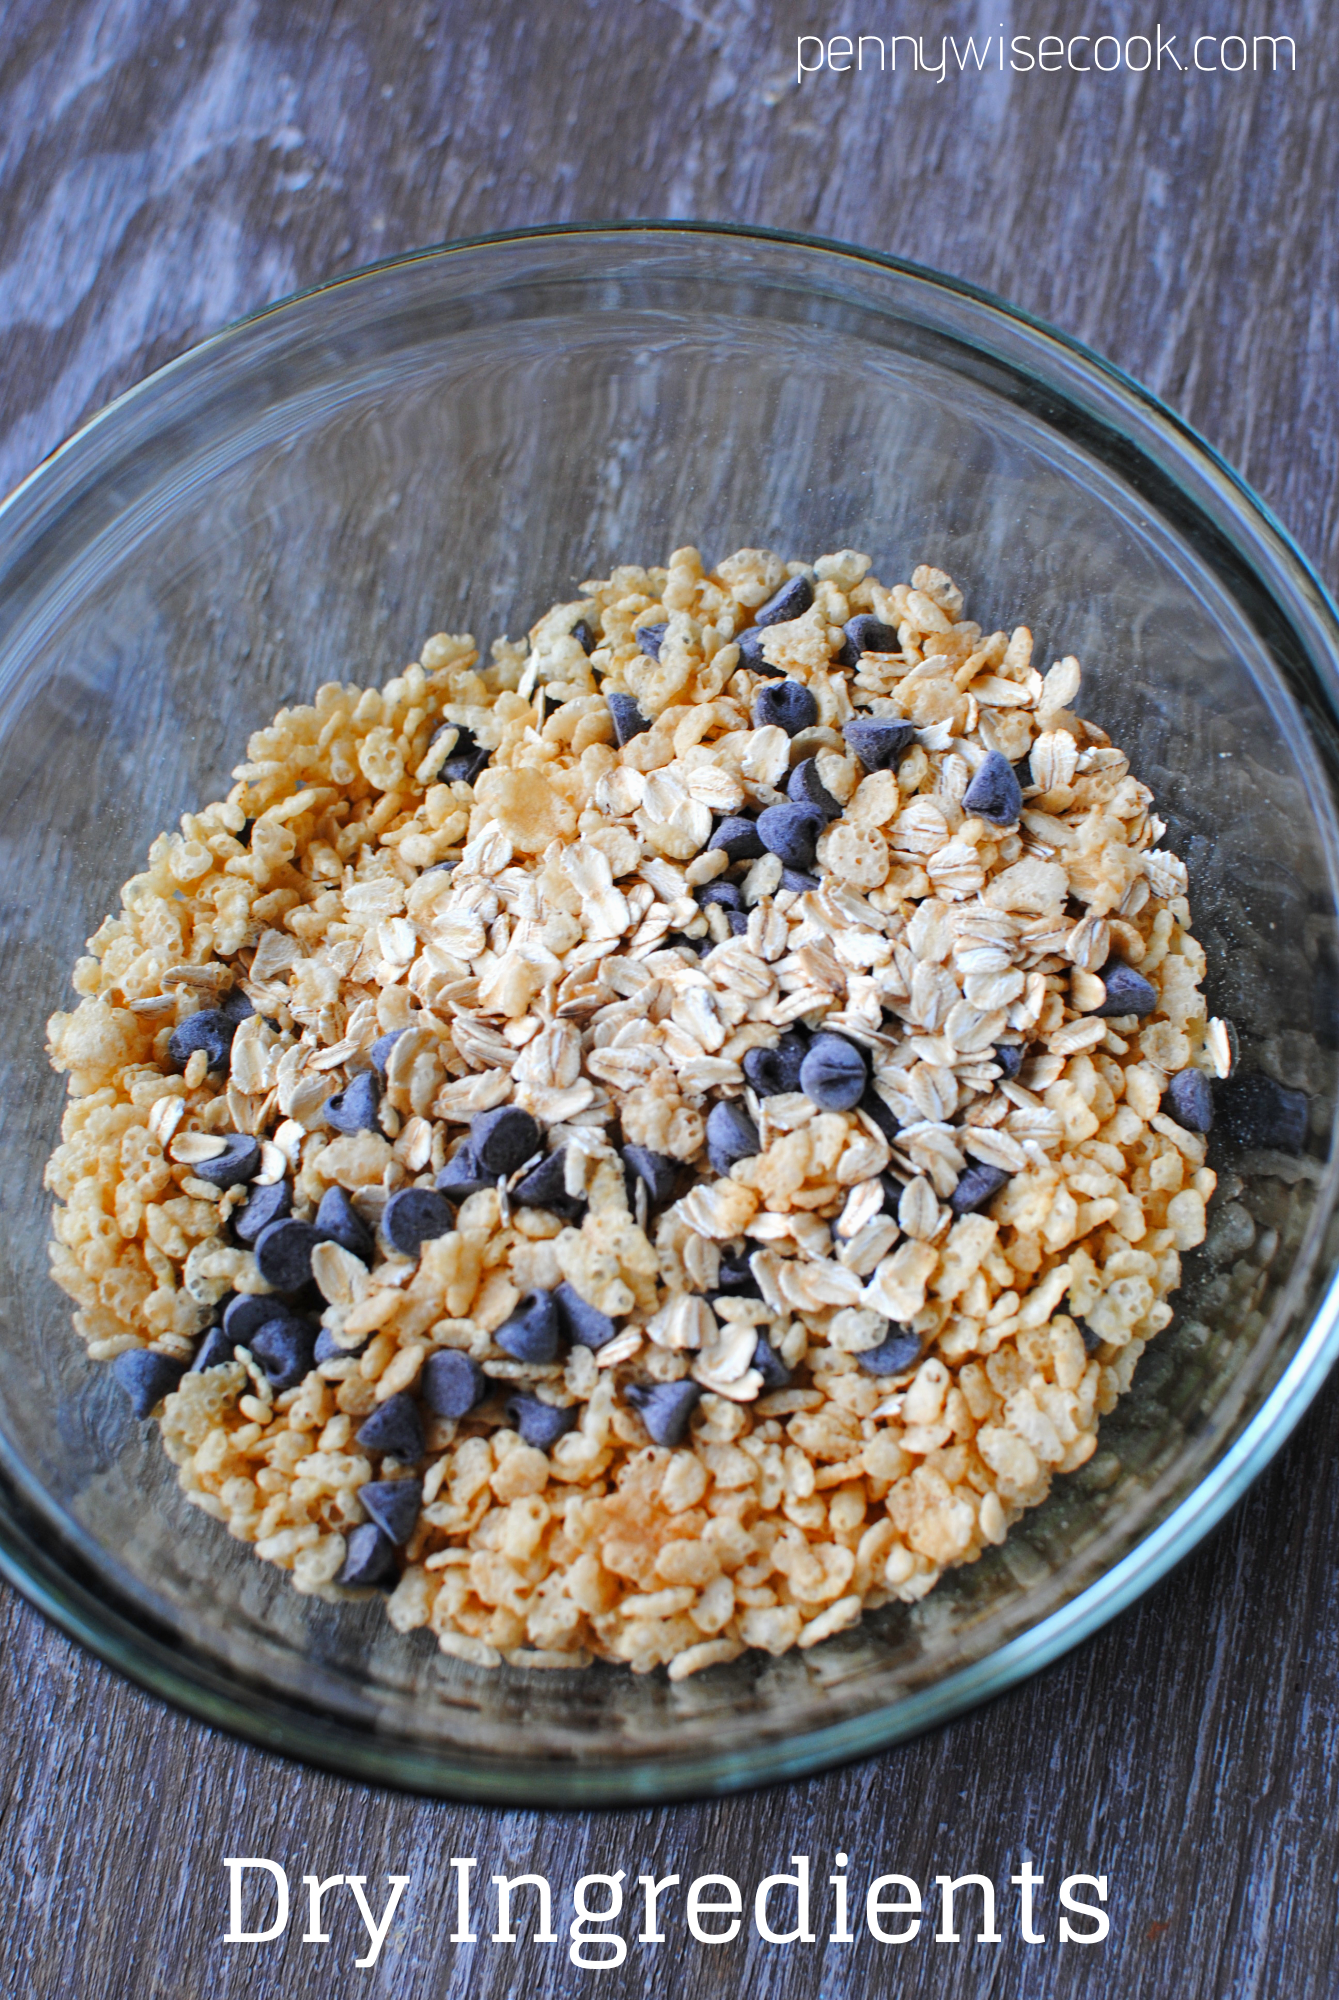
  1. 2 and 1/2 c old fashioned oats
  2. 1 c crisp rice cereal
  3. 1/2 Mazola® Corn Oil
  4. 1/4 pure honey
  5. 2 egg whites
  6. 2 tsp vanilla extract
  7. 1/4 c chocolate chips (optional)
Instructions
  1. Preheat oven to 350°.
  2. Mix together oats, cereal, and chocolate chips.
  3. Wisk together oil, honey, egg whites, and vanilla.
  4. Add the wet ingredients to the dry ingredients.
  5. Cover a cookie sheet with parchment paper.
  6. Place greased cookie cutter on parchment paper and scoop in granola. Flatten and remove. Repeat until all granola is used.
  7. Bake 15 minutes or until sides begin to brown.
Pennywise Cook http://www.pennywisecook.com/

Like this post? SHARE it!

Related Posts Plugin for WordPress, Blogger...

DIY Fall Treats: Tasty Acorns

Tasty Acorns 1

 I just about had a fit when I started to put this post together because my SD card decided that it wanted to be corrupted and not let me have access to my pictures. But you know what? I showed it who is boss and it eventually gave me my pictures. So you can see the beauty of these adorable little fall treats!

Today is the very last day of summer did you know that? Can you believe that? I sure can! And I’m completely ready for fires and everything cozy. I love fall wardrobes. Everything gets covered up, tucked in, and just more comfortable. Less intense and less need to be in shape.

So you can eat chocolate, right?! Aren’t these acorns just the cutest little fall treats? They are so easy to make and adorable to just set around for a treat. Not to mention that they taste amazing. Anything with a Hershey Kiss on it is going to make your mouth happy.

Tasty Acorns 3

 I made a bunch of these one night and it took me no time at all. Such a fun craft for the kids to enjoy with you. And because it’s so easy you can just let them take over! Just don’t let them eat too many before bed or they may never sleep. Again…

Tasty Acorns 2

 I didn’t put together step by step pictures for you because this one is easy enough. If you have questions please don’t hesitate to ask!

Tasty Acorns
With a few simple ingredients you can make tasty and edible acorns for the fall!
Write a review
Print
Ingredients
  1. Hershey Kisses
  2. Mini Vanilla Wafers
  3. Butterscotch Morsels
  4. Chocolate Frosting
Instructions
  1. Begin by placing a teensy bit of frosting in the middle on the bottom of the vanilla wafer. Press the flat side of the Hershey Kiss into the frosting and twist a little to attach it.
  2. On the top of the vanilla wafer, at a very teensy bit of frosting in the middle and press the flat side of a butterscotch morsel to the frosting, twisting a bit to attach.
  3. Set aside and allow the frosting to "crust" a bit which will help them to stay attached.
Notes
  1. I would serve these the same day or at least by the next day you plan to make them. The frosting can make the vanilla wafer begin to get a little soggy. I like when this happens but if you want them to be crisper you will want to serve them soon.
  2. Keep them in an air-tight container until ready to eat.
Pennywise Cook http://www.pennywisecook.com/

Like this post? SHARE it!

Related Posts Plugin for WordPress, Blogger...

4-Ingredient Fudge Cookies

It has been cookie mania at my house for the last month or so. It could be that Christmas is coming up. It could be that we’ve had a lot of parties to make them for.

…Or it could just be that we really like cookies.

Whatever the case, we’ve made a LOT of cookies lately. One of my most favorite that I’ve made are these Fudge Cookies. Not only are they incredibly fudgy and tasty, but they are also super easy. Only 4 ingredients!

And here are Pennywise Cook, we really like recipes that call for little ingredients don’t we? That means that there is little moolah involved and that keeps smiles on our little cookie-making faces. I think I spent about $2.50 to make these because I already had eggs and oil on-hand.

Fudge Cookies 4


The dough is made from devil’s food cake mix, 2 eggs, 1/2 cup oil, and 1 cup of chocolate chips. After mixing all the ingredients together it becomes very thick and easy to roll into balls. So when you’re making these, don’t be concerned when your mixer starts to slow down and the mixture is very thick.

The stiffer that the dough, the better!

Fudge Cookies 3

Hey, who knows. Santa may just like to have these Fudge Cookies this year.

I can tell you that this Santa is making Rice Krispie Treats this year, because this Santa may just be cookied out! 😉

4-Ingredient Fudge Cookies
Recipe Type: Cookies, Dessert
Author: The 4-Ingredient Cookbook
Homemade cookies don’t have to be hard! These fudge cookies are simple and taste great!
Ingredients
  • 1 pkg devil’s food cake mix
  • 2 eggs
  • 1/2 c. oil
  • 1 c. semi-sweet chocolate chips
Instructions
  1. Preheat oven to 350°.
  2. Mix Cake mix, eggs, and oil until combined. Stir in chocolate chips. Mixture will be stiff.
  3. Shape dough into small balls and place 2 inches apart on a cookie sheet.
  4. Bake 10-12 minutes. Let cool on a wire cooling rack.


Like this post? SHARE it!

Related Posts Plugin for WordPress, Blogger...

Krispy Oreo Cookie Balls


I remember the very Christmas that I was introduced to what was called “Oreo Balls”. The most wonderful and decadent morsels made of crushed Oreo cookies and cream cheese all contained within a crust of white chocolate.

It does not get any better than that.

I must have made them 5 times that Christmas for different functions. And they have become a go-to treat ever since. While some desserts and treats can end up so stressful over the holidays, it’s always nice to have something like these Oreo Cookie Balls to fall back on since they are so easy! And not to mention that they taste amazing.

The best part is that you can practically make them festive for any holiday. Christmas is especially fun because they easily look like little snowman heads. Or simply add some red or green glitz and glam with sprinkles while they are still wet. Put them on a stick or serve them in a bowl!

You can find some super fun ideas for creating your own festive Oreo Cookie Balls HERE. There’s everything from penguins to Nutter Butter Cookie Ball ideas there. I also think that the pretzel idea for reindeer antlers is genius! You can also follow @Oreo on twitter for more cookie ball inspiration.

I made this last batch a little more on the simple side when it came to decoration. My coloring didn’t exactly work out for turning red, so I settled on pink which didn’t really matter because they were just going to get eaten anyways.

The biggest change that I made this time around was a complete experiment. I attempted to merge 2 of my favorite treats into one: Oreo Balls and Rice Krispy Treats. I decided to make them both as normal and then simply stir them together and finish off the cookie ball recipe as normal. Hence the name Krispy Oreo Cookie Balls. While the first day that I made them they were Krispy, I must confess that they lost that “krispiness” after the next day or so. That cereal tends to become soggy after a while so it didn’t surprise me. But I will say that I liked the way that the Rice Krispy Treat made the Oreo Balls lighter and not as rich. I also used Almond Bark instead of regular semi-sweet chocolate chips.

We enjoyed them!

Pure bliss in every bite. They are addicting and sure to be a hit at any holiday gathering! I’ll give you the original recipe and also the recipe that I made in case you want to try it out.

Original Oreo Cookie Balls
Ingredients
  • 1 pkg (8 oz) Cream cheese, softened
  • 36 Oreos, finely crushed (about 3 cups)
  • 4 pkgs (4 oz) semi-sweet baking chocolate, melted
Instructions
  1. Mix cream cheese and cookie crumbs until blended.
  2. Shape into 48 (1-inch) balls. Freeze 10 min. Dip balls into melted chocolate; place in a single layer on a pan covered in wax paper.
  3. Customize how you’d like!
  4. Refrigerate an hour or so until set.
  5. Enjoy!


Krispy Oreo Cookie Balls

1 pkg (8oz) cream cheese, softened
36 Oreos finely crushed (about 3 cups)
1 pkg Almond Bark, Melted

Mix cream cheese and cookie crumbs until blended.
Meanwhile heat 3 tbsp milk in a sauce pan over low heat. Add 10 oz bag mini marshmallows and stir until melted.
In a large bowl, add 6 cups Rice Krispies to melted marshmallows. Combine well.
Stir together Rice Krispies Mixture with Oreo Mixture until well-combined.
Shape into 48 (1-inch) balls. Freeze 10 min. Dip balls into melted almond bark; place in a single layer on a pan covered in wax paper.
Customize how you’d like!
Refrigerate an hour or so until set.
Enjoy!

This is a sponsored post written by me, made possible by Yummly, on behalf of Oreo. All opinions expressed are 100% my own. For more information, review my disclosure policy.


Like this post? SHARE it!

Related Posts Plugin for WordPress, Blogger...

Cake Mix Pudding Cookies

I’ve been on one of those simple kicks lately. You know, when you just want to make things involving little ingredients (and little money) that don’t take much time or effort? Yeah, those dishes make life so much easier. I posted some yummy Strawberry Cake Mix Cookies a while back. They are oh so incredibly yummy I must say.

Not to take away from their tastiness, but I decided to fiddle with that recipe a bit. I omitted the cool whip, egg, and powdered sugar. Then I replaced the egg and cool whip with cream cheese, and the powdered sugar with pudding mix! Much less time to prepare and the possibilities are endless.

I think my favorite part was that I could put it all in one bowl, pop them on a baking sheet and bake. You simply mix softened cream cheese (I use the 1/3 less fat one) with the pudding of your choice (I used sugar-free french vanilla). Just THINK of those possibilities. I’m so excited to try different flavors. Then slowly blend in the cake mix of your choice.

I went the strawberry route. I thought that the cream cheese and strawberry thing would make them like strawberry cheesecake. But I should have used cheesecake pudding mix. Will do that next time for sure!

The one tip that I will give you to make your life easier when making these, is to flatten them into cookie form before placing them on the cookie sheet. Treat this more like a sugar cookie. They will not rise or go far from how you place them on the cookie sheet. You could flatten the dough out on the counter and then cut perfect little circles out.

If you make a flavor of these, will you share it with me? I’d love new ideas for other kinds!

Cake Mix Pudding Cookies
Recipe Type: Cookies, Dessert
Author: Pennywise Cook
Serves: About 24 Cookies
3 Ingredients and 12 minutes later you have the best cookies with little effort!
Ingredients
  • 1 Box Cake Mix (Your Choice)
  • 1 Box Instant Pudding Mix (Your Choice- Even Sugar Free!)
  • 1 8 oz Package Cream Cheese, Softened
Instructions
  1. Preheat oven to 375 degrees. Cream together the cream cheese and pudding mix. Slowly mix in the cake mix.
  2. Form into balls and then into 2 inch flat cookies and place on greased cookie sheet.
  3. Bake 12 minutes or until they begin to brown.
  4. Let cool and serve!

Like this post? SHARE it!

Related Posts Plugin for WordPress, Blogger...

The Best White Chocolate Chip Cookies

It takes a lot to make a cookie worth the title The BEST White Chocolate Chip Cookies. Believe me, I’ve tried my share of them. I can’t tell you that these are the best in the world, but I can tell you that they are the best that I’ve made and I’ve been working on my recipe for a little while now. I am head over heels in love with white chocolate, but it doesn’t love me back. I cannot cook with it for anything so the fact that I was able to accomplish these cookies is a feat in itself. Therefore, they have been dubbed The BEST White Chocolate Chip Cookies.

…and because they also happen to be absolutely fabulous as well.

It starts with what you would expect from a cookie recipe, flour. Sift it together with some baking soda and a little salt. It would be good to use a sifter, but seeing as how mine is a piece of crap and the top won’t release itself from the bottom, I opted to use a wisk in a bowl.

Here comes the yumminess. In your mixing bowl you’re going to add 2 different kinds of sugar (brown and white) along with some melted butter. I always use the Blue Bonnet Light because it makes me feel less guilty for using butter. Hey, whatever it takes right?

Oh look, there’s the brown sugar!

We’re going to fast forward just a bit. After you’ve mixed the sugars and the butter with the flour mixture, some eggs, and a secret ingredient- applesauce, this is what it will look like. It’s quite runny for cookie dough, but understand that this is normal. It’s going to be soft and cakey and that’s why.

Then comes the star of our dough, the white chocolate baby! At this point, it takes everything I have not to just grab a spoon and inhale all of those white chocolate chips.

Then, I use my little cookie dough scooper to make perfect little dough balls on the baking sheet.

Within about 13 minutes, they will have made your home smell heavenly and your tummy rumble for their white chocolatey goodness. Always best when eaten a little warm, of course.

Tah dah! Enjoy 🙂

The Best White Chocolate Chip Cookies
Recipe Type: Dessert, Cookies
Author: Pennywise Cook
Yep. These are the BEST White Chocolate Cookies.
Ingredients
  • 2 c. All-Purpose Flour
  • 1/2 Tsp Baking Soda
  • 1/2 Tsp Salt
  • 6 Tbsp Butter, Melted
  • 1/2 c. Packed Brown Sugar
  • 1/2 c. Sugar
  • 1/2 Tbsp Vanilla Extract
  • 1/3 c. Applesauce
  • 2 Egg Whites
  • 2 c. White Chocolate Chips (1 bag)
Instructions
  1. Preheat your oven to 325 degrees. Grease your cookie sheets.
  2. Sift the flour, baking soda, and salt together and set aside.
  3. In a mixing bowl, cream the sugars and butter together. Add in the egg whites, vanilla, and applesauce and combine well.
  4. Add the sifted flour mixture slowly to the sugar mixture until just combined.
  5. With a spoon, stir in the white chocolate chips.
  6. Drop 1/8 cup or so of the dough around 2 inches apart on baking sheet.
  7. Bake for about 13 minutes or until they have begun to brown around the edges.
  8. Cool on wire rack.
Notes

The timing for these has been 13 minutes for me each and every time. Your oven may be different so I would watch to see how done they are around 12 minutes and add more time if needed.

The last time I made these, I counted them and was going to make a point to know how many servings this recipe makes. Of course my crazy brain forgot to write it down and now I have no idea. It’s a lot though! Maybe 2 dozen or so.


Like this post? SHARE it!

Related Posts Plugin for WordPress, Blogger...