
We hope that you enjoyed Pennywise Kids’ first video last week! We’re back with another and even more excited about this one.
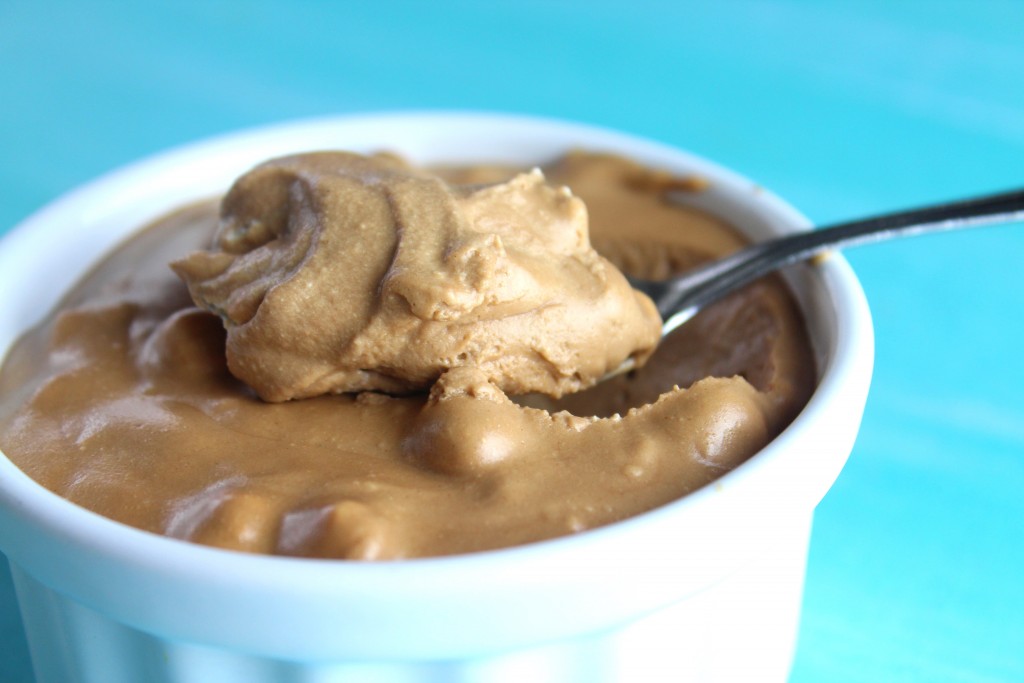
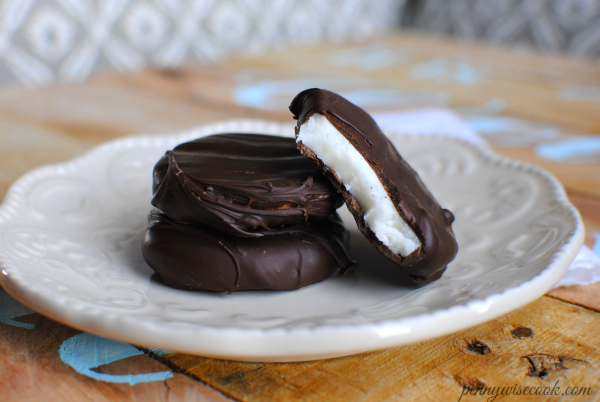
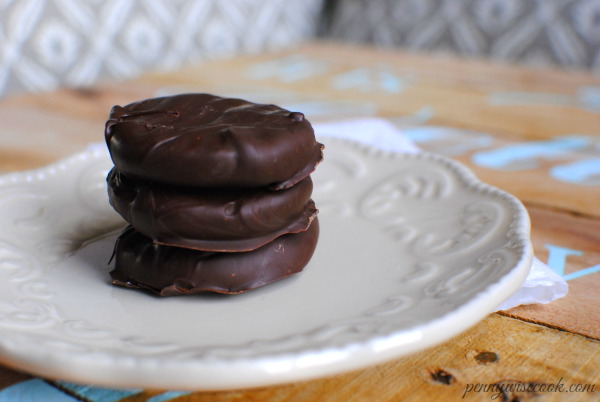
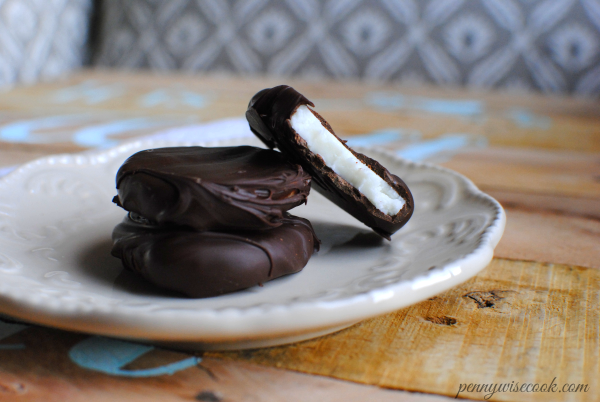
Chocolate.
Marshmallow.
Mousse.
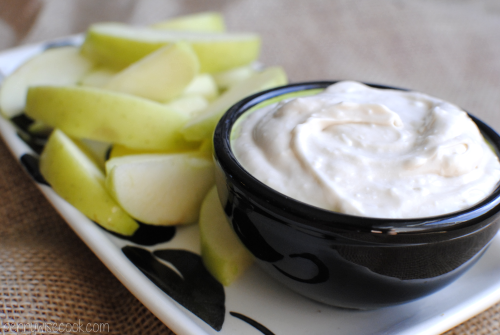
Need I say more? This mousse tastes very similar to Jason’s Deli’s chocolate mousse that you find on the salad bar. One of my favorite parts of going there.
It’s easy to make so the kids can help. And I love how light and fluffy it is. A great summer treat!
Chocolate Marshmallow Mousse
2016-04-07 11:11:03
Ingredients
- 7 oz Milk Chocolate Bar (We used several smaller ones)
- 1 and 1/2 miniature marshmallows
- 1/3 c milk
- 1 c whipping cream (chilled)
Instructions
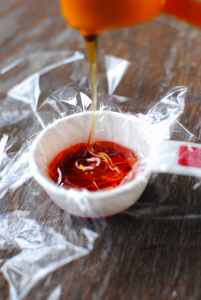
- Place chocolate, marshmallows and milk into a large bowl. Microwave on high for 1 minute.
- Stir until melted. It's alright if the marshmallows aren't all melted. Set aside to cool to room temp.
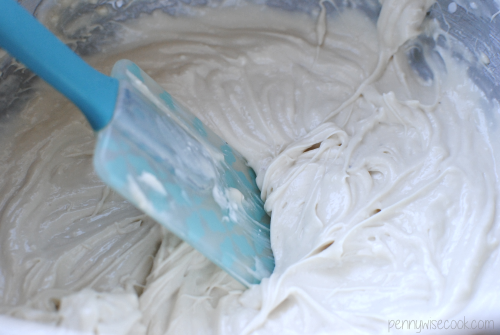
- Beat the whipping cream until stiff. Carefully fold into chocolate mixture until combined. It will lighten up.
- Pour into serving dishes and chill for 1-2 hours. Serve and enjoy!
Adapted from Four Ingredient Cookbook
Adapted from Four Ingredient Cookbook
Pennywise Cook http://www.pennywisecook.com/

Like this post? SHARE it!
 |


