No-Bake Strawberry Icebox Cake

It’s been a bit of a crazy week around here. It’s like it appointment season or something. We’ve had all kinds of appointments lately. And that means driving around a lot of leaving the house a complete mess between events and plans. That ended today. I was determined to get this place in order. When it gets warmer outside I always get a bit crazy on the house. There’s something in the air that compels me to do this.

Do you do a big spring clean?

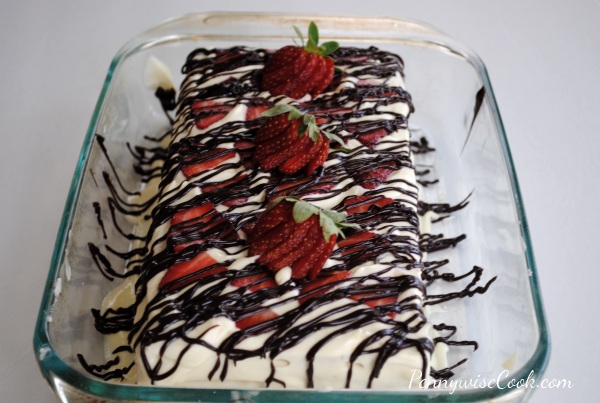
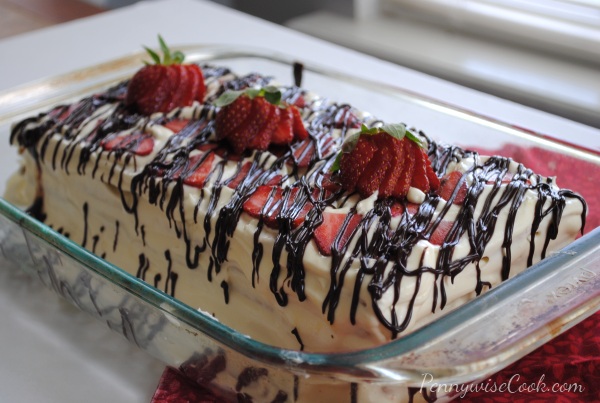
You know it’s spring when strawberries start getting cheaper. Aldi had them priced at $.49 the other day when I was in there. I about fell out on the floor when I saw that price. So of course, I did my little happy dance walking out with a few pounds of fresh strawberries. I knew I had to make something incredible. I came across this amazing looking No-Bake Strawberry Icebox Cake at The Kitchn and I immediately knew this was what I was going to whip up. It just does not get better than a cool, refreshing cake with strawberries, whipped cream, graham crackers all drizzled with chocolate. I made a few changes to that recipe to make it a little easier.

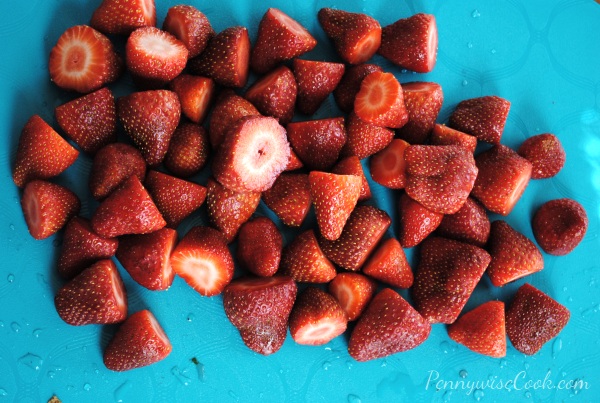
Strawberries are such a beautiful site aren’t they? I was cutting their stems off and just had to snap this picture. Can’t you almost taste them? Reminds me of summer.

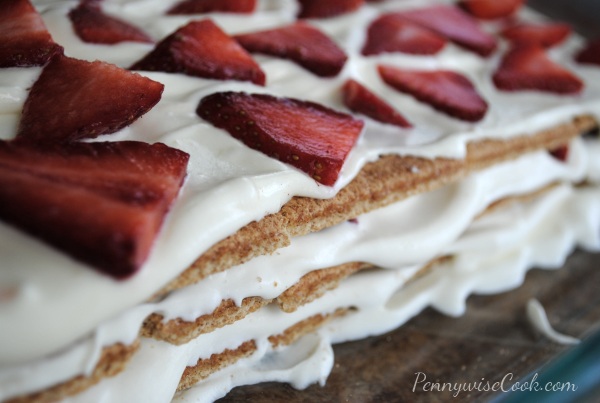
This cake is SO incredibly easy to make. I think it’s kinda funny that it’s called a cake. It doesn’t need any eggs, sugar, or even flour. It’s a simple process of layering a yummy combination of pudding and whipped cream with slices of fresh strawberries and graham crackers. That’s pretty much it! The idea is that as this sits in the refrigerator (“icebox”) that the graham crackers will soften up and become like cake. And they do!

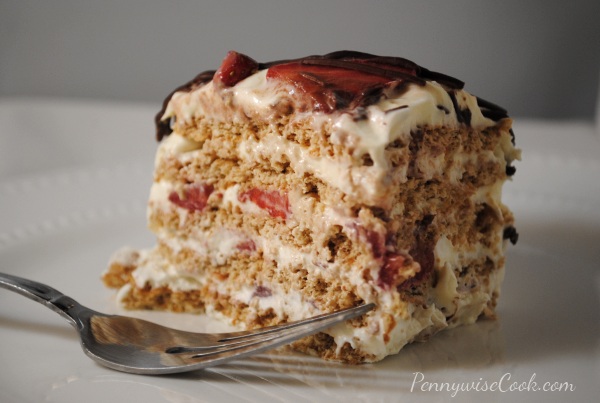
Here’s a picture to give you an idea. This cake just simply doesn’t last at my house. It makes a HUGE 9×13 pan of yumminess, but we always go through it within a couple days. I don’t feel bad though, I always use reduced fat graham crackers, sugar free whipped cream, and sugar free pudding mix. So you could call this healthy too!

This cake makes a really great dessert to serve when you have company. It looks fancy, tastes amazing, won’t bust your diet, and best of all you won’t break a sweat making it! I highly encourage you to try this one. You won’t regret it, I promise!

Adapted from The Kitchn’s recipe.
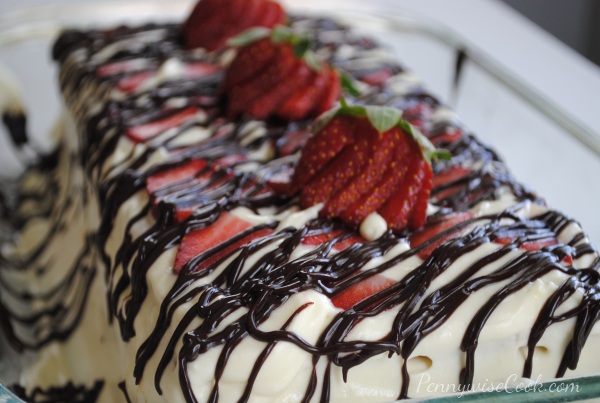
No-Bake Strawberry Icebox Cake

No-Bake Strawberry Icebox Cake

This yummy No-Bake Strawberry Icebox Cake is easy, fun, and especially yummy. Looks fancy without a lot of work!

Ingredients

  • 1 pound fresh strawberries, washed
  • 1 tub whipped cream, divided
  • 1 Package Vanilla (or your choice of white pudding)
  • 2 Cups Cold Milk
  • 24 whole graham crackers
  • 1/4 c. semi sweet chocolate chips

Method

  1. Take a couple of the best looking strawberries out for garnish later on. Remove the stems and cut the strawberries into thin slices.
  2. Make up the pudding according to the package. Most will call for 2 cups cold milk. Place in the refrigerator to set a few minutes. Once thickened, gently fold in the whipped cream. Reserve 2 tablespoons for the chocolate topping.
  3. Spread a spoonful of the whipped cream on the bottom of a 9x13 pan. Place 5 graham crackers across in a line.
  4. Lightly cover the graham crackers with more whipped cream. Add a single layer of strawberries across. Then top them with more graham crackers. Repeat this process until you have 4 layers. On the 4th layer use the rest of the whipped cream leftover by covering the sides if desired. Finish the layers off with strawberries.
  5. For the topping, melt the chocolate chips in a double boiler. You could also microwave them if you feel confident. Mix in the 2 tablespoons of whipped cream that was reserved until smooth and shiny. Place the chocolate into a ziploc bag and snip off the very tip. Drizzle the chocolate across the cake.
  6. Top with your whole strawberries for garnish and refrigerate cake for at least 4 hours.

Notes

When it comes to pudding for this cake, I think white chocolate is a winner! You could also use cheesecake. That might be really yummy too.

Note- I don't completely cover each layer in strawberries. I just evenly distribute a little here and there. The other recipe called for 2 pounds, but I liked it just fine with 1 pound.

Feel free to use whatever type chocolate chips that you'd like. I'm going to be making one of these soon with white chocolate chips. I think that would be yummy with the white chocolate pudding.

http://www.pennywisecook.com/no-bake-strawberry-icebox-cake/


Like this post? SHARE it!

Related Posts Plugin for WordPress, Blogger...

Milky Way Granola Bars

You guys know how I get my cravings. Usually they spark a recipe invention and interesting concoctions. They are sometimes fabulous and other times complete fails. The other night I got a wild hair. I came across a recipe for making cookies out of Reeses cups and an egg. So I thought I wonder if I can do the same with Milky Ways. Had I been using my brain it would have been obvious that the Milky Ways wouldn’t work because they are caramel and chocolate rather than peanut butter, but I had tunnel vision and was a bit determined.

So I set out to create Milky Way cookies by placing 24 fun-size Milky Way candy bars into the food processor with one egg. The result? very smooth and creamy chocolate-y and caramel-y mush. There was no way this was making a cookie. So I got innovative and created these granola bars out of the mush and boy were they tasty!

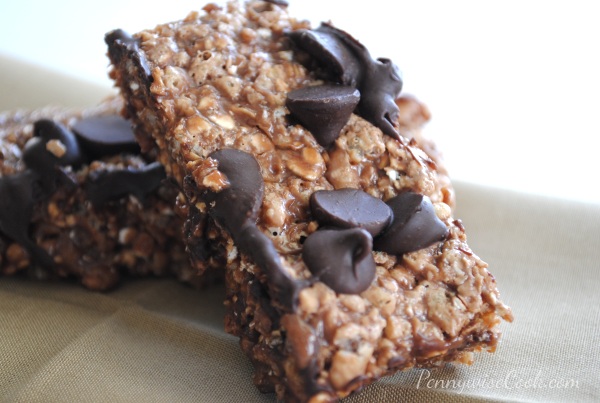
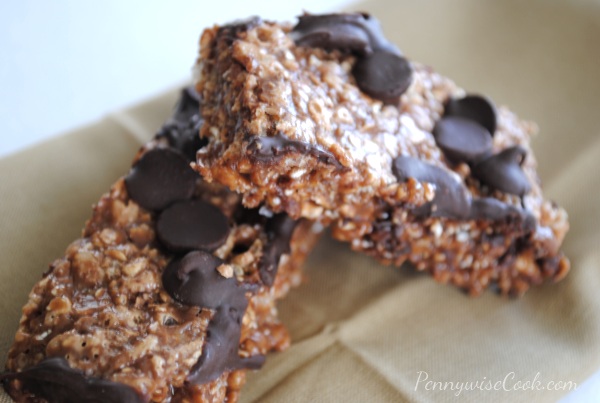
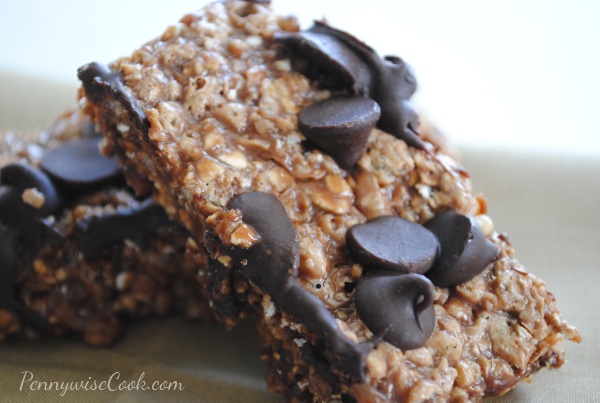
These Milky Way Granola Bars kinda resemble Little Debbie Star Crunches if you’ve ever had those. They are some of my favorite cookies.

Crunchy with a touch of caramel and chocolate, these aren’t your average granola bars. Don’t expect them to fill you up with protein or replace a meal, these aren’t exactly healthy. But we can pretend they are since they are, after all…..granola bars.

Milky Way Granola Bars

Milky Way Granola Bars

A twist on your average granola bar, these are indulgent and include a favorite candy bar!

Ingredients

  • 3 Packages of Fun-Size Milky Way Candy Bars (24 Total)
  • 2 c. Rice Krispies
  • 1 c. Quick Cooking Oats
  • 1 Egg
  • 1/4 c. Chocolate Chips

Method

  1. Preheat oven to 350 degrees. Spray a baking dish with nonstick cooking spray and set aside.
  2. Unwrap all the Milk Way candy bars and place in a microwave safe bowl. Microwave for about 45 seconds or until a little soft. You don't want to get them melted just a little softened so you can chop them in the food processor.
  3. Place the candy bars in the food processor and chop until there are no longer any big pieces. Add the egg and chop until smooth.
  4. In a large bowl, pour the smooth candy bar mixture along with the rice krispies and oats and mix well. Flatten into your baking dish using the back of your spoon.
  5. Sprinkle the chocolate chips evenly across.
  6. Bake for about 12 minutes. Let cool completely before cutting.

Notes

When flattening these into your baking dish, I find it helps to spray the back of my spoon or hand with cooking spray before hand. It keeps them from sticking.

After they bake, you might place them in the freezer or refrigerator for 15 minutes to give them a head start on hardening if you are in a hurry.

I find these stay together pretty well.

http://www.pennywisecook.com/milky-way-granola-bars/


Like this post? SHARE it!

Related Posts Plugin for WordPress, Blogger...

Gimme S’more Cookies

So I got a sweet tooth the other day. Actually, I get sweet teeth everyday. But by now, I’m sure you’ve figured that one out.

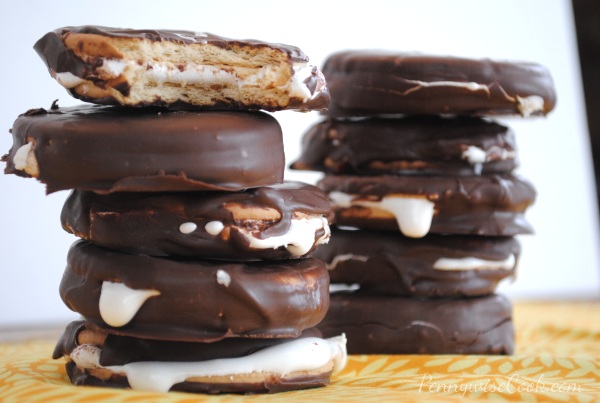
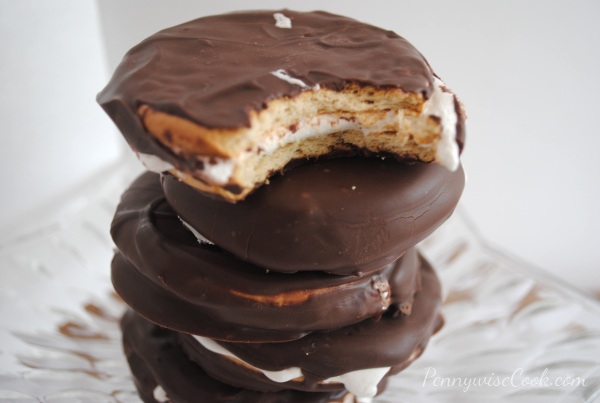
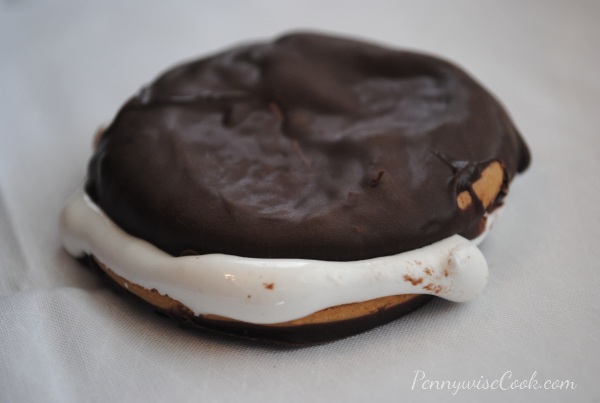
My latest sweet tooth led me to recreate homemade moon pies. You know, those graham cracker-y, marshmallow-y, chocolate-y cookie cake thingys that are incredibly yummy. They go really well with RC Colas too. They have a festival not too far from me called The RC and Moon Pie Festival. No joke. Each year, they create the world’s largest moon pie and it’s huge! There are sack races, hula hoop contests, and even live blue grass music. Everything that you’d expect from a quaint little festival. It’s really a lot of fun. If you’re in the Nashville area, it’s June 16th this year if you’d like to check it out.

The funny thing about this moon pie recipe adventure is that I didn’t end up making moon pie cookies. I was fully expecting the cookies to soften a little, but alas they did not. They tasted much more like S’mores instead. And I’m not going to lie, this accidental recipe was fantastic!

I think that my favorite part was that it didn’t cost a bundle to make these. The ingredient that cost the most was the Dolci Frutta Hard Shell Chocolate at $2.98. I found the round cookies at Dollar Tree. I believe they are called “Maria” cookies. I also got my marshmallow cream there. So all in all these cost about $5 to make. These cookies would make an awesome sleep over snack! And no need for a camp fire. Those can be dangerous anyways. 😉

These are incredibly easy, but most likely won’t last long if you leave them around.

Gimme S’more Cookies

Gimme S’more Cookies

Forget the fire and whip up some of these Gimme S'more Cookies!

Ingredients

  • 1 Package Round "Maria" Cookies (Or Shortbread Cookies)
  • 1 Tub Marshmallow Cream
  • 1 8 oz Canister Dolci Frutta Hard Shell Chocolate

Method

  1. Spread about 1 and 1/2 tablespoons marshmallow cream between two cookies. Repeat until all the cookies are gone. Place in the refrigerator for 45 minutes to 1 hour.
  2. Line a baking sheet with wax paper. (Or lay it out on the counter)
  3. Heat up Dolci Frutta according to the directions on the package.
  4. Take cookies out of the refrigerator and dip into chocolate. Place on wax paper and let cool.

Notes

It's necessary to put these into the refrigerator before dipping them so that the cookie and marshmallow can kinda fuse together and harden that way.

If you can't find the Maria cookies, even regular graham crackers would work just find. You'll have square cookies instead of round. Any sweet cookie would work just fine. These were fairly large.

http://www.pennywisecook.com/gimme-smore-cookies/


Like this post? SHARE it!

Related Posts Plugin for WordPress, Blogger...

Easy Chocolate Peanut Butter Fudge

We had a very good day today. Britton, my 9 month old, was in a very pleasant mood the entire day. And you know that always keeps momma in a good mood too. It was goregeous outside today so Addie got to play outside for quite  long time. And this was probably the first time that Britton ever got to go outside for a length of time. She absolutely loved it! Minus actually having to touch the grass (we kept her on a blanket), she was all about the outdoors. Her favorite part was the wind.

It was such a nice reminder of how we should take a minute every now and then to enjoy the small things in life. Like wind on our face and the sound of birds chirping. I know I sound a little silly, but I’m totally serious. With spring time around us, it’s such a beautiful time to really enjoy nature and the simpler things.

You know what else that I love anytime of year? FUDGE! I’m pretty sure that fudge is the cure-all for just about anything. It’s like an instant pick-me-up. There’s just something about that creamy and smooth texture that makes it enjoyable. I made a recipe for Two-Ingredient Peanut Butter Fudge over on Saving with Amy a while back. It only calls for two ingredients which makes it not only easy, but also extremely affordable as well. I decided to make up my own little recipe with this one as a base to kinda spice it up and make it a little fancier.

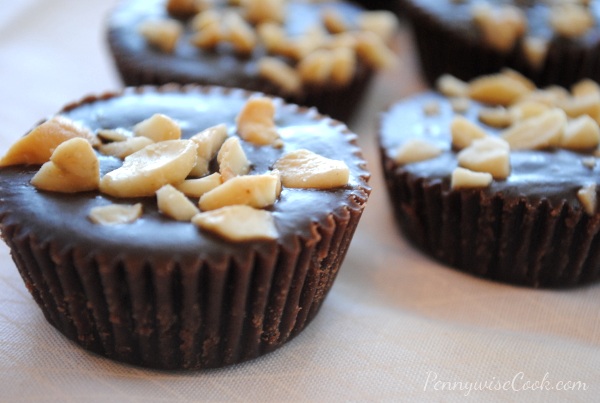
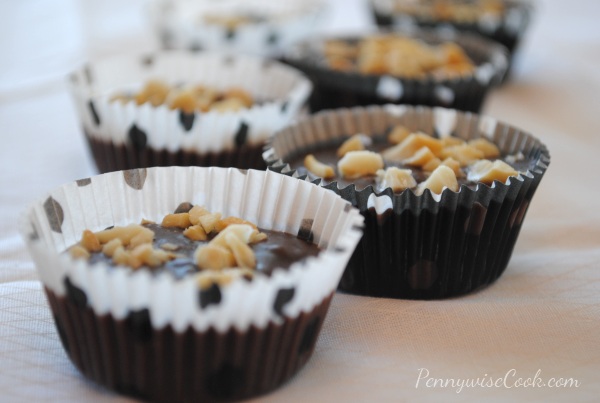
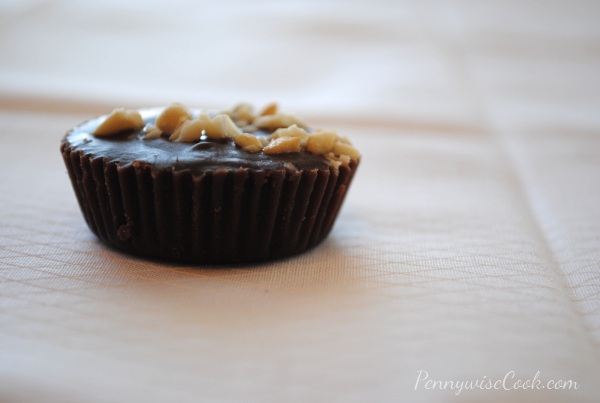
Mini muffin liners make the best fudge wrappers! They make them like little Reeses cups which is also really easy for serving. No sticky fingers and they look pretty too.

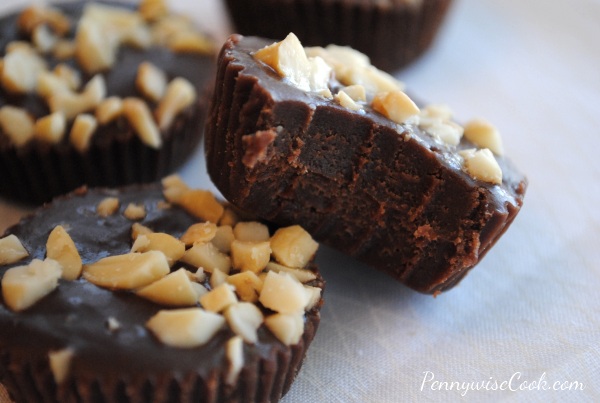
The two ingredient method works well, but it doesn’t stay firm for long periods of time. In putting together this Chocolate Peanut Butter Fudge, I wanted to add something to make it thicker and also keep it firmer. So I ended up adding some chocolate chips and cornstarch to the equation. I think it did a world of good for this fudge. And as you see, I fancied it up a bit with chopped cashews on top. This was the best fudge I’ve made! You might just like it too.

One of favorite things about this recipe is that you can actually make it healthy by using reduced fat peanut butter and use sugar free frosting! I haven’t tried this recipe with natural peanut butter before so I’m not sure that it will have the same consistency.

Easy Chocolate Peanut Butter Fudge

Easy Chocolate Peanut Butter Fudge

This super easy recipe for fudge is tasty, smooth, and perfect for "one of those days". Or any day!

Ingredients

  • 1 18 oz Jar Peanut Butter (Creamy or Crunchy)
  • 1 16 oz Tub Chocolate Frosting
  • 1/3 C. Chocolate Chips
  • 1 Tsp Cornstarch
  • 1 Tsp Water
  • Chopped Cashew or Walnuts (Optional)

Method

  1. Place peanut butter and chocolate frosting into a large bowl. Microwave for 1 minute. Remove and stir. Microwave for 1 more minute.
  2. Meanwhile, dissolve the cornstarch into the tsp of water.
  3. Melt chocolate chips in a double boiler (or microwave them to melt)
  4. Remove the fudge mixture from the microwave and stir in the cornstarch and melted chocolate chips.
  5. Pour into mini muffin liners or pan. Top with chopped nuts.
  6. Freeze for 45 minutes to help set quickly.

Notes

Melting the chocolate chips isn't a must. I haven't tried leaving them whole, but I'm sure that it would be tasty even if they didn't melt. Freezing the fudge is not absolutely necessary, but I find it helps it to set better. The peanut butter that you use is completely up to you. I love creamy because it makes the fudge smooth, but by all means if you like things crunchy, crunchy peanut butter works just as well.

http://www.pennywisecook.com/easy-chocolate-peanut-butter-fudge/


Like this post? SHARE it!

Related Posts Plugin for WordPress, Blogger...

Berry Tasty Blueberry Cheesecake

I know that the title of this post is a little cheesy. Lookie there I did it again. I crack myself up! I hope that your weekend was nice! I always love lazy Saturdays. After about 10 of them in row where we had something that we wanted to organize, clean, etc. it’s nice to have one that is spent just doing whatever. Like painting toenails or taking a walk. Or doing the laundry which is technically still cleaning, but instead of actually taking them out the dryer you leave them so you don’t have to fold them.

My latest laundry epiphany is that we actually have a laundry basket! Came across it in the closet the other day. Those are quite handy when transporting clothes from one room to another you know. Don’t you just hate when you go to pick up a pile of clothes from the bed or floor that one sock that likes to jump ship? Then you lean down (with your hands full of clothes) to pick up that one sock and then more things fall from the pile?

I sometimes feel like that about things in life. It’s like you work so hard to organize your house, plans, relationships (etc), only to have pieces of it fall apart. But you know what? If you put it off, you’re just stuck with stinky laundry so you have to deal with it some time! Wow, leave it to this mom to compare life to a pile of dirty laundry.

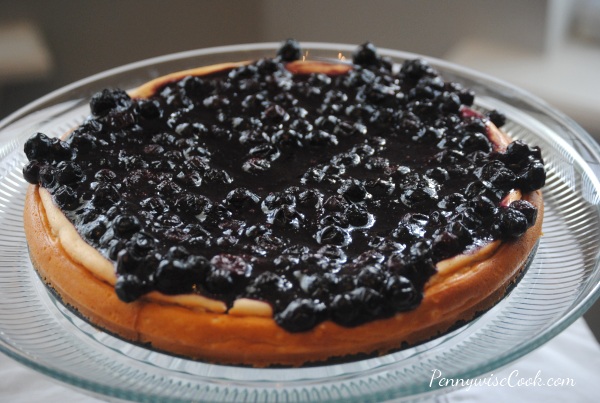
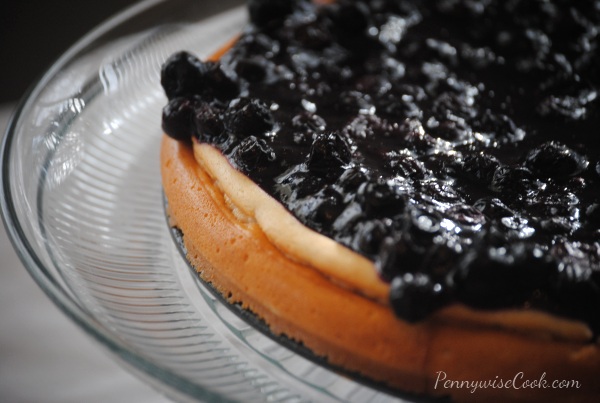
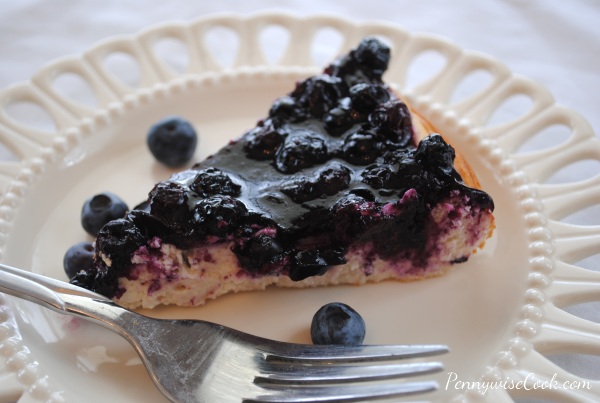
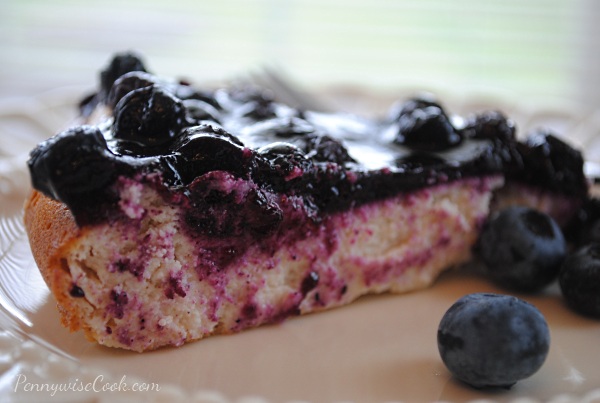
Ok on to the cheesecake! Oh yeah, creamy and light cheeeesecake…with blueberries on top!

I have to admit, I’ve never made a cheesecake that goes in the oven before this. Most of them are made of puddings and cream cheese and are just refrigerated. Don’t get me wrong, those are yummy. But I just kinda wanted to make one completely from scratch and feel that sense of accomplishment.

Blueberry Cheesecake

To the drawing board (aka Pinterest and Google) I went! I searched for a recipe that didn’t seem to difficult, but presented a fair challenge. And as always, I wanted something that was lower in calories and healthier than most. I ended up finding this recipe over at Hungry Girl and boy am I glad that I found it! This recipe was not only easy, but it also tasted like a million bucks.

We had my mom and stepdad over for dinner one night and I served this for dessert. They never figured out that it was a healthy version of an otherwise unhealthy cheesecake. I love recipes like that.

Recipe courtesy of Hungry Girl.

Berry Tasty Blueberry Cheesecake

8 Slices

Serving Size: 1 Slice

168

Berry Tasty Blueberry Cheesecake

This light and fluffy cheesecake is topped with very berry blueberries and is sure to impress!

Ingredients

    For the Cheesecake
  • 16 oz. fat-free cream cheese, room temperature
  • 1/2 cup granulated sugar
  • 1 tsp. vanilla extract
  • 6 oz. (about 3/4 cup) fat-free vanilla Greek yogurt, room temperature
  • 3 large egg whites or 1/2 cup liquid egg whites, room temperature
  • 2 tbsp. lemon juice, room temperature
  • 2 tbsp. all-purpose flour
  • 1/4 tsp. cinnamon
  • For the Topping
  • 2 cups frozen unsweetened blueberries
  • 2 tbsp. granulated sugar
  • 1 tbsp. cornstarch
  • 1/4 tsp. cinnamon
  • Dash salt

Method

  1. Preheat oven to 350 degrees. Spray a 9? springform pan with nonstick spray and set aside.
  2. Combine cream cheese, sugar, and vanilla extract in a large bowl. With an electric mixer, beat until smooth.Gradually add yogurt, egg whites, lemon juice, flour, and cinnamon. Beat until thoroughly mixed, about 2 minutes. Evenly pour mixture into the pan.
  3. Bake 40 – 45 minutes, until firm. Set cheesecake aside and allow to cool in the pan.
  4. Meanwhile, bring a medium-sized pot to medium-high heat. Add all topping ingredients. Add 1/2 cup cold water and mix well. Bring mixture to a boil, and then reduce heat to low. Stirring occasionally, simmer until the mixture is thick and gooey, 2 – 3 minutes. Remove from heat and let cool.
  5. Once both the cheesecake and the topping have completely cooled, evenly pour the topping over the cheesecake in the pan. Refrigerate for at least 1 hour, until fully chilled.
  6. Enjoy!

Notes

Be sure to let all of your cold ingredients come to room temp before incorporating them. This helps to prevent your cheesecake from cracking. I learned this one the hard way!

http://www.pennywisecook.com/berry-tasty-blueberry-cheesecake/


Like this post? SHARE it!

Related Posts Plugin for WordPress, Blogger...

Mini White Bread Cinnamon Rolls

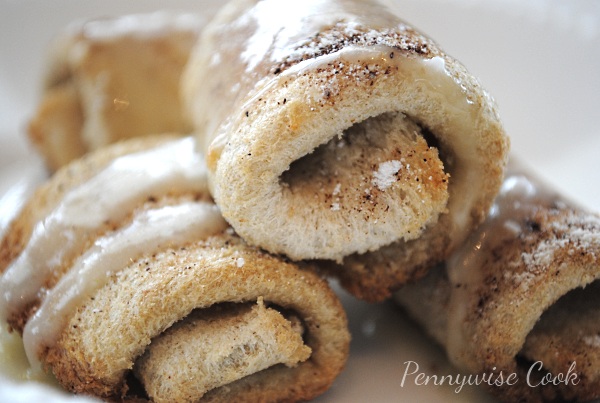
So who knew that the best thing since sliced bread would be itself? I really love finding ways to use things that I already have around my house to make easy and awesome snacks. I would totally put these into the awesome category. I mean they are cinnamon rolls made from regular old plain jane white bread. Before you get too excited, just note that these aren’t as magnificent as Grands!, they are small and dainty. But they will definitely suffice in a pinch and make the kiddos just as happy for sure.

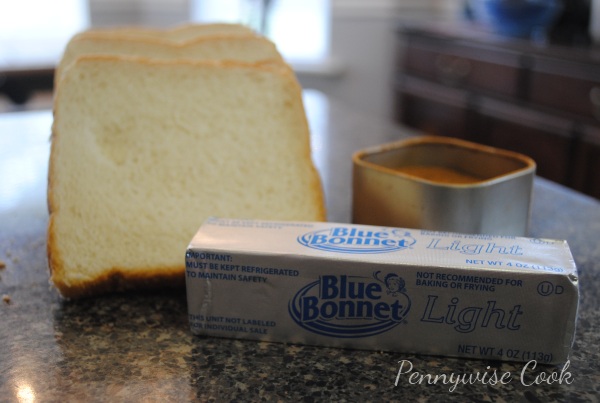
Ya got your butter, your cinnamon sugar, and your loaf of bread. And if you want that yummy glaze for them you’ll also need powdered sugar that’s not pictured here. Use your magic wand (I have one, don’t you?) and voila! Cinnamon rolls!

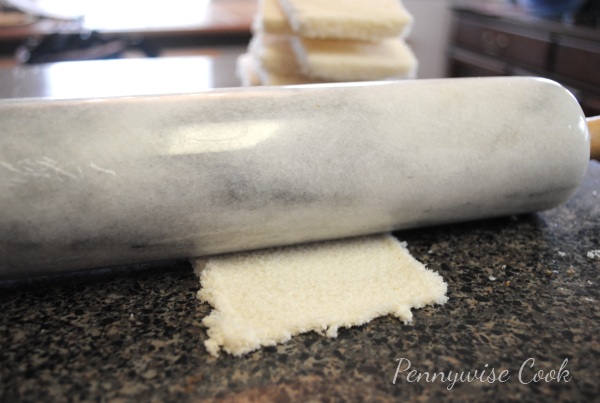
Cut the crust off of each slice of bread and use a rolling pin or heavy can to flatten them out. The better you are at cutting the crusts off, the more roll you’ll have. I’m not amazing at it, but I’m working on it. Get them nice and flat, then use a brush or something like that to brush on some melted butter. You don’t want them to be swimming in it, but just enough to coat. Something for the cinnamon sugar to stick to.

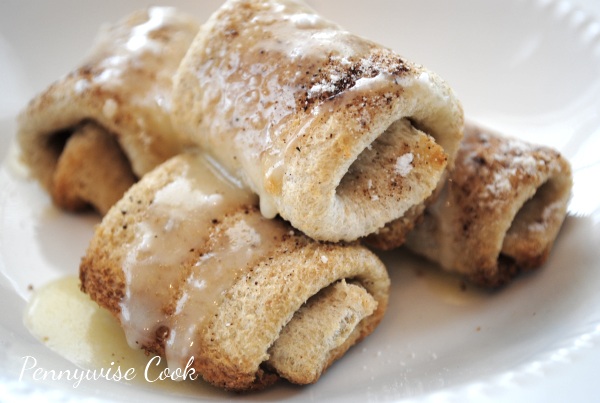
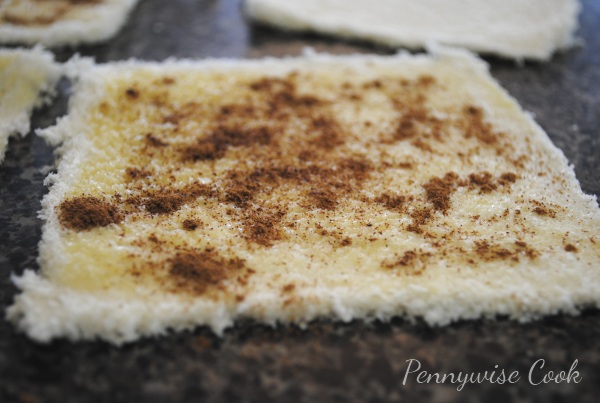
Then sprinkle the cinnamon sugar to your liking on the buttered and flattened bread. It is already looking fabulous. Fold each edge into the center and then roll them up. Place on a greased cookie sheet or in a muffin pan. I used a muffin pan to make sure they didn’t try to roll on me.

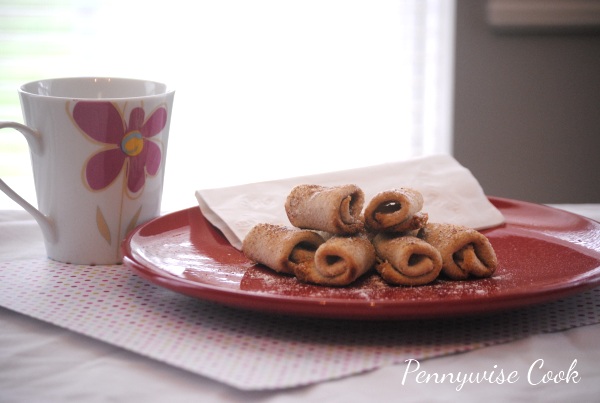
After baking them at 375 degrees for a little while, they come out crusty on the outside and little soft on the inside. Mix some of the melted butter with powdered sugar and you have a yummy butter glaze to drizzle over the top.

Recipe courtesy of Circle B Kitchen

White Bread Cinnamon Rolls

White Bread Cinnamon Rolls

Out of Pillsbury sweet rolls? Have a loaf of bread? Make your own mini cinnamon rolls in no time with this easy fix. Only 4 ingredients!

Ingredients

  • A dozen or so slices of soft white bread
  • Melted Butter (1/2 c. should be plenty)
  • Cinnamon Sugar
  • Powdered Sugar (optional for glaze)

Method

  1. Preheat oven to 375 degrees.
  2. Cut the crusts off the pieces of bread. Roll very thin with rolling pin or can.
  3. Brush both sides of the bread with melted butter. Then sprinkle one side with cinnamon sugar.
  4. Fold each side of the bread into the center, then roll up.
  5. Place onto greased cookie sheet or muffin tin. Bake for 15-20 minutes until they start to turn golden.
  6. Add powdered sugar to the leftover melted butter for glaze and drizzle over the top.

Notes

You can freeze these too! Although, they don’t stick around long enough to get frozen here.

http://www.pennywisecook.com/mini-white-bread-cinnamon-rolls/


Like this post? SHARE it!

Related Posts Plugin for WordPress, Blogger...

Peanut Butter & Banana Chocolate Chunk Cookies

I spend a lot of time in the kitchen. I really do. I love to experiment and create and when something turns out right, I feel a bit of accomplishment. Don’t you? I also have times when I follow a recipe to the letter and it comes out completely inedible. When this happens, I like to think that my kitchen might just be part of some freak gravitational or atmospheric region that causes my recipes to flop. But when it comes down to it, sometimes recipes just don’t work out. Of course it’s usually something small like a little too much of something or a little too little. I consider this to be learning and it often times gives me ideas.

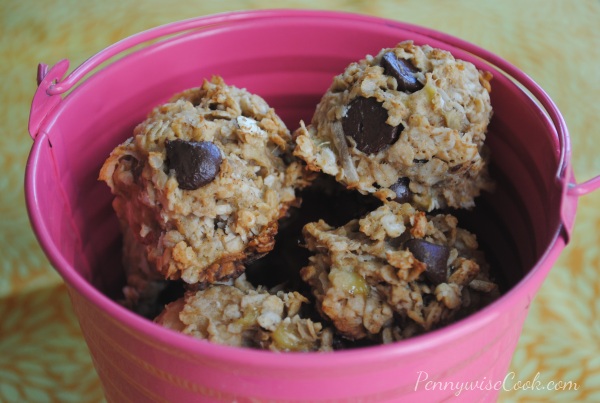
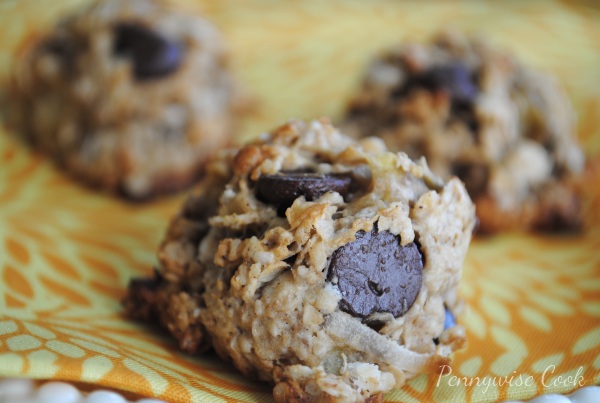
The cookies that I am sharing (found over at The Family Kitchen but originally from 101 Cookbooks) with you today are not flops, but they remind me of flops because they are basically a bunch of yummy ingredients that just so happen to be put together to create a really yummy cookie. Everything you want in a cookie and more.

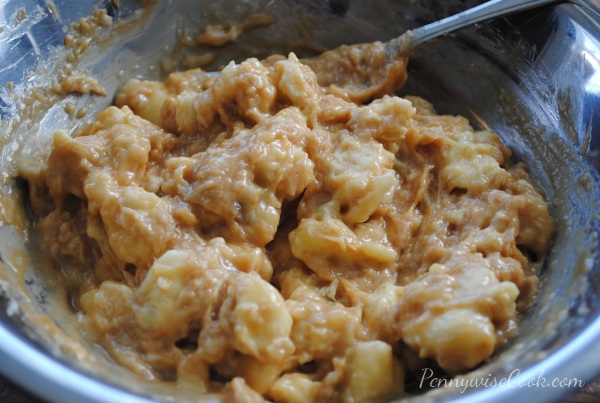
Just look at that bowl’s contents. Couldn’t you just dive right in?. Are you a peanut butter and banana fan? Oh you know I am! I’m starting to think about those Whole Wheat Peanut Butter & Banana Pancakes that I made. These cookies bring in a new ingredient that can only make those two even better- chocolate chips. There’s even a little coconut hidden in there. But shhhh don’t tell anyone. My husband still doesn’t know that these have coconut in them. It’s such a small amount and completely optional, but I think it adds a little something.

Peanut Butter & Banana Chocolate Chunk Cookies

Peanut Butter & Banana Chocolate Chunk Cookies

Peanut Butter's best friend banana got together with chocolate to create a craving-busting cookie!

Ingredients

  • 3 large, very ripe bananas
  • 1/2 cup peanut butter (preferably natural)
  • 1/4 cup canola or olive oil
  • 1 tsp. vanilla extract
  • 2 cups old-fashioned quick oats
  • 1/3 cup shredded coconut (optional)
  • 1 tsp. baking powder
  • 1/4 tsp. cinnamon
  • 1/4 tsp. salt
  • 1/2 – 1 cup chopped dark chocolate or chocolate chips

Method

  1. Preheat oven to 350?F.
  2. In a large bowl mash bananas with the peanut butter, oil and vanilla.
  3. In a different bowl stir together the oats, coconut, baking powder, cinnamon and salt. Add the dry ingredients to the wet ingredients along with the chocolate and stir until combined.
  4. Drop spoonfuls of dough onto a parchment or Silpat lined baking sheet, or one that is sprayed with nonstick spray, and bake for 12-14 minutes, until just set.

Notes

If you want these to come out flatter more like cookie, then you'll need to flatten when placing them on baking sheet. They don't rise very much and pretty much keep their shape the whole time. Makes 2 and 1/2 dozen cookies.

http://www.pennywisecook.com/peanut-butter-banana-chocolate-chunk-cookies/

I was really impressed with these. They’ll make regular appearances around here.


Like this post? SHARE it!

Related Posts Plugin for WordPress, Blogger...

Incredible Salted Caramel Brownies

I hope you enjoyed your weekend. We had a BLAST on our anniversary trip to Memphis. We got a massage and got to eat at two of our favorite places in the world- Bahama Breeze and Benihana. We don’t have either of those around here so it’s rare that we get to go. They did not disappoint! I only strive to have my chicken fried rice come out even halfway close to Benihana’s. It’s fabulous.

I’m not scared of heights (I think), but our hotel room was on the 22nd floor. I had a little trouble going close to the window though because it was straight down it seemed. If you’re ever in the Memphis area, I do recommend the Hilton. The service was incredible and everything was perfect.

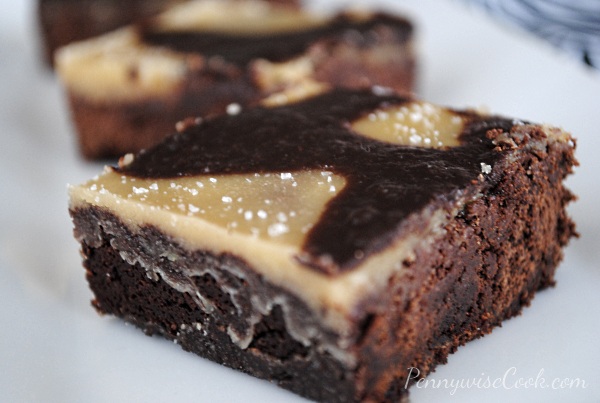
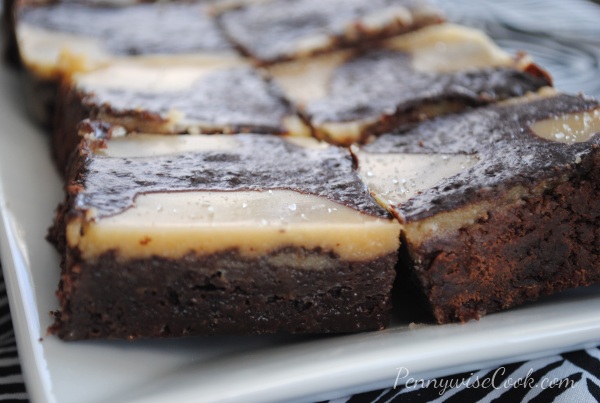
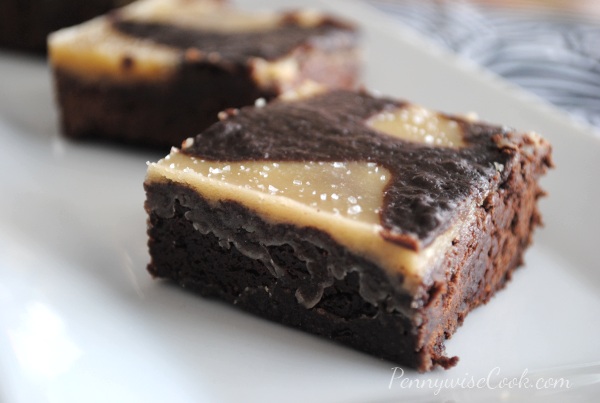
You know something else that’s perfect? Brownies! Not just any brownies either, Salted Caramel Brownies. I made these last week and I’m sitting here wishing there were some left. I can’t tell you that these are low calorie because that would just be telling a fib. But I can tell you that they are low-ER calorie. How’s that for satisfaction? One of these babies only has 180 calories. And believe me, one is plenty. (Yeah right)

I found these brownies over on Pinterest. If you’re not following me yet, you really should. I want to follow you back too! It only took one glance at them to know that I had to make them. As I clicked the picture and prepared myself to view a recipe that was loaded with calories, I was really surprised to see that this is a Cooking Light recipe. I was more than excited when I realized that there weren’t 500 calories per brownie.

My brownies didn’t end up looking exactly like the picture in the recipe and from the reviews it seems that no one has gotten them to look as pretty as the picture. However, who cares? They are so tasty and that’s all that matters. Salted caramel on top of a delicious chocolate brownie? I’m not sure that it gets any better than that.

Recipe courtesy of MyRecipes.

Salted Caramel Brownies

Salted Caramel Brownies

A salty caramel version of your every day brownie.

Ingredients

    For the Brownies
  • 3 19/50 ounces all-purpose flour (about 3/4 cup)
  • 1 cup granulated sugar
  • 3/4 cup unsweetened cocoa
  • 1/2 cup packed brown sugar
  • 1/2 teaspoon baking powder
  • 6 tablespoons butter, melted
  • 2 large eggs
  • 1 teaspoon vanilla extract
  • Cooking spray
  • For the Topping
  • 1/4 cup butter
  • 1/4 cup packed brown sugar
  • 3 1/2 tablespoons evaporated fat-free milk, divided
  • 1/4 teaspoon vanilla extract
  • 1/2 cup powdered sugar
  • 1 ounce bittersweet chocolate, coarsely chopped
  • 1/8 teaspoon coarse sea salt

Method

  1. Preheat oven to 350°.
  2. Combine flour, sugar, cocoa, brown sugar and baking soda in a large bowl, stirring well. Combine 6 tablespoons butter, eggs, and 1 teaspoon vanilla. Add butter mixture to flour mixture; stir.
  3. Scrape batter into a square baking pan coated with cooking spray.
  4. Bake for 19 minutes or until a toothpick comes out with moist crumbs clinging. Cool in pan on a wire rack.
  5. Melt 1/4 cup butter in a saucepan over medium heat. Add 1/4 cup brown sugar and 1 1/2 tablespoons milk; cook 2 minutes.
  6. Remove from heat. Add vanilla and powdered sugar; stir until smooth. Spread mixture evenly over cooled brownies. Let stand 20 minutes or until set.
  7. Combine 2 tablespoons milk and chocolate in a microwave-safe bowl; microwave on HIGH for 45 seconds or until melted, stirring after 20 seconds. Stir until smooth; drizzle over caramel.
  8. Sprinkle with sea salt; let stand until set. Cut into squares.

Notes

You can add more salt as you see fit. I think I ended up adding about a tablespoon since I like things a bit salty when mixed with sweet.

http://www.pennywisecook.com/incredible-salted-caramel-brownies/

There are the perfect thing to bring along to a cookout or gathering. They will most definitely be a hit!


Like this post? SHARE it!

Related Posts Plugin for WordPress, Blogger...

Easy Caramel Banana “Banoffee” Pie

My husband and I went to England a little over a year ago on the most amazing trip. It was for his work, but I got to gallivant around and it was pretty incredible. I really enjoyed taking in their culture and how similar, yet so different that country is. One thing that I really loved about the UK is that they are really big on Indian food there. I’m a big fan of Indian food. Kinda ironic considering that I really don’t like spicy food. I always order everything mild.

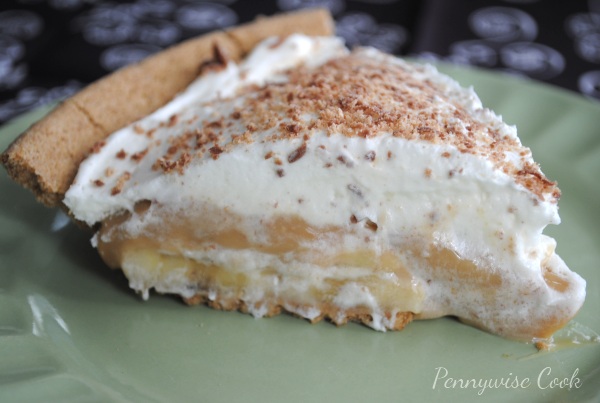
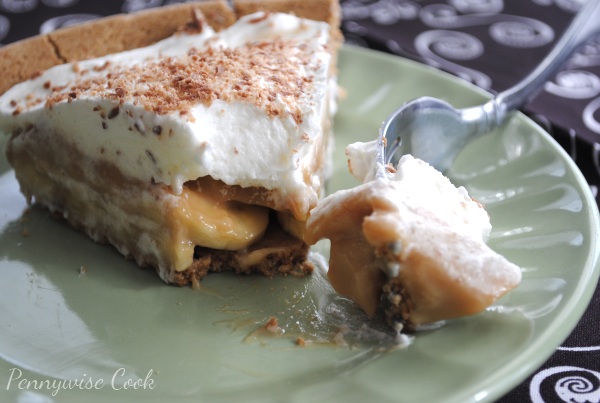
You’re probably wondering what this gorgeous pie has to do with England. This is a pie that originated in England known as a “Bonafee” pie. It comes from the words banana and toffee put together. For years, I’ve been making caramel pies very similar to this and never once thought of putting bananas with it. But boy is it yummy!

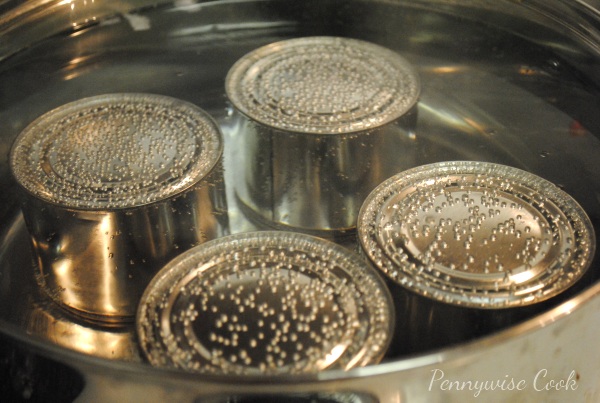
This pie is incredibly easy. Like, you wouldn’t believe how easy. You simply need a can of Sweetened Condensed Milk to boil. In about 2 hours, it turns to caramel! Yeah, it’s really that simple. You can even use fat free sweetened condensed milk. This part of the pie is the most time consuming and takes a little babysitting. You’ll want to make sure that the cans stay completely submerged the entire time. You have to add hot water just about every 30 minutes during the 2- 2.5 hours.

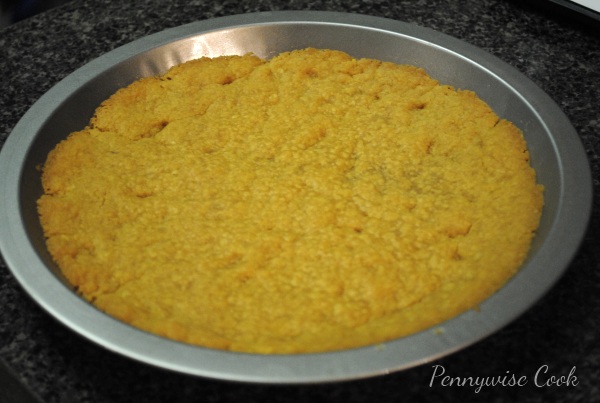
Making your own crust is super simple too. I bought some shortbread cookies at Dollar Tree and popped them into the food processor. I ground them up until they were crumbs and then added in some melted butter and pressed that mixture into a pie pan. Bake that for about 10 minutes and you have a 2-ingredient homemade pie crust! Just about any cookies will work for this crust- shortbread cookies, vanilla wafers, even biscotti!

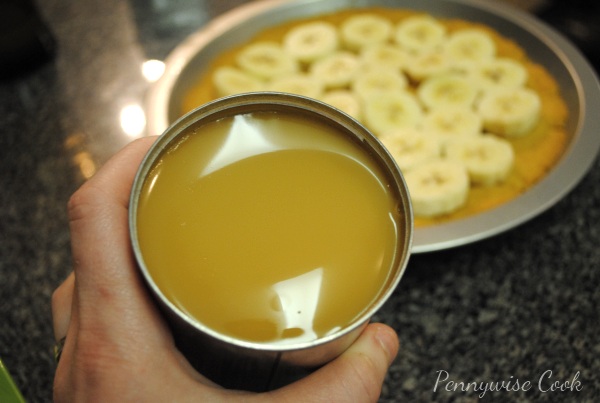
Once your sweetened condensed milk is done boiling it will look like this. Place a few sliced bananas into your pie crust. Then…

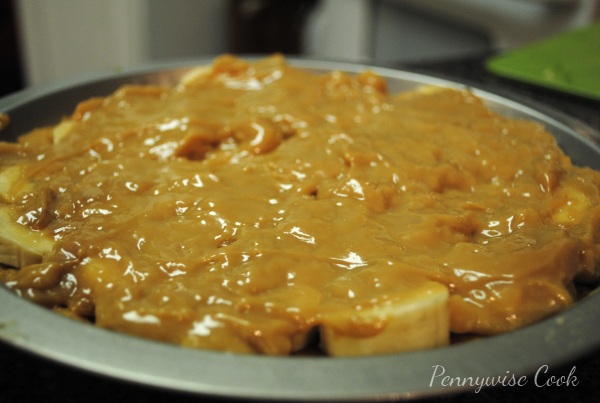
..Spread the caramel over the bananas. It’s difficult not to dive into this pie already!

Top it with some whipped cream (or homemade if you’re adventurous) and shave a little chocolate over the top. It’s best to let it chill for about an hour in the refrigerator for it to set. This pie is extremely easy to make and tastes like you put lots of work into it!

Adapted from Brooklyn Limestone’s Recipe

Easy Caramel Banana “Banoffee” Pie

Easy Caramel Banana “Banoffee” Pie

Sweetened Condensed Milk magically turns into caramel in this delicious caramel banana pie! Use Fat Free Sweetened Condensed Milk and a Reduced Fat Graham Cracker Crust for a healthier version.

Ingredients

    Pie Filling
  • 1 Can Sweetened Condensed Milk
  • 2-3 Bananas, Sliced
  • 1 Graham Cracker Crust (Or See Below for Homemade Recipe)
  • 1/2 Package Whipped Topping
  • Chocolate Bar for Topping (Optional)
  • Pie Crust
  • 1 Package Shortbread, Graham Crackers, or Cookies of your choice
  • 3/4 Stick butter, Melted

Method

    To Make the Pie
  1. In a large pot of water, place can of sweetened condensed milk. Make sure there is about an inch to 2 inches of water above the can.The can must remain completely submerged the entire process. Boil the sweetened condensed milk in a rolling boil for at least 2 hours.
  2. When the can is done boiling, turn off the burner and remove from pot. Let cool for 5-10 minutes.
  3. Place sliced bananas into the bottom of your crust. Carefully open the caramel can and spread over the bananas.
  4. Spread the whipped topping over the caramel. Shave chocolate bar over whipped topping.
  5. Refrigerate for at least 1 hour before serving.
  6. For Homemade Pie Crust
  7. Place cookies into food processor or blender. Chop until cookies are crumbs.
  8. Add in melted butter and combine mixture well.
  9. Press cookie and butter mixture with your hand into pie pan. Be sure to get up around the edges.
  10. Bake in oven at 350 for 10 minutes. Let cool.

Notes

You can get creative with your crust if making it from scratch. This pie would taste good in just about any kind. I think an oreo crust would be marvelous!

Also, to make a plain old caramel pie, just boil the two cans and throw it in a pie crust! Makes a super easy dish to bring along to a cookout!

http://www.pennywisecook.com/easy-caramel-banana-banoffee-pie/


Like this post? SHARE it!

Related Posts Plugin for WordPress, Blogger...

Green Velvet Cupcakes with Irish Creme Buttercream Frosting

I cannot believe that today is the first day of March! Where did the first two months of this year go? Time sure flies. It seems like every time I get into making food for one holiday, another one comes along. I guess that’s alright with me. I love making things, especially themed things.

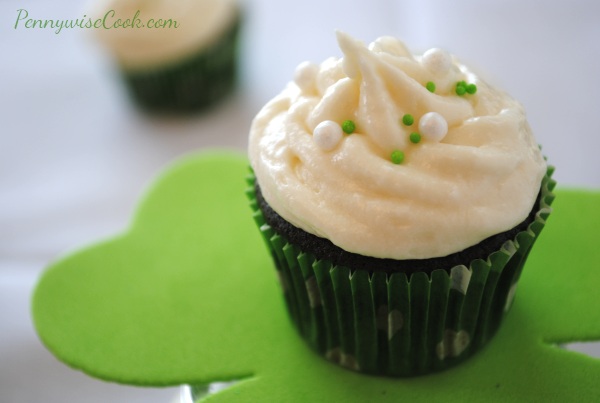
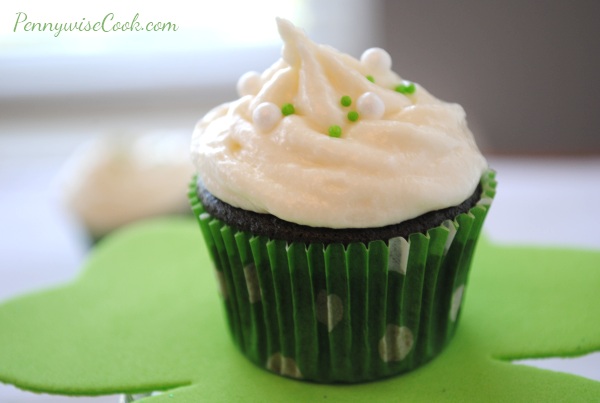
In honor of the day that we all get pinched (or preferably not), I made up some green velvet cupcakes. And if you guessed they are red velvet cupcakes in disguise, you’d be right. Just take your favorite red velvet cupcake recipe and use green food coloring in its place, simple.

The trick that makes these Irish is using Bailey’s Irish Creme in the buttercream frosting! It’s a highly recognizable flavor that really does make these feel festive. It’s like an Irish party in your mouth. Did I really just say that?

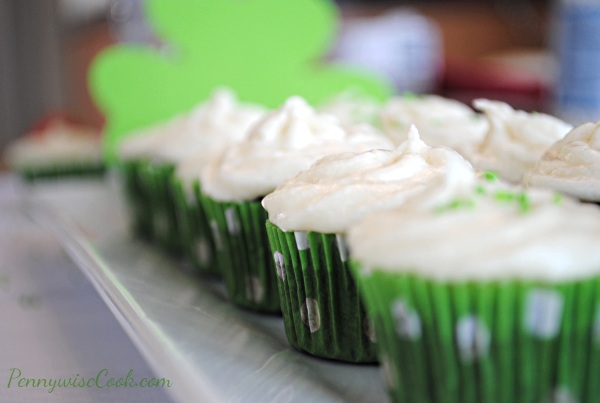
And you know me, I used a Hungry Girl recipe for these cupcakes to make them better for you. I also made most of them mini cupcakes so that I could eat more of them. 🙂 Don’t you feel more satisfied when you can eat two of something instead of just one? I do anyways. I was surprised to see hot cocoa mix in the recipe, but I really liked it. By the time that my husband tried them, he was asking me if they are supposed to be chocolate or vanilla. (For some reason the green color suppresses your body’s ability to determine flavor, not scientifically or anything but just my observation) I think they taste more chocolate than vanilla, but there is yellow cake mix involved which makes them part vanilla.

The frosting is your everyday buttercream with Irish Creme creamer (or liquor, your choice) as the milk part. Gives it a flavorful tang and makes you want to dance a jig like a leprechaun.

Cupcake recipe adapted from Hungry Girl.

Green Velvet Cupcakes with Irish Cream Buttercream Frosting

Prep Time: 30 minutes

Cook Time: 20 minutes

48 mini cupcakes or 24 regular cupcakes

Serving Size: 1 cupcake

Green Velvet Cupcakes with Irish Cream Buttercream Frosting

Give your red velvet cupcakes a green makeover for St. Patty's Day and top with Bailey's Irish Cream for a special Irish touch! These are yummy and festive at the same time.

Ingredients

    For the Cupcakes
  • 1 C. Yellow Cake Mix
  • 1 C. Chocolate Cake Mix
  • 2 Packets 25- Calorie Hot Cocoa Mix (Or Reg. if you don't care)
  • 1/2 C. Liquid Egg Substitute (or two eggs)
  • 1/4 Semi-sweet Chocolate Chips, Divided
  • 1 Tbsp Green Food Coloring *See Notes
  • 1 Tsp Splenda (1 Packet)
  • 1/8 Tsp Salt
  • For the Frosting
  • 1/2 Cup Butter (1 Stick)
  • 2 Cups Powdered Sugar
  • 1-2 Cups Splenda for Baking *See Notes
  • 3-4 Tbsp Bailey's Irish Cream (Creamer for non-alcoholic or Liquor for alcoholic)

Method

  1. Preheat oven to 350 degrees.
  2. Place 2 tbsp of chocolate chips along with contents of both cocoa packets in a tall glass. Add 1 and 1/2 cups boiling water and stir until dissolved. Place in mixing bowl. *See Notes
  3. Add the cake mixes, egg substitute, remaining chocolate chips, food coloring, splenda, and salt. Mix batter until smooth and blended well.
  4. Line muffin pans with liners and evenly spoon the batter into them. Bake for 15- 20 minutes. They will look shiny when they are done.
  5. Meanwhile, cream the butter and Bailey's Irish Cream together.
  6. Slowly add in the sugar and splenda until desired consistency is reached. If necessary, add more Bailey's to get it fluffier.
  7. Remove cupcakes from oven and let cool completely. Frost the cupcakes and add any desired decorations.

Notes

*For the food coloring, you may need to add extra. I think I ended up adding close to 2 tbsp to get my desired green color. It's tough changing a brown to a green.

* For the frosting, you can use all powdered sugar if you're not a fan of Splenda. I tried this for the first time and only using half of it as Splenda let the powdered sugar really take over so it didn't taste "fake".

* Lastly, Hungry Girl calls for you to freeze the cocoa and chocolate chip mixture for 30 minutes before adding it to the cake mixes. I did NOT do this and it turned out fine.

http://www.pennywisecook.com/green-velvet-cupcakes-with-irish-creme-buttercream-frosting/


Like this post? SHARE it!

Related Posts Plugin for WordPress, Blogger...