Glitter Grapes {Healthy Snack}

I have an addiction. Yes, let me just bust that confession out to you now. While if you’ve read this blog or Saving with Amy for any length of time, you know that I love sweets. Unfortunately, most of my cravings for them hit at night. No it’s not a good thing and yes I work my tail off at the gym! But this simply means that I try and make every attempt possible to make my sweets healthy.

Ahem, healthy-ER anyways.

Although sometimes you just need a dadgum hot fudge sundae….

TODAY is not that day. No, we are going to talk GRAPES today! And not just any grapes…….glitter grapes!

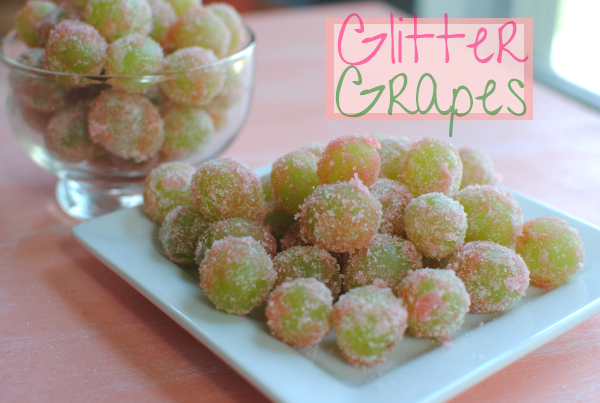
I already love them in their everyday form. Plump, sweet, and tasty without a thing done to them. However, after coming across this amazing idea at Pure Sugar, I love grapes about 100 times more. They only way to make grapes even better is to give them a bath and then roooooooooll their little grape bodies in a pile of sour jell-o mix!

Jell-o. Yep. So simple, yet so incredibly delightful. They have now been dubbed “Glitter Grapes” for their shinyness in the light. Also known as “sour patch grapes” because of the tang the jell-o mix gives them. Trust me, the kids will love them and unfortunately they might become your very next sweet addiction like mine. It really is just like eating candy.

But it’s A-OK because they are grapes and you cannot possibly feel bad about eating those can you? Naaaaaaah….
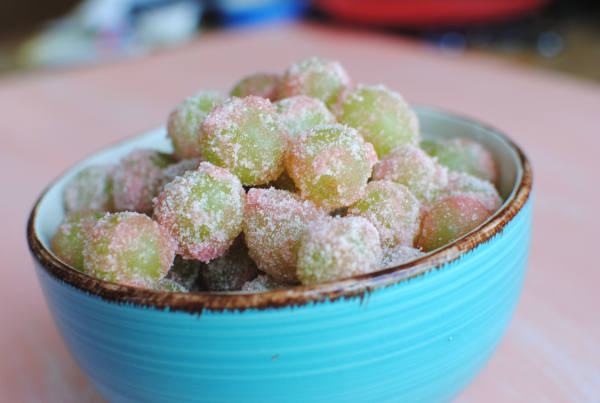
Glitter Grapes {Healthy Snack}

Glitter Grapes {Healthy Snack}

Enjoy a healthy snack of sour grapes that taste like candy!

Ingredients

  • 1 Pound Green Grapes
  • {Water}
  • Jell-O Mix

Method

  1. Rinse grapes in colander leaving some water on grapes.
  2. Place jell-o mix on a plate and roll grapes in batches through the mix.
  3. Refrigerate grapes for at least an hour for the jell-o to set.
  4. Serve and try not to eat the whole batch!

Notes

I used watermelon jell-o because the melon fusion that original recipe wasn't available at my store. However, I think the flavors that can be used is completely up to you! Whatever you fancy!

These would also be amazing FROZEN!

http://www.pennywisecook.com/glitter-grapes-healthy-snack/


Like this post? SHARE it!

Related Posts Plugin for WordPress, Blogger...

Healthy Granola Bars

Its incredible to me the amount of sugar that are in things these days. It’s almost like we humans have adapted to ginormous amounts of sugar and we just keep adding more and more to our foods. At the pediatricians office the other day, she told me that juice boxes are some of the worst things for children to drink. They are on up there with sodas! Come on, JUICE BOXES? Of all things that you expect to be ok for your kids. I was looking for juice boxes to take on an upcoming road trip and decided to take a gander at the nutrition label. 1 juice box had 24 grams of sugar! Insanity isn’t it?

Don’t get me wrong, I like my sugar. In fact, I’d much rather eat something sweet than savory any day. But I love when I can use natural sugars instead of globbing on cups of the granulated stuff.

Granola bars have long been one of my favorite snacks. Simple to grab and go and packed with nutrition. Well most of them at least. Plus, if there’s a chance that I get in a little energy and fiber then I’m all for it. This momma can really use all the help that she can get.

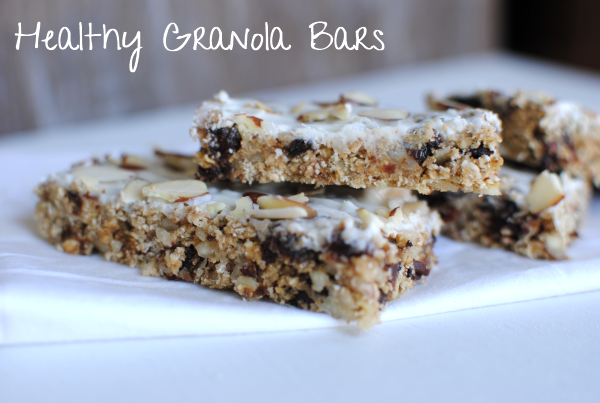
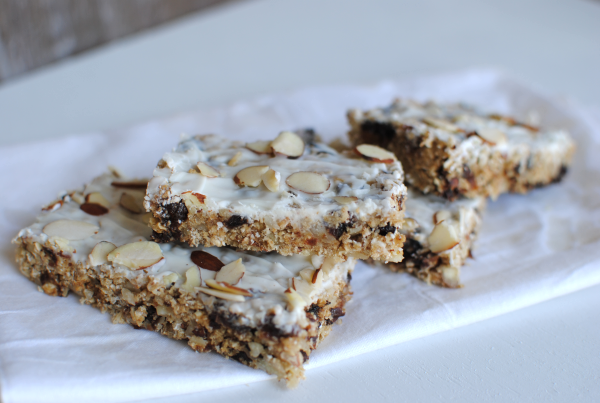
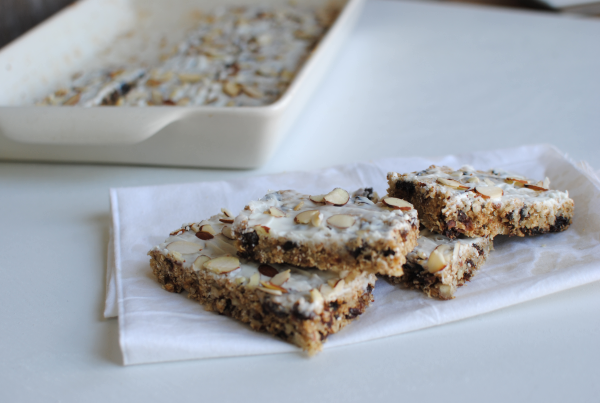
I found this High Fiber Granola Bar recipe and adapted it a bit. While the original didn’t call for any added sugar, I did top mine with a little white chocolate. And I do mean a little. I practiced a little self control and only added a very thin layer. These are packed full of grains and dried fruit along with some natural sweeteners like honey. They do require baking, which I’m sure might not sound pleasant to some of you. But if you have the time to bake these, I’m sure that you’ll like them too. And come on, you have 18 minutes right?

Minus the thin layer of chocolate on top, these are actually low in calories! Score! And my favorite part is that they are heartier than most granola bars. They don’t use rice krispies as filler, but instead use shredded wheat cereal to give you slow-burning carbs.

Recipe adapted from Fitho.

Healthy Granola Bars

Healthy Granola Bars

These granola bars are not only healthy and packed full of fiber, they are also quite tasty too!

Ingredients

  • 1 cup quick cooking oats
  • 1 cup shredded wheat cereal
  • 1 cup almonds + 1/4 c. almonds for topping
  • 1.5 cups raisins
  • 1/2 teaspoon ground cinnamon
  • 1/2 teaspoon salt
  • 3 eggs
  • 2 tbsp honey
  • 1 teaspoon vanilla essence
  • 1/3 c. white chocolate chips or almond bark, melted

Method

  1. Preheat the oven to 350°F. Grease a large baking pan and set aside.
  2. Place the oats, shredded wheat, 1 cup almonds, dried fruit, cinnamon, and salt in a food mixer until the mixture is finely chopped.
  3. In a large bowl, whisk the eggs, honey, and vanilla. Add the oatmeal mixture and stir, till its mixed evenly.
  4. Transfer to the baking pan and flatten down gently with the back of a spoon or spatula to spread evenly.
  5. Bake about 18 minutes until the edges turn golden brown and the bars are done.
  6. Remove granola bars from the oven and let cool completely. Meanwhile, melt your white chocolate chips (or almond bark) in the microwave or double boiler.
  7. Pour melted chocolate chips over the top. Sprinkle with remaining 1/4 c. almonds. Stick in the fridge to set until chocolate is firm.
  8. Cut into bars and serve!

Notes

You don't have to use raisins, you can use just about any dried fruit that you wish. Dates would be good or perhaps cherries.

When flattening the mixture into your baking pan, spray the back of your spoon with cooking spray to prevent sticking.

If you want thicker granola bars, use an 8x8 pan. I prefer thinner and longer bars so I used a 9x13 dish.

These are not that expensive to make since most are ingredients that you might have on hand. I got the shredded wheat at Dollar Tree and the Almonds at Aldi. Everything else I found in my own pantry.

http://www.pennywisecook.com/healthy-granola-bars/


Like this post? SHARE it!

Related Posts Plugin for WordPress, Blogger...

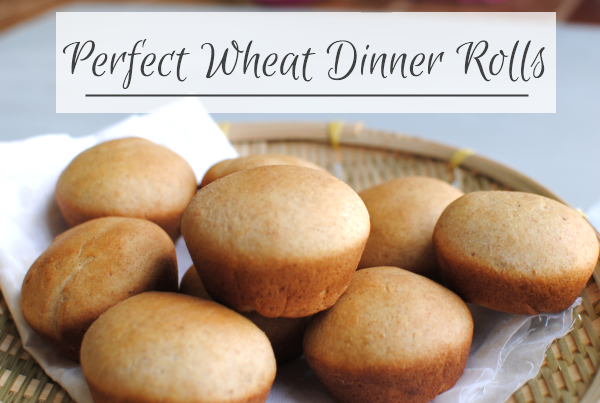
Perfect Wheat Dinner Rolls

I can’t think of anything better than a soft, warm dinner roll with melted butter slathered onto it to eat with my dinner. I’m a big fan of Sister Schuberts yeast rolls, but they aren’t so great for my hips so I avoid them at all costs. I can remember there was a point at which we had those with almost every meal at our house. We love them that much. Now I like to make sure we don’t double dose on carbs so I watch how many I include in our meals.

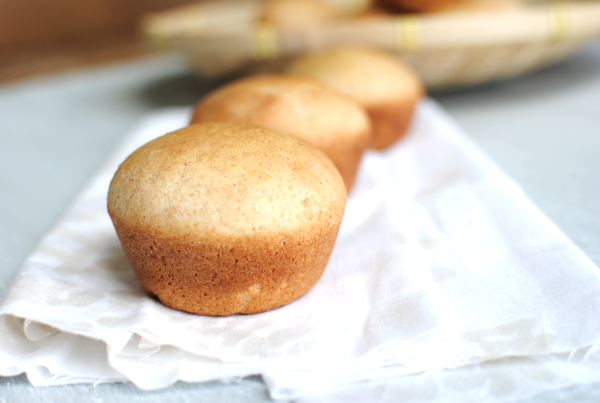
But rolls simply call my name sometimes. They taunt me with their bready and golden pillows of perfection. I smell their sweet, comforting scent that’s fill up the kitchen and feel compelled to grab the butter.

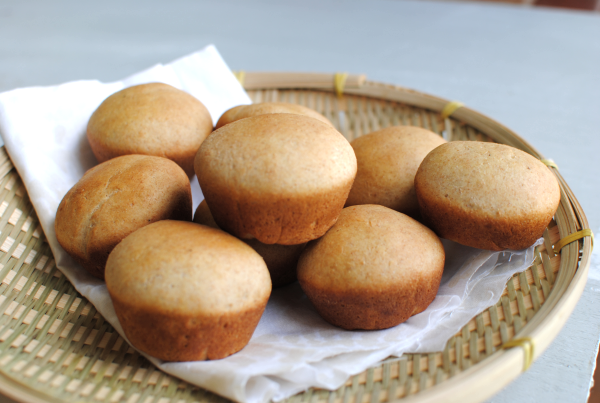
They remind me of potato chips in a way. There’s almost no way that I can eat just one. That’s why I at least try to make them a little more nutritious by making them wheat. I came across this Whole Wheat Rolls recipe at Salad in a Jar that looked easy enough and like it would make a great buns for some sliders that I was making. (Recipe to come!) So I decided to try it out and they turned out perfect!

And between you, me, and the fence post, I had a complete fail making wheat rolls just hours before I made this recipe so you can imagine my relief when these came out of my oven. It was funny too, because my husband came in to find these beauties while my disaster rolls were already at their fate in the trash can. I almost took a picture of them to show you. But I didn’t want you to be biased towards these, so I decided not to. 😉

If you’re looking for a wheat dinner roll recipe for sliders like I used them, or simply to complement your meal you should try this one!

Recipe courtesy of Salad in a Jar.

Perfect Wheat Dinner Rolls

Perfect Wheat Dinner Rolls

Warm and delicious whole wheat dinner rolls make a great addition to any meal!

Ingredients

  • 3/4 cup warm water
  • 1 egg
  • 1 teaspoon salt
  • 3 tablespoons honey
  • 3 tablespoons oil
  • 1 1/2 cup all purpose, unbleached flour
  • 1 1/2 cup whole wheat flour
  • 1 tablespoon vital wheat gluten (optional)
  • 2 1/4 teaspoons yeast

Method

  1. Preheat oven to 350 degrees.
  2. Add all ingredients (in order listed) to a stand mixer with a dough hook or to a bread machine.
  3. When dough cycle is complete or the dough is completely combined in your stand mixer, remove and shape into balls. For dinner rolls, place 2-3 dough balls into the wells of a muffin tin. For slider rolls, fill either 2 8-inch cake pans evenly OR place 1 dough ball into the well of a muffin tin.
  4. Cover pans with a damp towel and place in a warm place to rise for around 30 minutes.
  5. Bake for 10-12 minutes. Brush the tops with butter when you remove from the oven if desired.

Notes

Salad in a Jar describes using a bread machine to mix the dough for use. I don't have one so I opted for using my stand mixer and dough hook. It worked a lot better than I expected for mixing the dough. Just make sure that if you use your stand mixer to give it ample time to combine all the ingredients well.

Using a muffin tin will create the affect of a muffin roll so if you want your sliders to look less like muffins, the cake pan would be the way to go.

http://www.pennywisecook.com/perfect-wheat-dinner-rolls/


Like this post? SHARE it!

Related Posts Plugin for WordPress, Blogger...

Crockpot Hot Fudge Cake

We got bikes this weekend. I haven’t been on a bike since I was in high school. I had forgotten how much fun they are! But I also had forgotten how they can make your legs burn. As a runner I guess I figured they would be easier than running, but I may be wrong on that. Hills were killing me on my first 10 minutes on my new bike. It could be due to make lack of cycling experience or perhaps the fact that I was pulling a trailer filled with almost 70 pounds of child inside! Either way I’m looking forward to getting better at it and enjoying family time with them.

I like to run and I love going to the gym so any other exercise is just bonus. Bonus for working off extra desserts like this one here. Oh yeah, this most amazing CROCKPOT hot fudge cake! Cake is already good, but let’s talk about how EASY making it in the crockpot is.

Mix the ingredients.

Add them to your crockpot.

And cook it for a few hours.

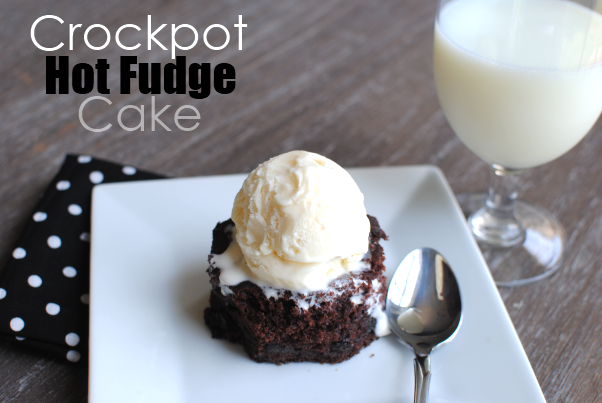
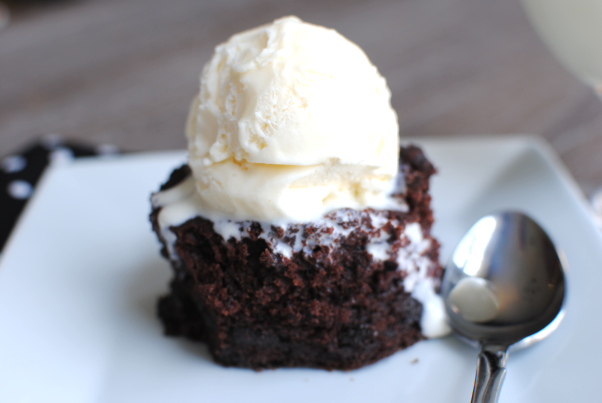
When you’re done, you’ll have a thick, yet fluffy and chocolate-y and ridiculously divine cake worthy of a massive scoop of vanilla ice cream.

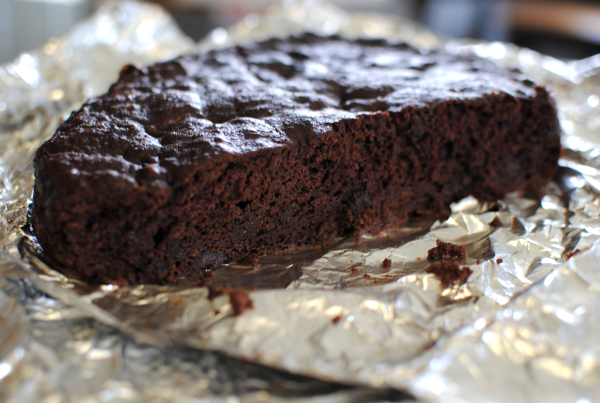
Lining your crockpot with foil is a great idea for this recipe. Not only does it make it easy to remove the cake, but it also reduces the need for cleaning.

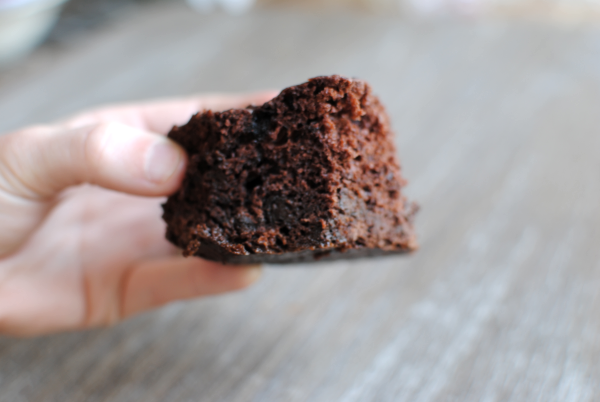
Do you see how thick that cake is? I’m not sure if this picture really captures how thick it is.

There, that’s better. THIS picture really gives a good view of the incredible mountain of cake that your crockpot will produce!

And oh wow is it yummy. Way too yummy actually. And it only gets better the longer that it hangs out in the foil.

I have a little secret to share about this cake. It’s actually healthy too. Made without any oil or butter and using ingredients that are low in sugar and calories, you can eat this without feeling too much guilt. My husband ate this for a few days before I told him it was a “healthy” cake. He was very surprised to hear that it was.

Recipe found at MyFitnessPal.

Crockpot Hot Fudge Cake

Crockpot Hot Fudge Cake

Warm, gooey, hot fudge cake that you create in your crockpot!

Ingredients

  • 1 box Devil's food cake mix
  • 8 oz plain Greek yogurt
  • 1 box sugar free chocolate pudding
  • 4 egg whites
  • 3/4 cup unsweetened applesauce
  • 3/4 cup semi-sweet chocolate chips
  • 1 cup water

Method

  1. Mix all ingredients in a large bowl until combined. Do NOT overmix.
  2. Grease crock pot (all the way up - it rises a lot!) OR make a sling out of foil for easy cleanup and removal.
  3. Cook on high for 3-4 hours. 4 hours worked well for me.
  4. Scoop into bowl while warm and add ice cream or frozen yogurt!

Notes

To make warm the next day, cut a piece and place in the microwave for about 30 seconds.

http://www.pennywisecook.com/crockpot-hot-fudge-cake/


Like this post? SHARE it!

Related Posts Plugin for WordPress, Blogger...

Crispy Caesar Chicken Wraps

Do you ever have those days when you start thinking about dinner and your mind just goes completely blank? This happens to me a lot so I do my best to prepare a meal plan for the week. Though we rarely actually stick to it. Most weeks I come up with my menu on my own, but some weeks I go to the family to see what they would like. I recently asked my husband if he had any suggestions for dinners and of all things that he could come up with, he asked for crispy chicken caesar wraps.

Yes, like the ones at Wendy’s. Very original right?

Honestly, he had a great idea. I love those things! He often gets those on his lunch breaks. He thinks they are “healthy”. You know, because they are wraps. And not burgers. I love man-thinking don’t you? I’ll just let him keep thinking that. But I did want to try and create them at home so that I could know exactly what was going into them and to make them healthier.

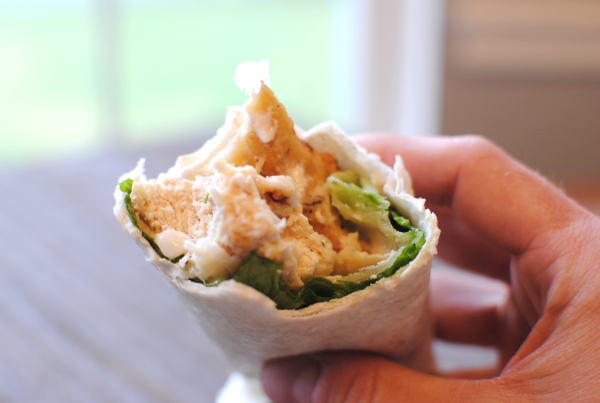
All I can say is YUM. Being a frugal person, I can’t tell you that these are going to be cheaper than spending the $.99 on ones at Wendy’s. But I can tell you that the ones you make at home will be bigger, homemade, and a bit healthier.

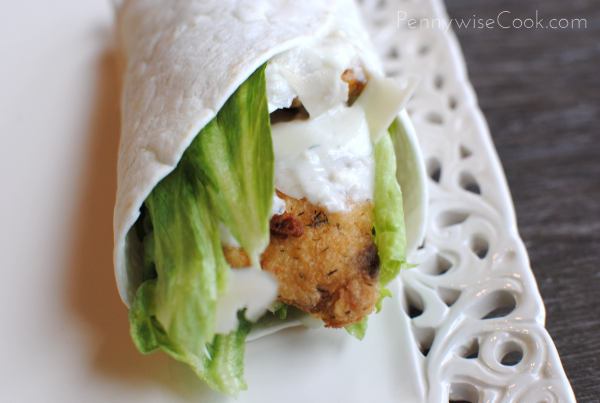
These wraps are made with a cheese that I’ve never really worked with before- Asiago. I’m not too fond of it by itself. You really don’t want to take a big bite out of that block of cheese. But in these wraps with the caesar dressing and lettuce and crispy chicken, it’s wonderful!

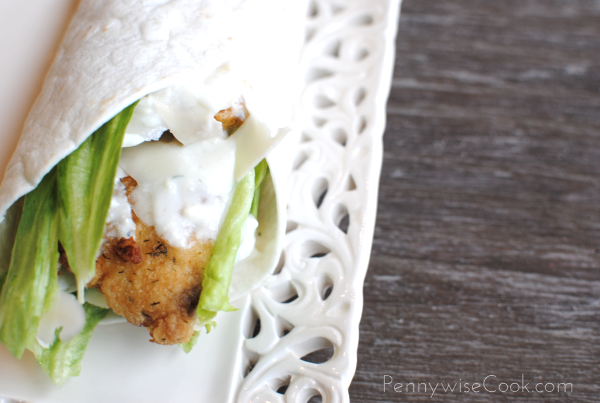
The caesar dressing that I made was a healthier version that I adapted a bit from Cooking Light. It uses nonfat yogurt, dijon mustard, and other yummy lowfat ingredients to create this familiar dressing. I suggest using this recipe on your salads too! It’s fabulous.

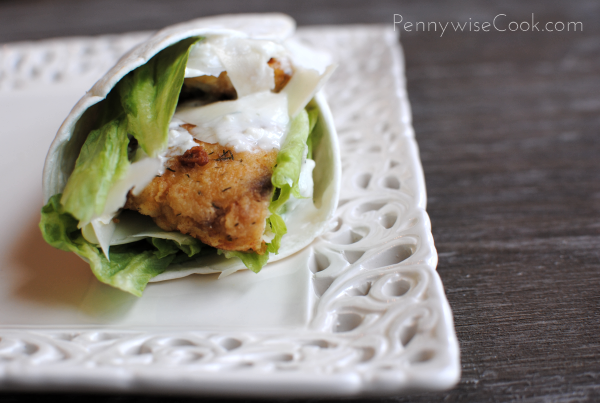
The chicken breasts that I used were quite large so they ended up only being crispy on the outside. Hubby commented that it was almost like they weren’t crispy because there was so much meat inside them making them seem grilled. So I do suggest using smaller chicken breasts in order to get a crispier crunch.

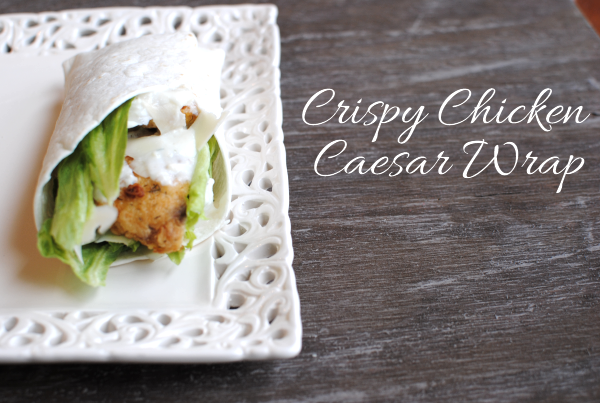
I used the shallow fried chicken recipe from my Chicken and Waffles post but added some dill to the breading to give it a green and caesar flavor. It was a great addition. See those flecks of dill on the chicken?

Skip the drive-thru and try these next time!

Crispy Caesar Chicken Wraps

Crispy Caesar Chicken Wraps

A healthy alternative to Wendy's Crispy Chicken Caesar Wrap.

Ingredients

    For the Chicken
  • 4 Boneless, Skinless Chicken Breasts- Pounded Flat
  • 1/3 c. Egg Substitute or 1 Egg
  • 1/2 c. Flour
  • 1 Tsp. Kosher Salt
  • 1 Tsp Paprika
  • 1/4 Tsp. Pepper
  • 1/4 c. Olive Oil
  • For the Caesar Dressing
  • 1 cup plain nonfat yogurt $
  • 1/2 cup grated Parmesan cheese
  • 1/2 cup low-fat buttermilk
  • 2 tablespoons 1% low-fat milk $
  • 1 tablespoon reduced-calorie mayonnaise $
  • 1 tablespoon Dijon mustard $
  • 1/4 teaspoon salt
  • 1/4 teaspoon pepper
  • 2 garlic cloves, minced
  • For the Assembly
  • Flour Tortillas
  • Lettuce
  • Asiago Cheese, Shaved

Method

  1. Combine all of the ceasar dressing ingredients in a small bowl and whisk well. Set aside.
  2. Mix the flour, kosher salt, paprika, and pepper together and place on a plate.
  3. Heat the olive oil in a skillet over medium high heat.
  4. Dredge chicken breast in the egg then in the flour and seasonings. Place in skillet and brown until crispy. About 4-5 minutes on each side. Cut chicken breasts in half.
  5. Assemble wraps by laying tortillas flat. Next, tear a few pieces of lettuce and place on tortillas. Next place a few pieces of shaved Asiago cheese, then chicken breast. Top with more Asiago cheese and then drizzle desired amount of caesar dressing over chicken.
  6. Roll each tortilla up starting with the bottom and folding upwards, then rolling the sides in.

Notes

You won't need a ton of Asiago cheese, so feel free to buy the smallest amount that you can find.

http://www.pennywisecook.com/crispy-ceasar-chicken-wraps/


Like this post? SHARE it!

Related Posts Plugin for WordPress, Blogger...