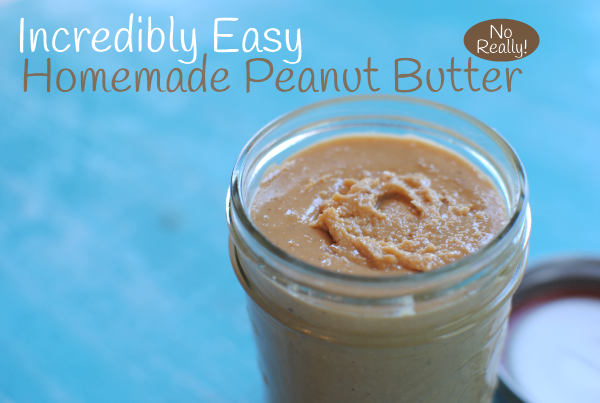
Incredibly Easy Homemade Peanut Butter

How was your weekend? Mine was FABULOUS! Yes, for once I have to say that every single moment was enjoyable. Friday was an impromptu family night which consisted of homemade tacos (mommy didn’t have to “cook”), settling in to watch The Lorax (highly recommended!), and finished off with sundaes complete with cherries on top. Saturday was pretty leisurely. We went to the pet shop to see the animals (cheap entertainment for sure) and ended at Chick-fil-A where we used coupons for FREE Icedreams and played in the playplace. Does a frugal family weekend get any better?

And of course, church on Sunday morning. Which I might have an update on our search coming up so be sure to look for that. Months of searching may have led us right back where we began. Funny how God works, isn’t it?

I was excited to find a deal on peanuts recently as part of the Publix BOGO sale recently. One thing on my list to try and make was peanut butter. It’s seriously been on my list for like months. Now that I’ve made it, I feel like an imbecile because of how simple it is. I would have been making my own peanut butter for months had I known how easy it really is.

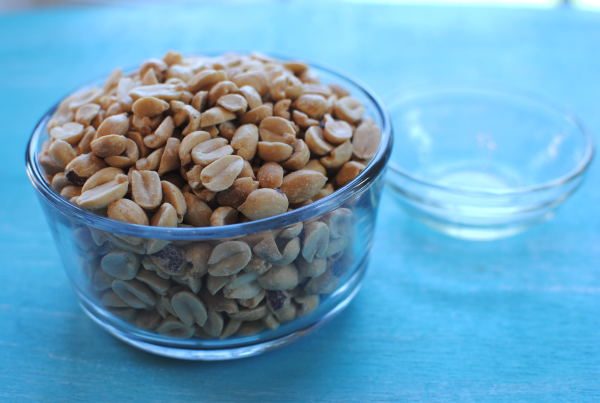
THIS is all you need to make it. Peanuts (DUH), a little bit of oil (whatever kind you have: peanut, canola, vegetable, it really doesn’t matter) and a dash of salt which didn’t make it in my picture. Other optional ingredients include cocoa powder, honey, sugar, brown sugar.

You’ll also want to have a food processor and something to store your homemade peanut butter in.

See what I’m saying? Simplicity at it’s finest here folks.

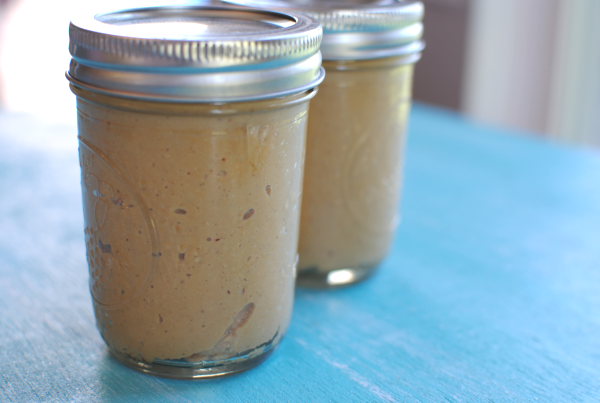
I stored mine in some pint-size mason jars that I had. It’s worked out well. 1 jar of peanuts made me 2 of these jars of peanut butter.

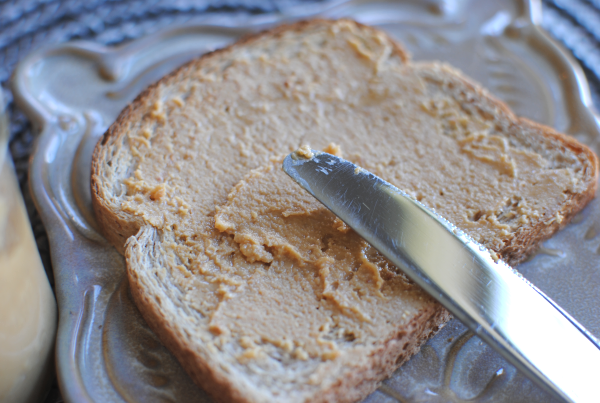
My girls are in absolute love with this peanut butter. I even overheard Addie saying to her daddy yesterday that “I really love momma’s peanut butter. It’s goooooooooood.” I was glowing from the other room y’all. I hardly ever get compliments like that. The only criticism that I received from the hubby was that it might need just a tad bit more salt. I was holding off on too much in case it became too salty. But I know to add just a tad more next time.

Storage: Your peanut butter isn’t equipped with shelf stabilizing ingredients so it will need to be refrigerated. It will last in the refrigerator for up to 4 weeks. (If your family lets it last that long!) You can also FREEZE it! Place it in an airtight container and freeze for up to 6 months. Just be sure to let it thaw before you use it again.

Are you ready to impress your family with your own homemade peanut butter?

Incredibly Easy Homemade Peanut Butter
Recipe Type: Sauce, Condiment
Author: Pennywise Cook
You’ll never believe how simple it really is to create your own peanut butter at home!
Ingredients
  • 2 Cups Unsalted, Dry-Roasted Peanuts
  • 1 Tsp Oil (peanut, canola, etc.)
  • Dash Salt
Instructions
  1. In a food processor, combine peanuts, oil, and salt. Process until desired consistency and smooth.
Notes

It may take a couple of minutes for the peanuts to come to a desirable consistency. They first get chopped, then they begin to really form a paste and then butter.

The oil is completely optional as well. If you’re going for a more natural peanut butter, the peanuts actually have their own oil so it’s not absolutely necessary to add the oil. Just makes for a smoother butter.


Like this post? SHARE it!

Related Posts Plugin for WordPress, Blogger...

Slow Cooker Pizza Dip

It’s almost football season. Are you jumping up and down? Or are you grunting at the thought of all the money you’ll be spending on beer and the time you’ll lose with hubby because he’s glued to the tube?

We are not sports folk.

My husband could care less about who is playing what or when the game is on. Frankly, neither am I. But there is one thing that I do enjoy and it’s game food. I love making snacks and treats for the big game even though I probably won’t even lay one eye on the TV set. I’ve even thought about having a mock football party just to make cute little treats.

Is that silly? Maybe, but not really if you know how much I love food.

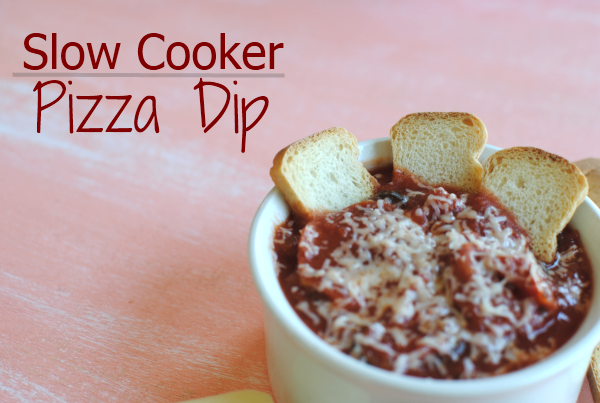
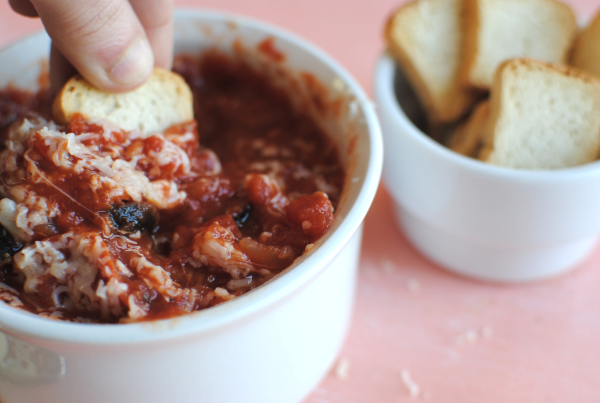
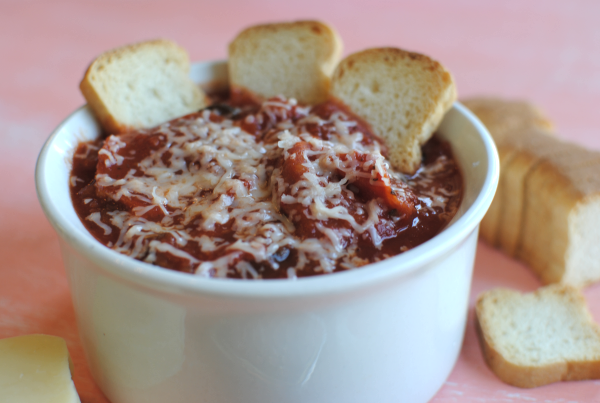
This Pizza Dip is so easy. No crazy ingredients needed and your crockpot does all of the work. You may have seen recipes for Pizza Dip before, but most of them contain cream cheese. Nothing wrong with that, but often times it can add just a bit of fat and calories that aren’t always necessary. I’ve adapted this from the Fix It and Forget It Lightly Cookbook.

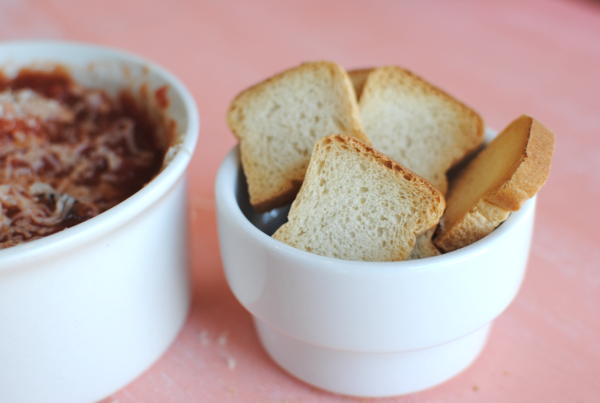
I made this dip recently for a gathering that I had. I had no idea what to serve it with, so I just grabbed some of those little toasts that you find in the deli section of the grocery store. They are like a $1 and are so incredibly cute! I think this is the absolutely best thing to serve this dip with. If you can’t find them, I think that little crunchy bread sticks would also do the trick.

The best part about this dip? It’s low in calories! Less than 100 calories per serving and you can feel absolutely no guilt for eating it. I even used turkey pepperoni to keep it lean. Top it with a little shredded mozzarella and it’s just like eating a pizza but without all of that breading to weigh you down.

It’s the perfect game day snack! Even if you’re not going to watch the game…

Slow Cooker Pizza Dip
Recipe Type: Crockpot, Dip, Side Dish, Appetizer
Author: Pennywise Cook
The satisfaction of pizza without all of the calories and perfect to make for a get together!
Ingredients
  • 28 oz Can Crushed Tomatoes
  • 1 Small Can Sliced Black Olives
  • 1 c. Onion, Chopped
  • 5 oz Turkey Pepperoni, Chopped (or the mini version)
  • 1 and 1/2 tsp Italian Seasoning
  • 1 Tsp Garlic, Minced
  • Shredded Mozzarella Cheese for Sprinkling
Instructions
  1. Combine all ingredients in a slow cooker and cook on low for 2-4 hours.
Notes

My crockpot tends to overheat things, so I have even made this and put my crockpot on warm before and it worked just fine. It also made it possible for me to cook it longer without overcooking it.


Like this post? SHARE it!

Related Posts Plugin for WordPress, Blogger...

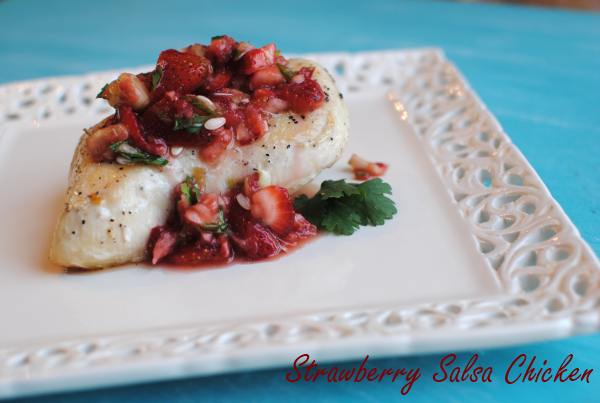
Strawberry Salsa Chicken

Take me or leave me, but I like weird things to eat. Well, what some might call weird anyways. I was making a hot dog the other night and was so excited while I prepared my ingredients. My husband watched as I drug out the relish, mustard, and ketchup. Then I decided that it wasn’t complete without chopped onions. Almost in awe of my condiment concoction, he asked “Did you chop that entire onion just for a little for your hot dog?”. Why yes, I in fact had chopped a very small amount of onion just for my hot dog. That’s how me and my dogs roll you know. He thinks I’m a bit odd, but I know there are others out there like me.

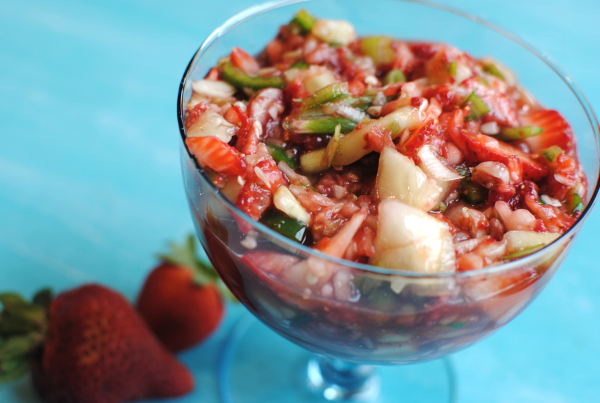
Like someone else who might like strawberry salsa? That’s another weird thing that might be perplexing to some. We’re talking replacing your tomatoes with juicy and summery strawberries instead. It’s absolutely divine I tell you. I had no idea that it would be so incredible.

And then I ate it with chicken.

Just imagine me kissing my fingers like the Italians do. It’s that marvelous.

Complete with cool and crisp cucumbers, lime juice, brown sugar and even jalapeno, I can almost guarantee that you will like this. Oh and if you don’t like hot salsa, don’t worry. The one jalapeno that is in this will not be hot. It’s really the one thing that makes this a “salsa”.

I’ve also learned a fancy smancy teqnique for making oven baked chicken PERFECT. The key is to brown it in a skillet a few minutes on each side. Not enough to cook it through, but just enough to get it browned a bit. Then finish it off in the oven. Works everytime to get the most perfectly cooked chicken ever.

AND I also highly recommend pounding your meat first. Yes, it seems like a lot of work but trust me. You will not only enjoy the task, but you’ll also enjoy the chicken a lot more than going without. I told my mom about this recently and she always beats her chicken first now! Just do it next time and you’ll see.

Ready for the most perfect summer chicken recipe ever? See below!

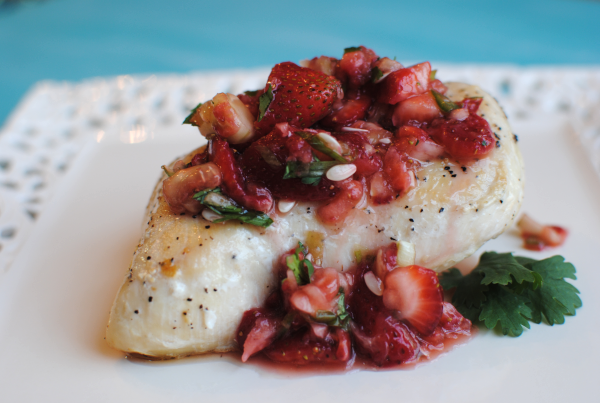
Strawberry Salsa Chicken

Strawberry Salsa Chicken

Celebrate summer with this baked chicken with strawberry salsa!

Ingredients

  • Boneless, Skinless Chicken Breasts
  • 1 Tbsp Olive Oil
  • 1 and 1/2 c. Strawberries, Chopped
  • 1/2 c. Cucumber, Chopped
  • 2 Green Onions, Chopped
  • 1 Jalapeno, Chopped
  • 1 Tbsp Cilantro, Chopped
  • The Juice of 1 Lime
  • 2 Tbsp Brown Sugar

Method

  1. Preheat oven to 350 degrees. Season chicken with salt and pepper. Brown chicken over medium high heat in oil for a few moments on each side. Just until browned, no need to cook through. Bake 20 minutes.
  2. Meanwhile, mix all salsa ingredients and combine well. Place in refrigerator until chicken is done.
  3. Remove chicken from oven. Serve salsa over chicken!

Notes

There's no much to it! Simple as pie.

The salsa would be divine with tortilla chips too!

Enjoy!

http://www.pennywisecook.com/strawberry-salsa-chicken/

Question of the day: What do you like on your hot dogs?


Like this post? SHARE it!

Related Posts Plugin for WordPress, Blogger...

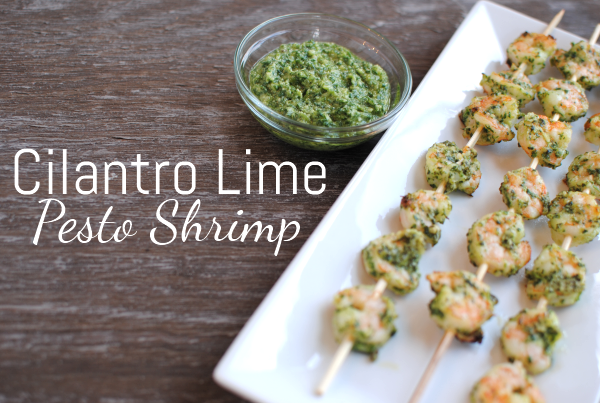
Cilantro Lime Pesto Shrimp

You just know it’s summer when you can begin smelling people in your neighborhood grilling out. It’s such a awesome smoky smell. My husband is convinced that once the weather turns warm that it’s time to bust out the grill several times during the week. And I am completely fine with that. As long as we’re not eating gigantic steaks every night. Not only is that difficult on the wallet, but I do like a little variety now and then.

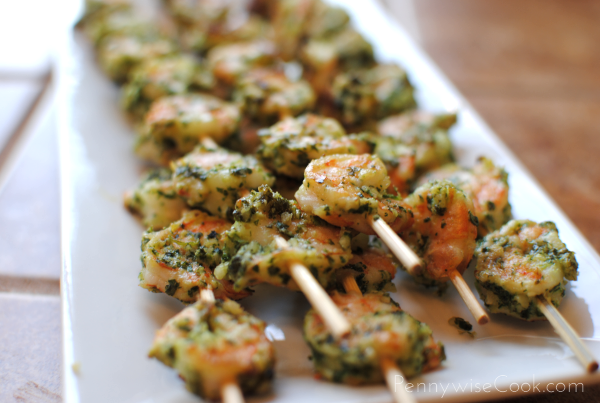
So needless to say, we’ve been getting a bit creative with what we grill. I think that it’s funny because unless it’s a steak or a huge tray full of hamburgers, hubby thinks it may not be worth turning on his grill for. Can you imagine what he thought when I suggested that we grill a few shrimp skewers?

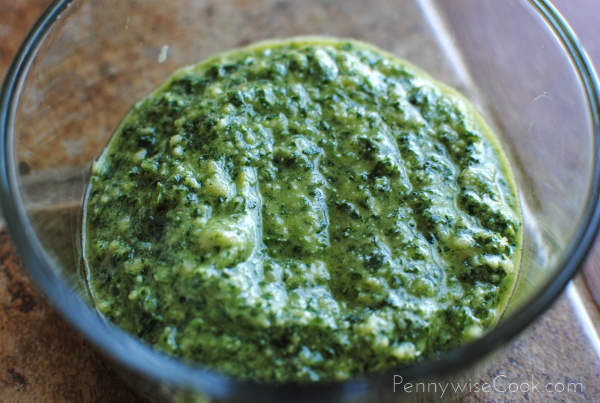
Not to mention that these so called shrimp would be covered and marinated in a word that I have yet to introduce to my clan….pesto. Ah yes pesto. The shiny, slimy, green concoction that people eat over pasta or as part of some fancy meal. I had my work cut out for me when I decided to go the pesto route. But I was determined and excited to give it a try.

Exchanging the regular greens in pesto with cilantro and instead of using those ridiculously expensive pine nuts, I used slivered almonds. Giving this sauce the once over, hubby literally just looked at it once. He was not too excited about it. However, little did he know that his very shrimp that night would be slathered, soaked, and bathed in that slimy green mixture.

Not very long story short, he loved it! Can you believe it? I think one key factor in pesto that makes it appealing is the amount of parmesan cheese that you put in it. And the lime in this recipe really did wonders for the shrimp.

I even caught him dipping his marinated and grilled shrimp in the leftover pesto sauce! I can’t say as much for my daughter. I purposely left the pesto off of hers and she was content with her’s being plain. These were such fantastic and light shrimp that would be absolutely amazing on a shrimp taco.

Cilantro Lime Pesto Shrimp

Cilantro Lime Pesto Shrimp

Celebrate summer with this light and zesty cilantro lime shrimp!

Ingredients

  • 40-60 Medium shrimp, peeled and deveined
  • 2 Bunches cilantro
  • Zest of 1 Lime
  • Juice of 1 Lime
  • 2 Tbsp Slivered Almonds, toasted- optional
  • 1/4 cup Grated Parmesan cheese
  • 1- 1 and 1/2 C. Olive oil
  • Salt and Pepper to Taste

Method

  1. Soak skewers in water for at least 15 minutes prior to grilling shrimp.
  2. Place all ingredients except olive oil in food processor until chopped.
  3. Slowly drizzle in desired amount of olive oil.
  4. Place peeled shrimp into a bowl with HALF of the pesto. Set the rest aside.
  5. Marinate for at least 1 hour.
  6. Place the shrimp on skewers and grill for around 2 minutes on each side.
  7. Serve with remaining pesto.

Notes

Toasting the almonds is completely optional. I didn't actually toast mine and it still tasted great.

http://www.pennywisecook.com/cilantro-lime-pesto-shrimp/


Like this post? SHARE it!

Related Posts Plugin for WordPress, Blogger...

Easy Tomato Basil Sauce

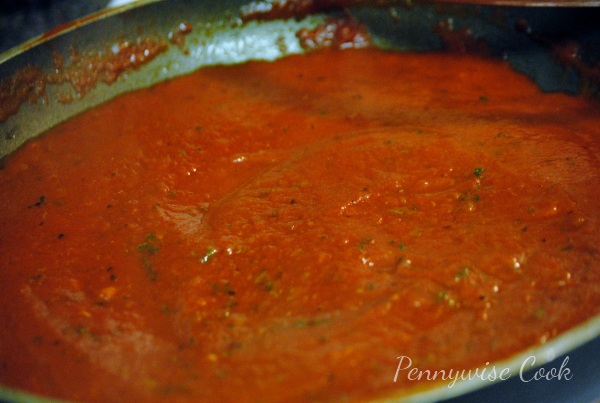
When it comes to cooking, the tomato basil sauce is a go-to red sauce for a variety of different meals. You can use it for practically anything that requires tomatoes. The basil gives such a fresh herb taste. It’s become my favorite by far. I just love how easy it is and that I have most everything already on hand. Skeptical at first that the recipe would be too simple, I was amazed at the flavor that this gave a few different dishes that I’ve used it for.

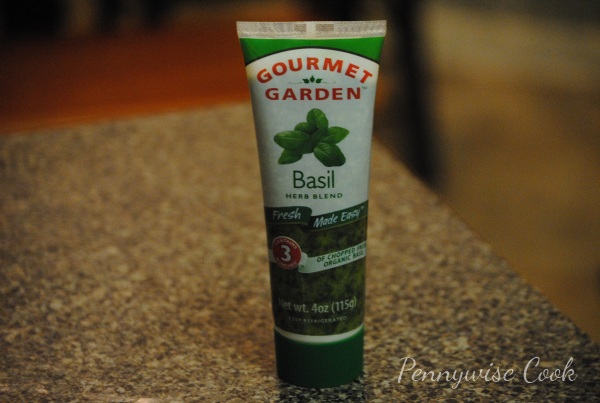
I went to the grocery store in search of fresh basil. Most stores around here (ie. Kroger, Walmart) don’t just have fresh basil in their produce. They do have some pre-packaged options, but they are crazy expensive and I refuse to pay for those. I came across this little tube in the fresh herb section and decided to give it a whirl. It’s made of fresh organic basil and some additives to keep it fresh longer. It will last in that tube for 5 months! Tablespoon for tablespoon it’s equivalent to fresh basil. It was $3.99 for the tube and was worth every penny to me.

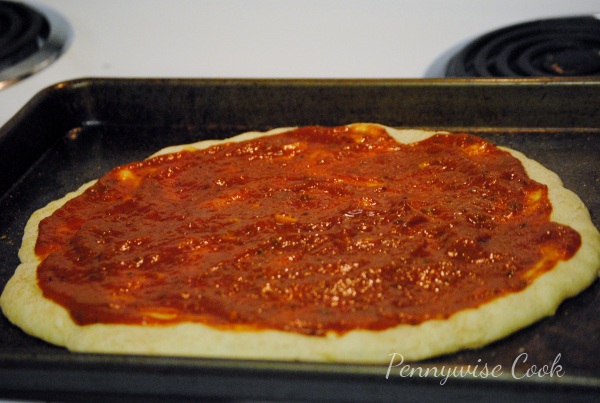
We made a homemade pizza the other night and I used my homemade tomato basil sauce on it. FABULOUS! My husband said that this was the best homemade pizza that he’s ever tasted and I would have to agree with that. This sauce would be wonderful over pasta, in lasagna, pizza, dipping and more! In fact, why not whip some up for your Cauliflower Crust Pizza? Oh I’ve done it and it’s fantastic!

Adapted from this Tyler Florence recipe.

Easy Tomato Basil Sauce

Easy Tomato Basil Sauce

Simple tomato basil sauce that you can use for a variety of dishes!

Ingredients

  • 2 Tbsp Olive Oil, divided
  • 2 Garlic Cloves, Minced
  • 1 Can Crushed Tomatoes, 16 oz
  • Pinch of Sugar
  • Kosher Salt and Ground Pepper To Taste
  • 4 Fresh Basil Leaves, Chopped or 4 Tsp Basil from Tube

Method

  1. Heat 1 tbsp olive oil in pan over medium-high. Add the garlic and cook until soft.
  2. Add in the crushed tomatoes and sugar, then season with salt and pepper.
  3. Turn the heat up a bit and simmer for 10 minutes, stirring occasionally. Be sure to keep a cover on as it will splatter!
  4. Stir in the remaining olive oil and basil. Serve!
http://www.pennywisecook.com/easy-tomato-basil-sauce/


Like this post? SHARE it!

Related Posts Plugin for WordPress, Blogger...

Whole Wheat Peanut Butter and Banana Pancakes

Most mornings I have to start with my cup of coffee. While I think it’s mostly a mind thing, somehow my body thinks that I really need that caffeine to get my day started. Days that I skip it, I feel as though my days are off. We’ve been out of k-cups lately so I’ve been using my little refillable k-cup to make it. The funny part is that we had these grounds in a container for so long, I can’t remember if they are regular or decaf (from when I was pregnant). So at this moment, I could be fueling my day with decaf. Heck, I’d never even know it!

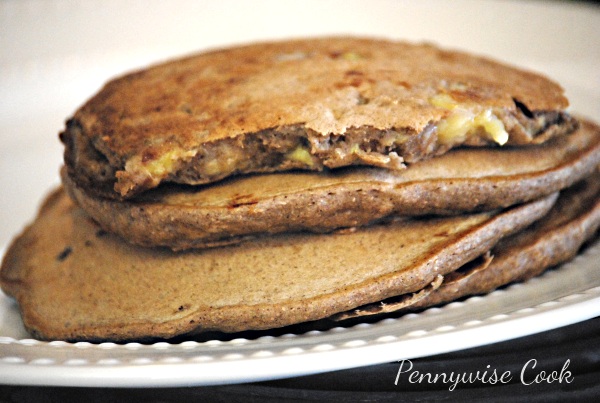
There have been some fabulous prices on bananas lately. Not sure if it’s a bumper crop or what the case is but most stores (even Walmart) have come down significantly on bananas. Aldi holds steady around $.44 per pound most weeks. Kroger and Walmart have both had them for $.38 per pound recently around here and I can’t help but find something to make with bananas when they are that cheap. They are so good for you and can be used in so many recipes. Like these pancakes for instance. Whole Wheat Peanut Butter and BANANA Pancakes to be exact! They are oh so incredibly yummy. I can’t find the blog where I originally got this recipe, but I did find an exact replica over at Food.com.

These are very good at hiding their nutritiousness. I don’t think that hubby or my 4 year old even blinked an eye at the fact that they were mainly whole wheat. I think the mixture of spices and creamy banana worked very well together and created a pancake that I think even Elvis himself would have approved of. It’s amazing how much these taste just like a peanut butter and banana sandwich!

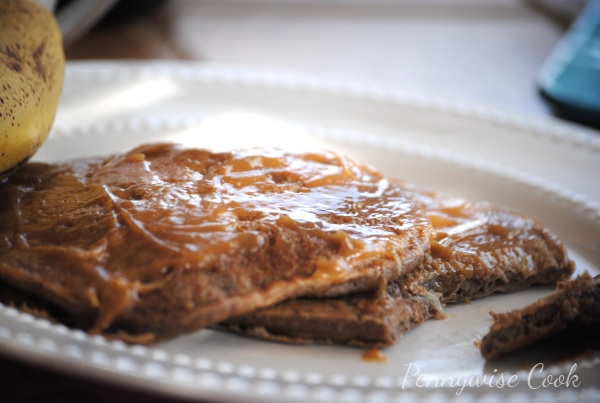
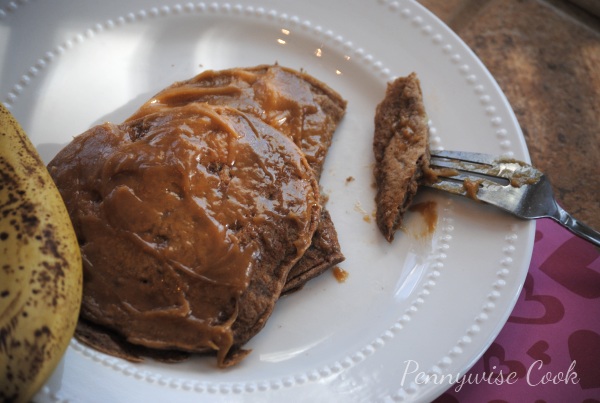
When it came the syrup, I wasn’t really into cooking anything else. Around here, most mornings my breakfast consists of a cup of yogurt on the go. So I just mixed up some creamy peanut butter with my sugar free syrup to spread over top and it worked beautifully (thankfully). I will admit that the ingredients do seem like a lot of work. But for the occasional Saturday morning, I can totally see whipping up these scrumptious babies.

Recipe courtesy of Food.com

Whole Wheat Peanut Butter and Banana Pancakes

Whole Wheat Peanut Butter and Banana Pancakes

Pancakes similar to a peanut butter and banana sandwich with a healthy twist. Even the king would approve!

Ingredients

  • 3/4 c. Whole Wheat Flour
  • 1/4 c. All-Purpose Flour
  • 2 Tbsp Splenda
  • 1/8 Tsp Salt
  • 1.5 Tsp Cinnamon
  • 1 Tsp Cocoa Powder
  • 1.5 Tsp Baking Powder
  • 1.5 Tsp Vanilla Extract
  • 1/2 c. Water
  • 12 c. Skim Milk
  • 2 Ripe Bananas
  • 1/4 c. Egg Substitute

Method

  1. Add the whole wheat flour, all-purpose flour, splenda, salt, cinnamon, cocoa powder, and baking powder to a bowl and mix well. Be sure to sift the whole wheat flour, it can get clumpy.
  2. Mash up the bananas.
  3. Add the rest of the ingredients to the dry ingredients.
  4. Spray your griddle or skillet with non-stick cooking spray and heat to medium.
  5. Cook the pancakes until they start to bubble and then flip. Cook for another 1-2 minutes and continue in batches until done.
http://www.pennywisecook.com/whole-wheat-peanut-butter-and-banana-pancakes-oh-yes/


Like this post? SHARE it!

Related Posts Plugin for WordPress, Blogger...