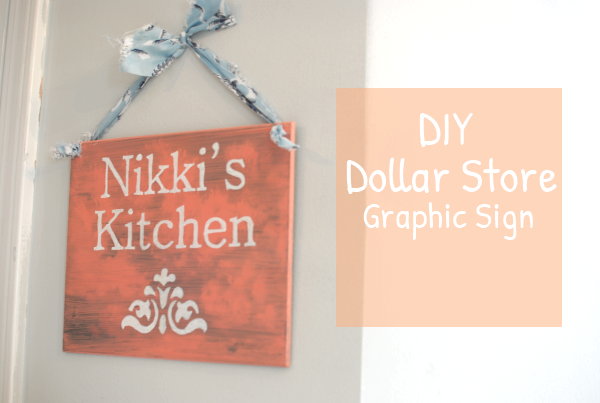
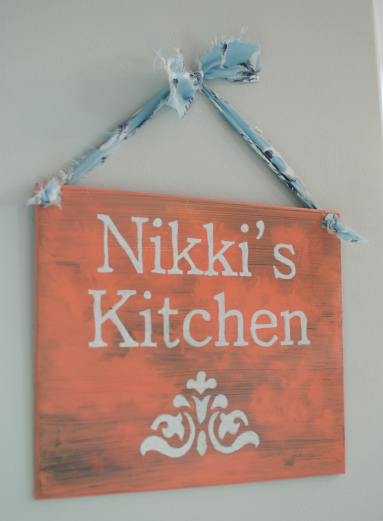
I’m crossing my fingers that my friend Nikki is not reading this. Not that I don’t want her reading my blog, but she’ll know how much I spent on her birthday present! Money-wise it was literally just $1. That’s all that it cost me to whip this sign up.
How much is a homemade personalized sign for a special friend worth? Worth all the love that was put into it when it was made.
I was scrambling at the last minute to figure out what to get her. She’s been into cooking lately, so I knew I wanted to do something for the kitchen. My crafty side kicked in and I knew this was what I wanted to make. Knowing I already had the paint and brushes, I knew that I wasn’t really going to need much to make this so I stopped into Dollar Tree to find some type of board or plaque to make the sign from.
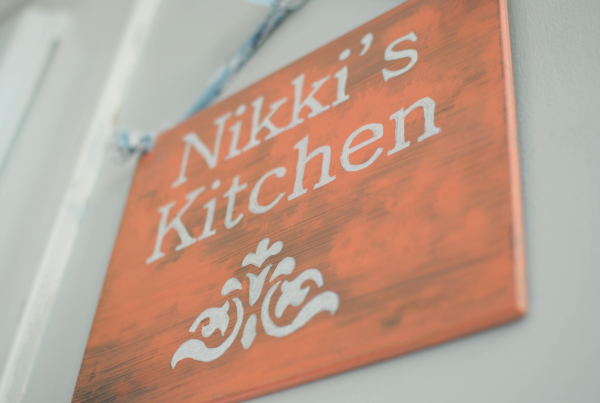
The plaque that I chose was of this hideous flower bouquet. It was almost metallic in nature. But it was getting painted over, so I didn’t mind. You can see in this picture that the underlying picture still came through. No matter how many coats I gave this, it still showed up. That’s alright! I think it still turned out pretty cool with a bit of a cloud affect.
To get the lettering on the sign, I used the same technique that I used on my Coffee Mug Holder. Very simple process that just takes a little time, but not money. You use your printer to select your favorite fonts.
And the hanging fabric was just some leftover from a chair recover that I did. You could use a shoelace, yarn, or just whatever you have laying around. I used a stencil that I had for the bottom, but you can find graphics online that can be used for this.
Want to make your own sign? Many of these things you may have on-hand already. Here are step by step instructions.
What you’ll need:
- Board or plaque for making the sign on.
- Paint
- Paint Brushes
- Printer and paper for making your text and graphics
- Pencil
- Ballpoint pen
- Paint Pen
- Yarn, shoelace, fabric for hanging
- Clear Topcoat Spray (optional)
Instructions
1) Start by giving your board or plaque a few coats of your selected paint. Let dry completely.
2) Using your computer and Word or word processing program, choose your text and graphics and their correct size for your sign. You may need to hold them up a few times to the board to get it right. Cut the words out as a whole. Do not cut each letter out separately.
3) Turn the words over and using a pencil, color over the backside of each letter.
4) When your board is dry, lightly tape your word in place how you want them on the board. Use the ballpoint pen to outline each letter. The pencil lead will be transferred to the board. Carefully remove the tape and word.
5) Use your paint pen to carefully fill in the letters. It may take you some time to get used to staying in the lines.
6) If you choose to use a topcoat, spray it down and allow it to dry before moving on.
7) Using a drill or screw, create a hole in each side of your board. My board was ridiculously hard but I managed to screw in a screw and use that hole to pull my fabric through. Pull the fabric, yarn, or whatever you are going to hang it with through these holes. Make a knot so they cannot slip through. Tie the two pieces together in the middle for hanging.
That’s all there is to it! I hope I didn’t leave anything out. Most of the time I just do these things without thinking so typing it out into steps takes some getting used to. I hope you enjoyed this tutorial. Let me know if you make your own Dollar Store sign and if you do, I’d love for you to share a photo of it on the Pennywise Cook facebook page!

Like this post? SHARE it!
 |


Cute!