Since my hubby was out of town for a few days, I must admit that I’ve been quite lax on cooking. It’s nice to take a break from it every now and then. In fact, our meals for the last few days have been mainly out of the most clever invention ever…..the microwave. I’m really not sure where I would be without it.
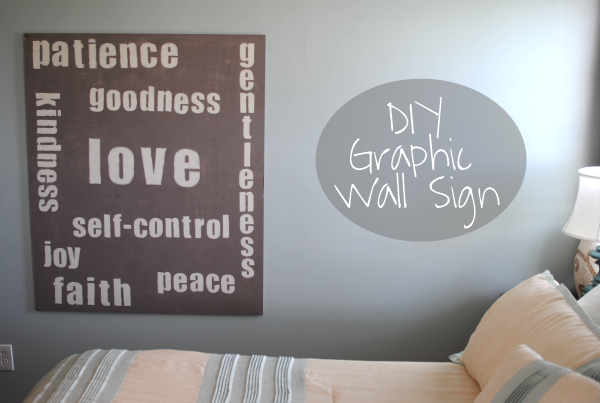
I’m back up and cooking now so you know I’ve got some good recipes on the way. But for now, I have a really cool DIY project for you that my husband and I did one weekend. I LOVE our sign! I look at it every morning when I wake up and every night when I go to bed. Shoot, I look at it when I walk in the room and when I’m walking out.
It demands attention. I love statement pieces like that.
I wanted to make one of these as cheap as I possibly could because 1) I’m just a cheapo and 2) because I like a challenge. I priced a lot of the materials at a few different stores. My main concern was the lettering. I wanted letters that weren’t too boring and I knew that I needed a lot of each. To my surprise, a pack with just 4 E’s was $8 bucks! And that wasn’t even a cute font either. There was no way that I was going to pay $40 for just the letters.
So I opened up Microsoft Word and went to work. 🙂
You may remember me mentioning one of my favorite Bible verses when I shared my Random Acts of Kindness. If not, here it is again.
But the fruit of the Spirit is love, joy, peace, patience, kindness, goodness, faith,gentleness, self-control. Against such things there is no law.
– Galatians 5:22-23
Those words pack a wallop don’t they? Can you imagine practicing each one every single day? Seems to me that I need a reminder because it’s just not easy. So I decided that those words would make a great sign for our bedroom wall. Here’s how we did it…
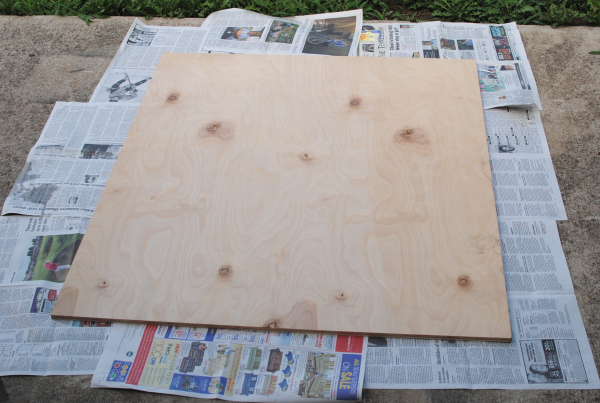
It all began with a very large piece of untreated white wood from Lowes. This one cost me approximately $13. It was a HUGE board and I even had 8 inches cut off of it to make it more rectangular.
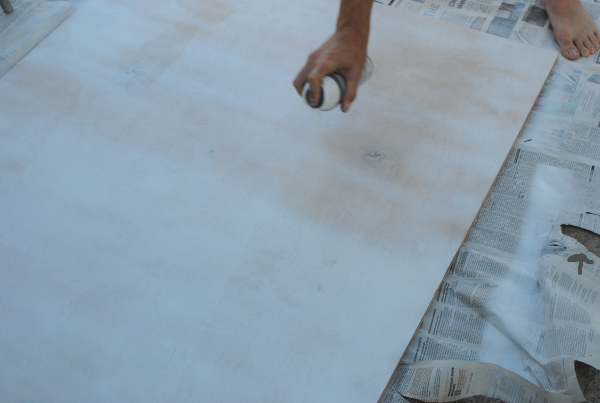
Then we used a $3 can of white spray paint to be the base of the sign. It’s essentially what the color of the letters will be when we’re done. I considered using latex paint to do this project, but in the end I figured that spray paint would be quicker with more coverage.
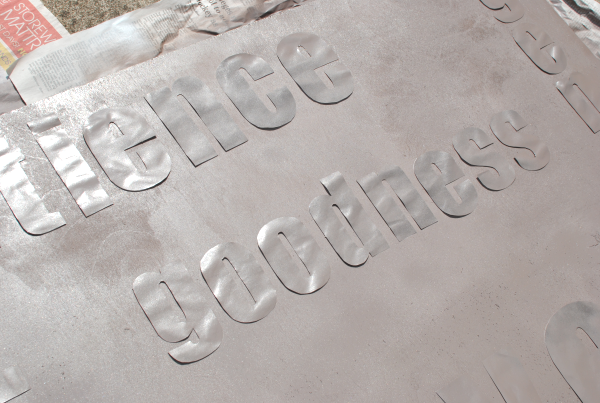
See that arrow there on the right of the picture? That is where the newspaper became attached to hubby’s foot because he stepped in wet spray paint. Moral of the story? Don’t spray in bare feet. 🙂
I didn’t take any pictures of the next step because it wasn’t a happy time. Cutting out a billion paper letters including many with holes is not fun. I’ll spare you the sweet talk and be honest with you. It’s work, but it’s cheaper and highly worth saving $40. At least to me and my cheap brain.
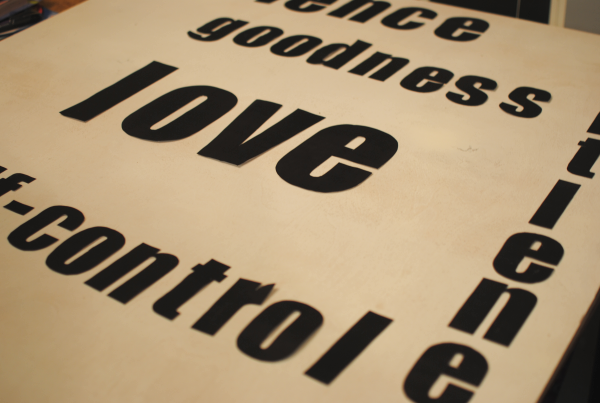
So we cut out the letters and taped each one down using only tape on the backside of the letters. Sorry that this picture is so dark. By the time that we got the letters done it was dark. I knew this wasn’t exactly the best way to do it, but I also knew that I could try to make it work. Where there’s a will, there’s a way you know. 😉
The next morning, I got out my 2nd can of $4 spray paint from Lowes and went to town going over the letters. I loved this color. It Valspar Satin Interior called Thorny Brush. Perfect color for my bedroom. As I was spraying, I could tell that the spray paint was going under my tape a bit. There was definitely more work to be done…
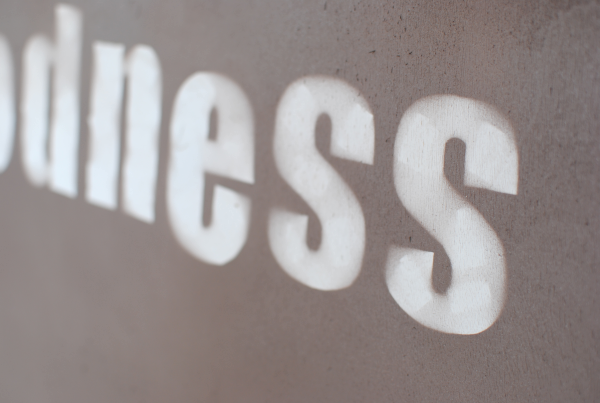
Here’s a close-up of what the letters turned out like once the paint was dry. See the spots where the tape was? It really bothered me so I went over all of the letters with a small brush and some leftover white paint that I had.
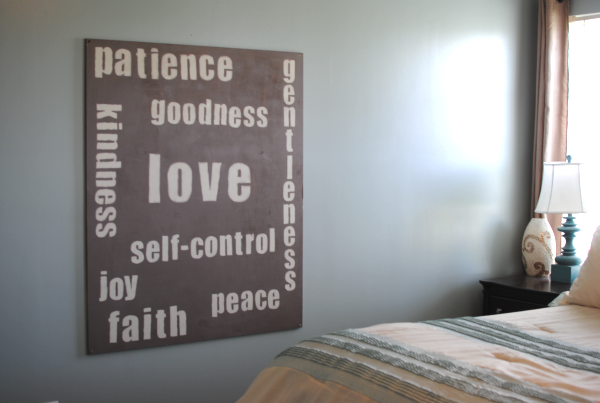
That wasn’t a very fun process either. I totally forgot to take a picture of it. But I did remember to take a finished product shot! Here’s what it looks like all pretty and on the wall. We used plain jane screws to attach it straight to the wall. We’ve been having things with chain from the ceilings around here lately so that crossed our mind. But I didn’t want the sign just hanging and knocking against the wall, so we went with the easy route.
We aren’t professionals by any means so I’m sure that most could probably make theirs look a lot better. But for only about $20 and a little hard work, it’s a beautiful reminder on our bedroom wall! We LOVE it!
What do YOU think of it? I’d love to hear!

Like this post? SHARE it!
 |

