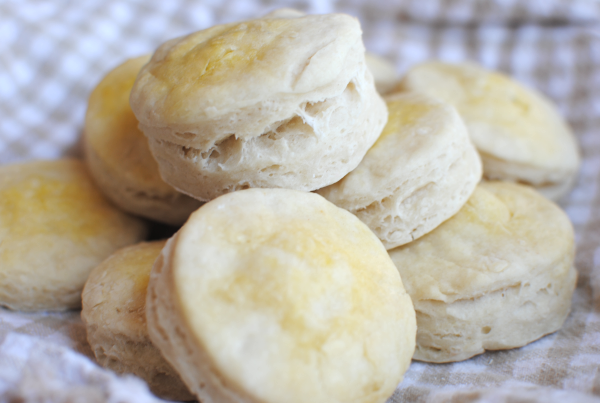
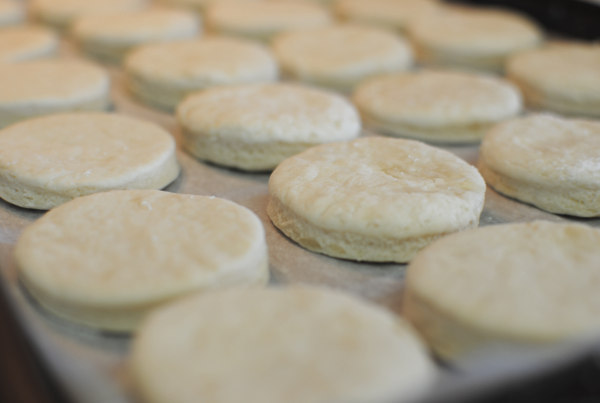
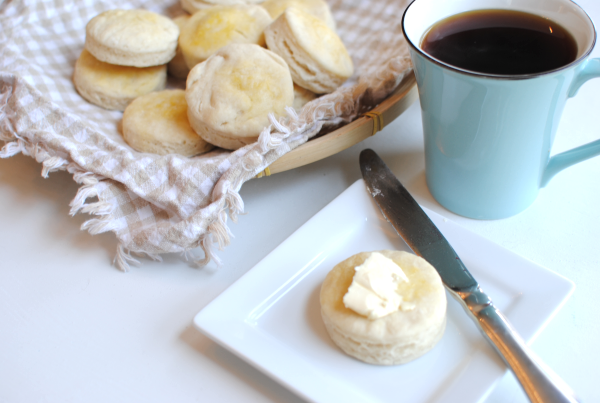
So yes, this isn’t a picture of candy bars. But you’ll be happy to know that it is a picture of something just as incredible. These biscuits were my very first biscuit success! A friend of mine who blogs at Thrifty T’s Treasures recently shared a biscuit fail of her’s. Let’s face it, it’s not easy making perfectly fluffy biscuits.
They never said biscuit-making would be easy. Isn’t that a famous quote? No? Well it should be. Because it’s the truth! Pillsbury has made life too easy on us. (Never thought I’d say THOSE words)
But I also don’t want to spend my entire afternoon in the kitchen creating the perfect biscuit dough, either. This momma has plenty to keep her occupied without slaving over biscuits. So I was very excited to find this recipe over at Fun Cheap Free. And I figured they were worth sharing because A) I was able to snap pretty narly pictures of them and B) they were actually edible and C) Addie just loved them and she’s my biggest critic.
The ease of this recipe is what makes it so good. That and the fact that it only contains 3 easy ingredients.
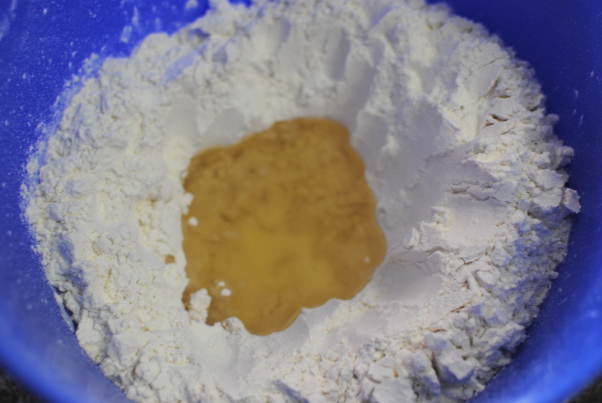
Start with 3 cups of self-rising flour. The self-rising part is very important so don’t use any other kind.
Or if you don’t have the self-riding kind, make your own self-rising flour with this recipe:
1 c. flour
1 & 1/4 tsp baking powder
1/4 tsp salt
Make a well in the middle with your wooden spoon and pour in 1/4 cup vegetable oil. Or canola oil, or whatever kind oil you have.
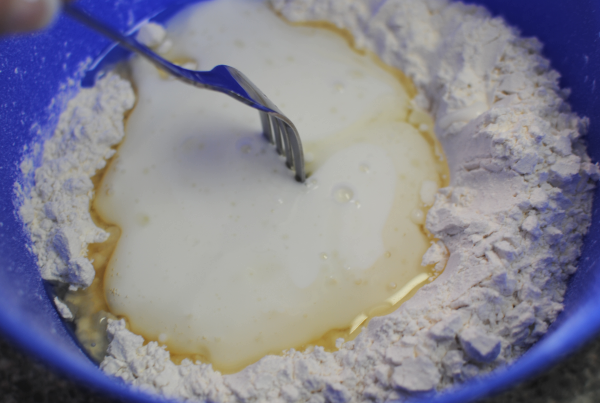
Next, slowly add in 1 & 1/4 cup buttermilk and then using a fork stir to combine. Don’t worry about it being all lumpy.
Lose the fork and then use the two best cooking utensils that God gave you, your hands. Knead the dough until well combined and then turn out onto a floured surface.
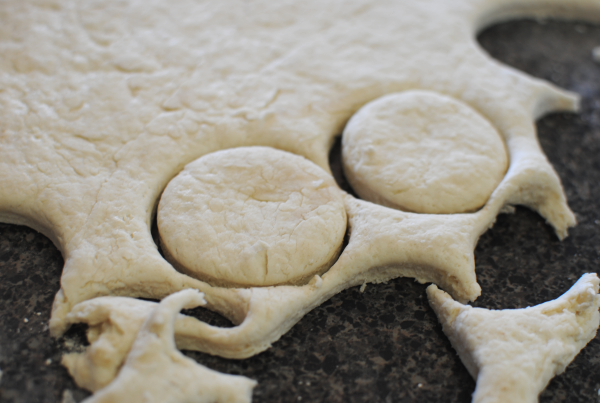
Roll it out, but not too thin. You want them pretty thick in order for them to rise a bit and have some fluff to them. Using a biscuit or cookie cutter, cut out circles and place them on your baking sheet.
Place them on the stove while you let your oven preheat to 400 degrees. This gives them some time to rise a bit. But just being honest, mine rose very little and they still turned out fine.
I also put a little square of butter on each of mine before I placed then in the oven. And then when I got them out of the oven I sprayed them with I Can’t Believe It’s Not Butter. Neither of those are required, but make them extra good.
Bake for 10 minutes.
All you need is a good old cup of coffee and some jam to go with your biscuit and you’re set.
These seriously were the easiest biscuits I’ve ever made. While they are buttermilk biscuits and don’t have that buttery taste like some biscuits, you can add whatever you like to them to make them yummy.
I think they would make great biscuits for making and freezing sausage biscuits!
| 3-Ingredient Buttermilk Biscuits |
- 3 c. Self-Rising Flour + extra for counter
- 1/4 c. Vegetable Oil
- 1 & 1/4 c. Buttermilk
- Place 3 c. flour in a large bowl. Using your hand or a wooden spoon, make a well in the middle. Pour oil into well.
- Slowly add the buttermilk and use a fork to combine. Don’t worry if it’s lumpy. Use your hand to knead it into a dough ball.
- Turn out onto a lightly floured surface. Roll it out leaving it fairly thick. Use a cookie or biscuit cutter to cut out circles and then place them on a baking sheet.
- Place on stove to rise while you wait for your oven to preheat to 400 degrees.
- Once preheated, (optional- place a tiny square of butter on top of each), bake for 10 minutes or until starting to get golden.
Her recipe said these only make about 6 or 7 biscuits, but I was able to get about 24 of them out of it. Mine were a lot smaller than hers, I’m sure. But they were plenty big for us.

Like this post? SHARE it!
 |

