Homemade 3 Musketeers Bars

Oh man, I’m still on a sugar high from all of this week’s candybars. When you have bowls of fillings and melted chocolate in front of you, it’s impossible to resist. I’m just sayin’.

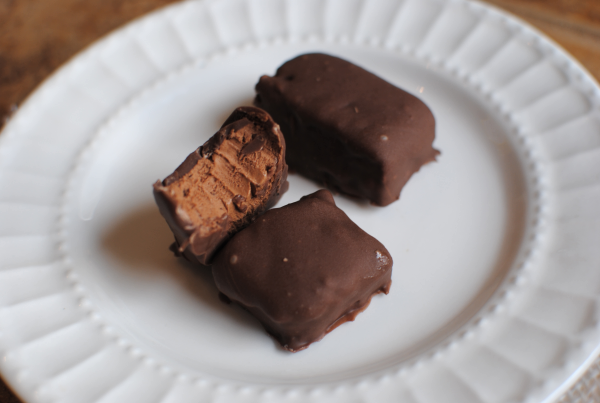
We’re going to go a bit lighter today on our candy bars and talk about how to make Homemade 3 Musketeers Bars. Once again, the simplicity of this recipe stunned me. There are once again just 3 ingredients in this one and it’s as simple as pie to make. Well, maybe not apple pie. It’s really not that easy to make apple pie from scratch is it?

I digress…

The main ingredient in the filling for these candybars is whipped cream. You don’t get much fluffier than that, huh. I think that’s why it’s so much lower in fat than most other candybars. It also explains it’s lighter than air texture.

You simply melt up 2 cups of chocolate chips. I used semi-sweet this time around, but I won’t be using those next time.

UPDATE- I tried the nougat part with milk chocolate and it made it WAY too runny, so I do not advise using the milk chocolate chips.

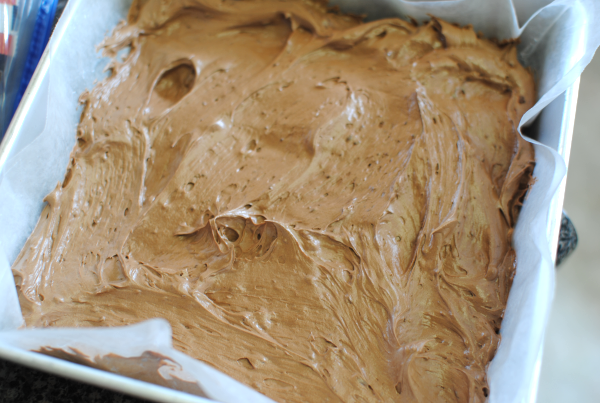
Anywho, melt those up in the microwave or double boiler (I prefer this method) and then give them a good whippin’ with your mixer. Beat in an 8 ounce container of cool whip just until combined and fluffy.

Pour into a lined square dish and freeze. The longer, the better. At least 30 minutes, but overnight is great!

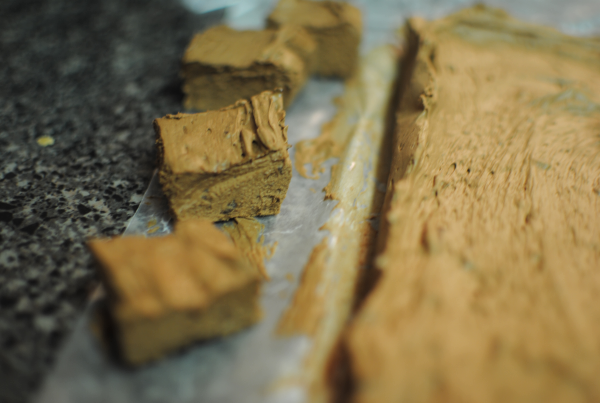
Sorry this picture is so dark. I got these put together at night and the lighting was just horrible. But you get the idea don’t you?

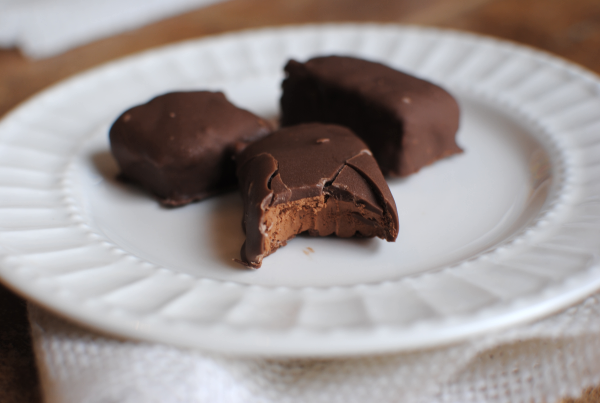
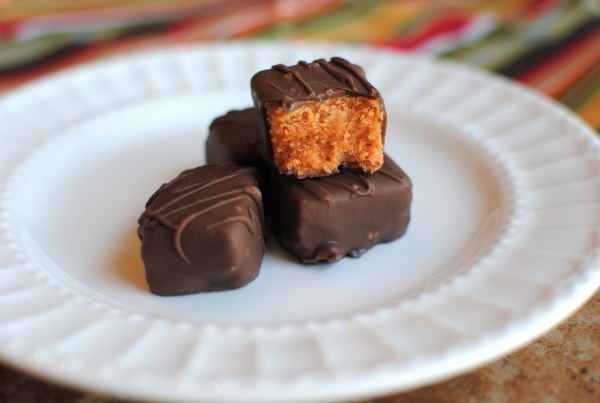
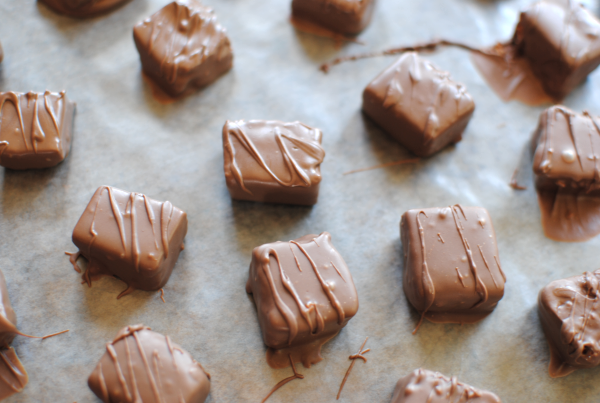
Once frozen, cut it into bite-size squares and dip into your melted chocolate wafers. I used a fork to turn and coat them well. These were a little more difficult to work with than the Butterfingers. These didn’t turn out as pretty for me, but they were still tasty!

Recipe from Monster Mama.

Homemade 3 Musketeers Bars
Recipe Type: Dessert, Candy, Snack
Author: Adapted from Monster Mama
Ingredients
  • 2 c. Milk Chocolate Chips
  • 1 8 oz Tub Cool Whip (You can even use sugar-free or fat-free!)
  • 2 c. Chocolate Melting Wafers
Instructions
  1. Melt chocolate chips in microwave or using a double boiler (I use this method). If you do use the microwave, it’s best to melt them on 50% power in 30 second intervals, stirring between each spurt.
  2. Beat your melted chocolate chips with a mixer for about a minute. Add in the cool whip and beat just until combined and fluffy.
  3. Pour into a lined 8×8 baking dish and freeze for at least 30 minutes. The longer, the better!
  4. Take out and cut into bite-size squares.
  5. When frozen, melt chocolate wafers according the package directions and using a couple forks, roll the squares until coated. Place on a wax-paper lined baking sheet. Place in the freezer to set.

Like this post? SHARE it!

Related Posts Plugin for WordPress, Blogger...

Homemade Butterfingers

We’re now on day number 2 of our CandyBar Week here at Pennywise Cook. It’s great making cakes and cookies and casseroles and all, but there is great satisfaction that comes when you have a batch of homemade candybars laying around. I’ve been using them for more than just eating by themselves. I’ve thrown a few in homemade ice cream a couple of times. They also make great bribery tools for the kids. And the husband…

Today’s homemade candybar is Butterfinger! Oh yeah, that’s right. Peanut Buttery, orange goodness. You might just be surprised by what exactly goes into these.

It’s possible that you may need to have a seat before you continue reading.

Almost everyone that tasted these could not guess what it was that these are made of. But they ALL said they taste exactly like the real thing.

It all starts with the famous fall candy, candy corn. I’m a big fan of it myself, but just like coconut I know there are some who don’t like it. It doesn’t matter. If they like Butterfingers, they will like your candybars even though they contain candy corn. If you’re concerned about whether that will make a difference, just don’t tell them. It can be our little secret.

But you might just be dying to share this 3-INGREDIENT recipe with everyone.

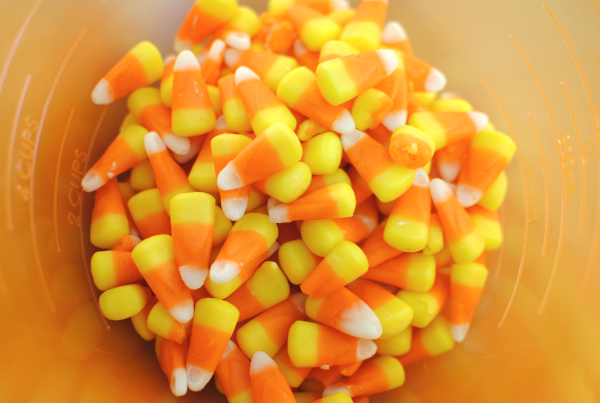
It starts with 1 pound of candy corn getting all smooth and melty in the microwave. I was a little surprised, but this was my first experience melting candy corn. It was fun. I was surprised at how quick it went back to being firm again.

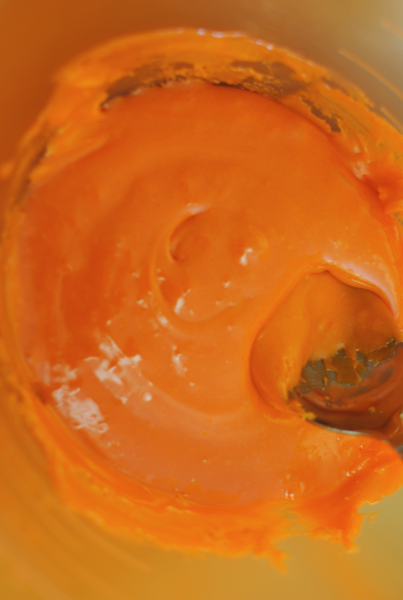
Here’s a view of the melted candy corn awaiting the arrival of peanut butter. That’s the next step once you get it melted. Stir in a 16 oz jar of creamy peanut butter.

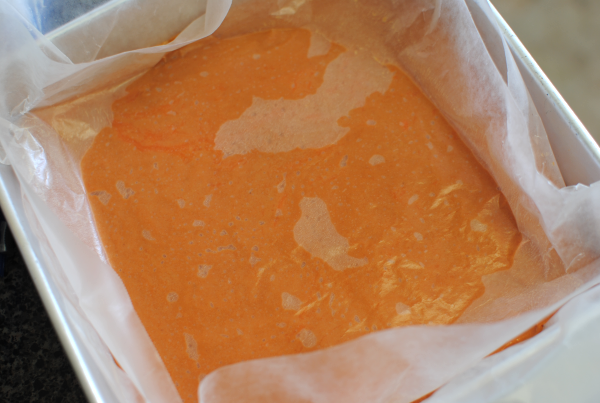
Then it’s time to pour it into a square pan to freeze. I used another piece of wax paper to smooth the top out and create a perfect square. I didn’t freeze it with the wax paper on top.

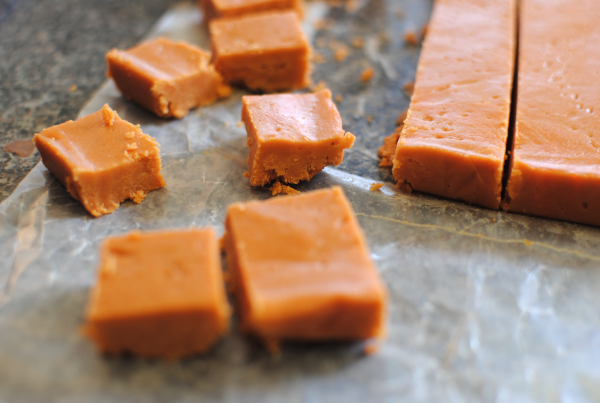
No need to freeze it long. Just let it get firm for about 15 minutes. You’ll find that the candy corn really firms up well.

Cut it into squares. You decide how big. Just eyeball it. I tried to make mine smaller so I could eat more. 🙂

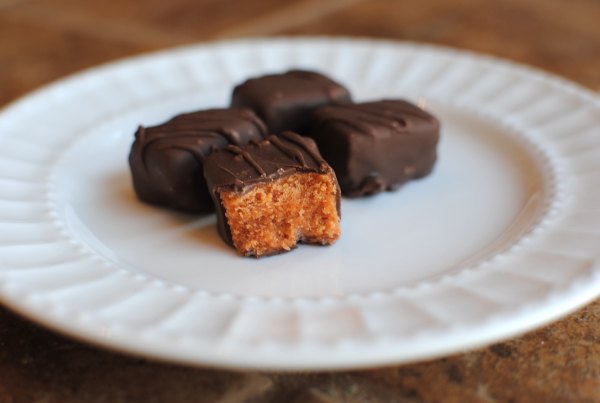
Then it’s all a matter of using two forks to roll the squares through melted chocolate wafers. When I started, mine were really ugly y’all. But as I went on, I got better and they began to look fairly similar to a candybar. I even used my fork to drizzle little lines on the top to mimic the real thing. Not perfect, but I think it was a nice touch.

And they turned out SO good! They taste so incredibly similar that it’s crazy. I was very impressed with them and I know you will be too!

Let me know if you make them!

Recipe adapted from Plain Chicken.

Homemade Butterfingers
Recipe Type: Dessert, Candy, Snacks
Author: Adapted from Plain Chicken
With just 3 simple ingredients, you can create your very own Butterfinger candybars!
Ingredients
  • 1 Pound Candy Corn
  • 16 oz Jar Creamy Peanut Butter
  • 2 Cups Chocolate Wafer Melts
Instructions
  1. Melt candy corn in the microwave on high for 1 minute. Stir then continue microwaving in 15-second increments until melted completely. Stir between each interval.
  2. Stir in the peanut butter until smooth. Pour into a lined or greased 8×8 square baking dish. Freeze for about 10 minutes. Place wax paper onto a cookie sheet.
  3. Cut into small squares. Melt chocolate wafers according to package. Using two fork, roll the square into chocolate coating all sides. Lay on wax paper and allow to firm. Freeze for about 10 minutes once all are coated.

Like this post? SHARE it!

Related Posts Plugin for WordPress, Blogger...

How to Make Old-Fashioned Caramels

Let’s go back to a simpler time shall we? How about way back 80 years ago when things were cheaper. For instance, a new house would cost you only around $7000.  Gas was about a dime per gallon and 1 lb steak was only about $.20.

If we only had a time machine…

Luckily there are some things that can “transport” us back to that time with music, food, and relic furniture. One of which is my personal favorite, food. Popular in the 1930’s and a treat still on store shelves today are old-fashioned caramels. I think that it’s almost impossible to dislike smooth and rich caramel isn’t it? I guess I should never say never because I have some pretty picky eaters in my family, but I can assure you they really loved these caramels.

I’ve never really been one to make candy that often. A little peanut brittle or chocolate bark here and there, but nothing extremely involved.

And I have a confession- I have never used a candy thermometer in my life. Most recipes will say this is extremely important but I’ve always been able to get by without one.

So I found this really simple Old-fashioned Caramels recipe in my Pillsbury Cookbook and it looked so simple and tasty that I had to make some up.

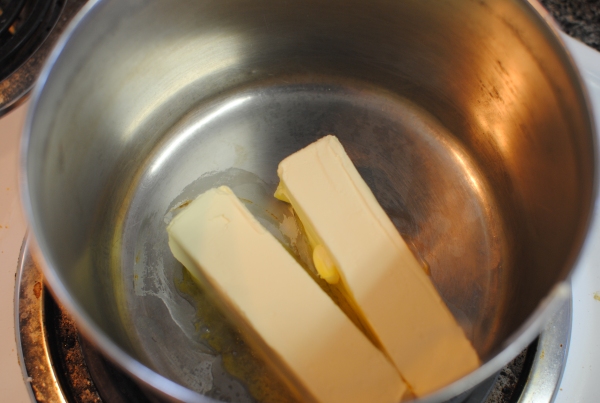
It starts with melted butter.  You know this is going somewhere good when it involves that much butter. But just for the record, I use light butter.

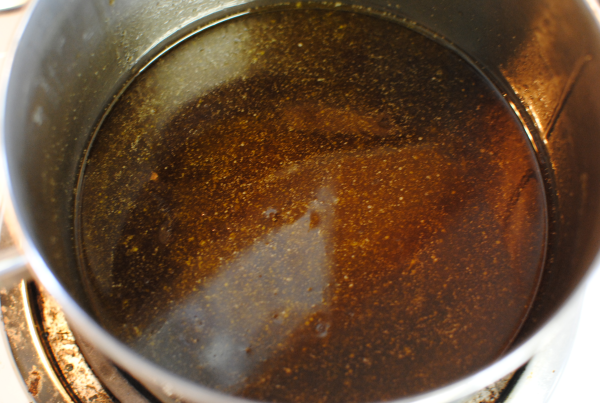
Then you stir in the brown sugar and corn syrup until completely dissolved.

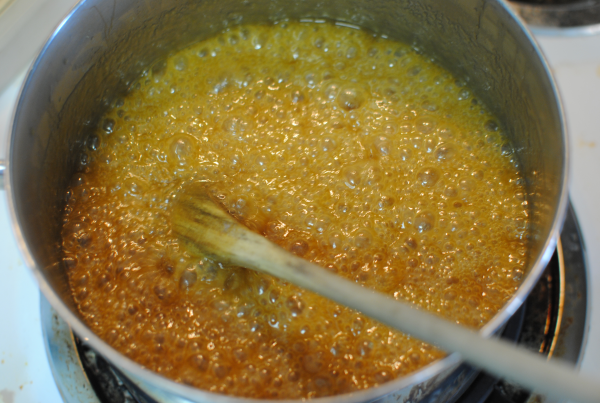
Lookie there, it’s already looking like caramel! The next step is to remove it from heat and add in sweetened condensed milk. Then we get it nice and bubbly for about 25 minutes stirring constantly so it doesn’t burn.  Now is the time when a candy thermometer should be used, so if you’re prepared and have one, use it.

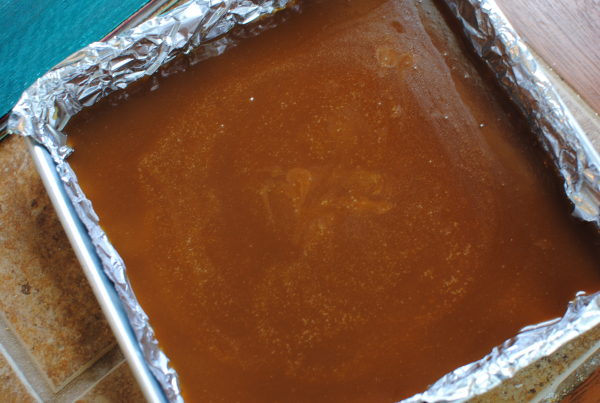
Then it’s all a matter of pouring it into a 8×8 pan and letting it harden.

Note- I do NOT recommend using foil to line your pan unless you have very hefty foil. It was a nightmare getting it off the caramel once set. Also be sure to keep your caramel in the refrigerator until ready to eat so that it stays nice and firm.

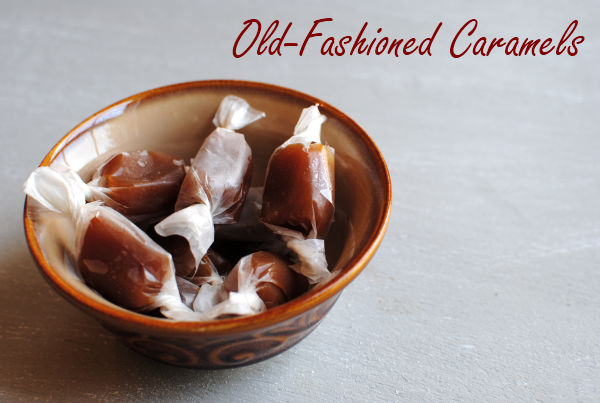
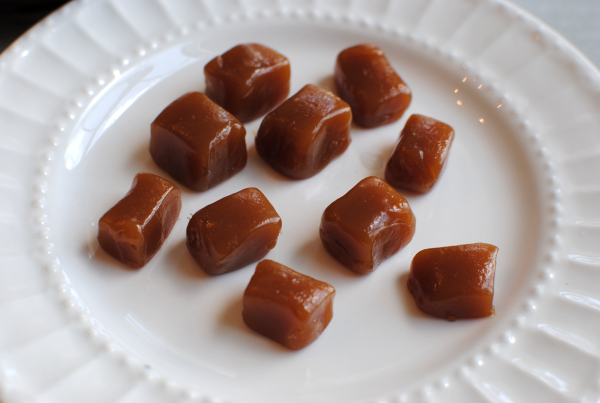
Once set, you can cut it into small squares and wrap it in squares of wax paper for easy eating and sharing. It’s oh so yummy! Even my hubby who is a strict chocolate lover loved this caramel.

How to Make Old-Fashioned Caramels
Recipe Type: Dessert, Treat, Candy
Author: Pillsbury
With just 5 ingredients you can create a time machine back to a simpler yet sweet time.
Ingredients
  • 1 cup butter
  • 2 1/4 cups firmly packed brown sugar
  • 1cup light corn syrup
  • 1(14-oz.) can sweetened condensed milk (not evaporated)
  • 1 1/2 teaspoons vanilla
Instructions
  1. Lightly grease a square baking dish.
  2. In a medium saucepan, melt 2 sticks butter. Add in brown sugar and mix well. Then add in corn syrup. Stir until sugar is dissolved.
  3. Remove from heat and add sweetened condensed milk.
  4. Heat over medium heat for 20- 30 minutes until it reaches 244 degrees.
  5. Remove from heat and add vanilla.
  6. Pour mixture into greased pan and let sit until firm.
  7. Wrap in wax paper and store in refrigerator.
Notes

This is not a diet dish by any means. Eat at your own risk!

Happy Pennywise Cooking!


Like this post? SHARE it!

Related Posts Plugin for WordPress, Blogger...