CandyBar Week: Homemade Peanut Butter Cups

Happy Monday! There are only about a million reasons why today is a GOOD Monday, y’all. First off, my oldest baby starts kindergarten today! It just doesn’t seem right. I’ve been at home with her since the beginning and it’s going to be really different around here without her energetic self. I might just be able to keep the house clean. 😉

Another reason that today is a great day is because I had a fantastic weekend and someone those always seem to make way for a good week. Enjoyed some time with all of my family. I got to snuggle my step-sister’s little boy and even worked a little Scrabble game in. My dad even made me up some homemade ice cream. You know, the automated cranked kind. (I must be really special, huh?!) It was such a wonderful weekend and makes me so thankful for my family.

The biggest reason that I’m so glad that it’s Monday is that I have now declared TODAY the beginning of CandyBar Week here on Pennywise Cook! Oh yeah, we’re talking homemade versions of your favorite candybars that take very little time, money, and effort. I had no idea how easy my favorites were to make! I’m so glad to share these with you this week. I hope you enjoy them as much as I have.

And my entire family and friends have. I have now shared some of my candybars with most of my family by request. They were all in aw of how close they were to the real thing! And by the ingredients too….you might be surprised what it takes to make them. But I’ll shut up now and start you off today with Homemade Peanut Butter Cups!

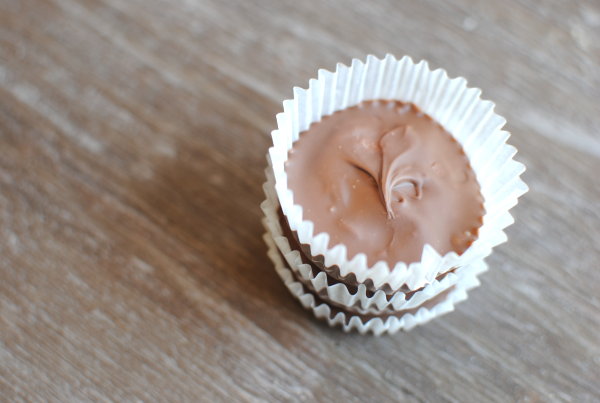
I can already tell you that you will love these Homemade Peanut Butter Cups. Much like the original Reese’s Cups, these are much more special because they are made with love and ingredients from your very own kitchen. Can’t you just imagine them as perfect Christmas gifts?

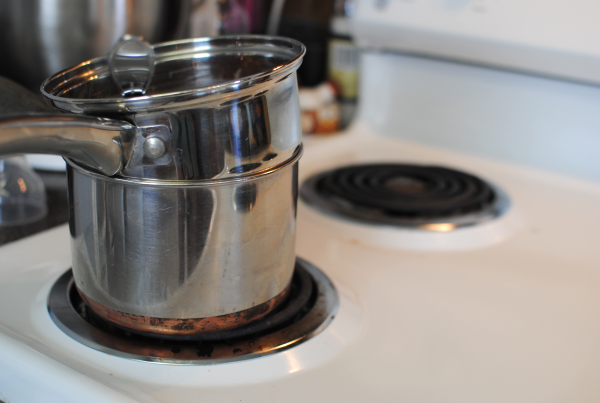
Grab your old trusty double boiler, or perhaps your two small saucepans like I do. Throw some hot water in the bottom one and get it going on a slow boil. Melt up a cup of milk chocolate chips. Or use your microwave if you’re brave. I’m not, so I use my saucepans.

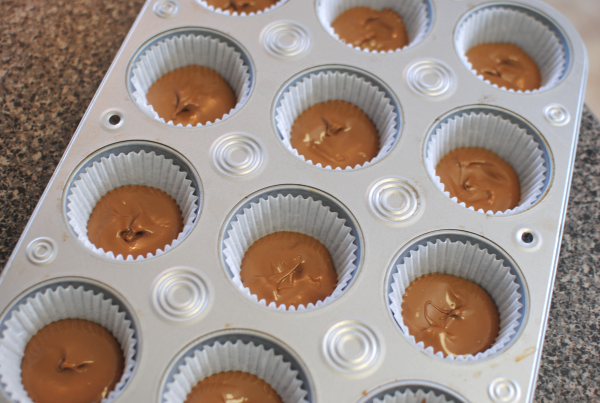
Line a muffin tin with liners and drop a thin amount of melted chocolate into each cup. Use your spoon to get it into each little crevice of the liners. This is what really makes it look like a peanut butter cup. Then pop them in the freezer for a bit while you whip up the filling.

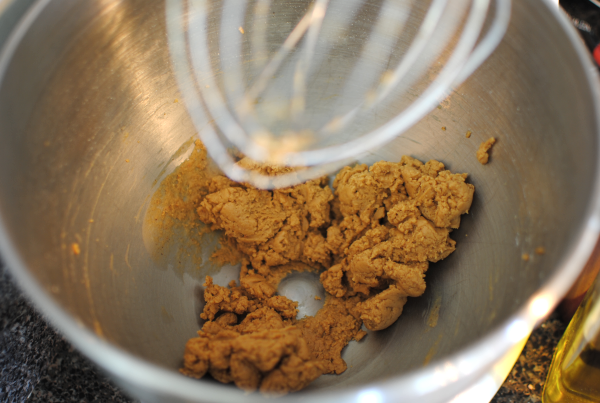
The filling is super easy. In a mixer, mix together natural peanut butter, powdered sugar and honey. Voila! It’s ready to be rolled and then flattened into your frozen bottoms.

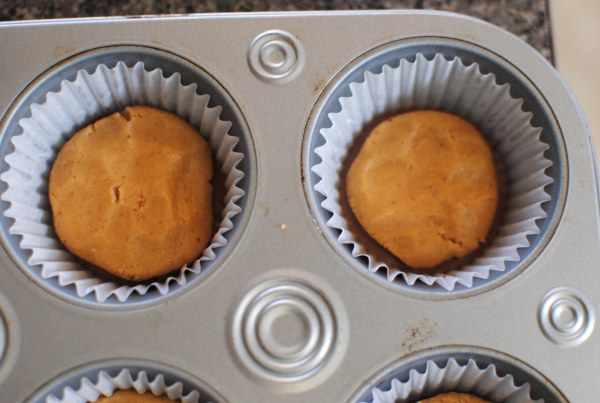
Use about a teaspoon of the filling per cup. Roll it up into a ball, then flatten onto the chocolate leaving a little space around the outside. This way the chocolate can ooze down in there to create a smooth outer shell.

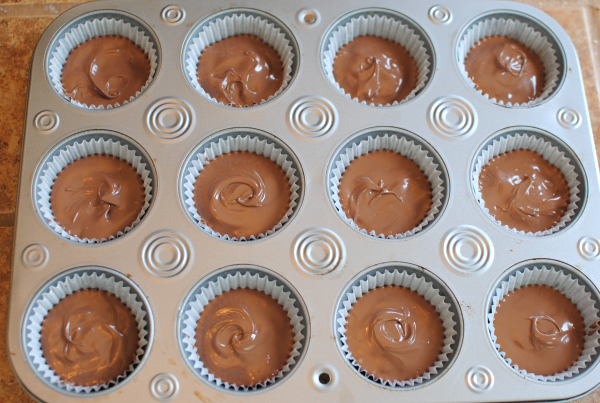
Melt another cup of chocolate chips and smooth it on top of each cup and freeze for a little bit longer and you’re done!

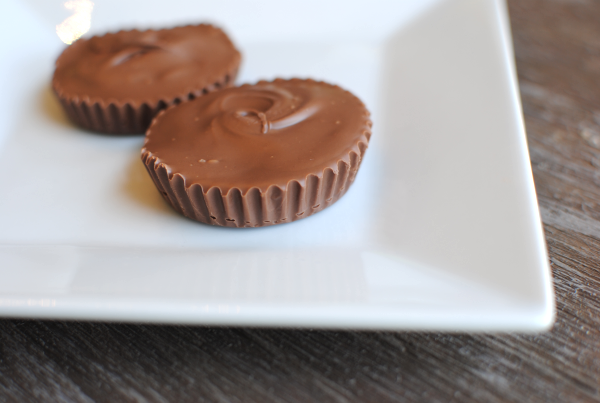
So tasty and so close to the original thing that you’ll believe that’s just what you’re eating.

The first time I made them, I used semi-sweet chocolate chips for the coating. It was ok, but not near as good as the milk chocolate. We liked the ones made with them a lot better. I also made them in the mini muffin tins the first time and the second batch was in the larger ones. After having it both ways, my hips told me to go back to the smaller muffin tins next time. 🙂

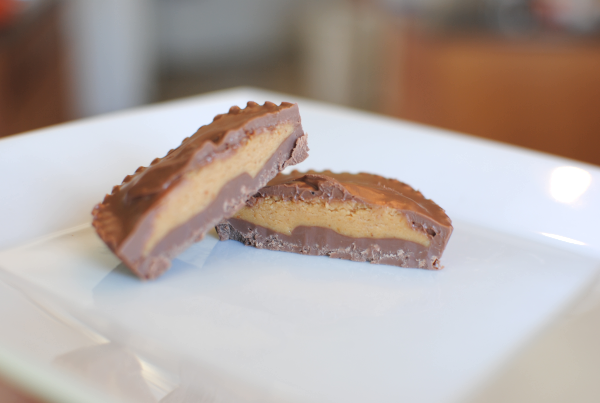
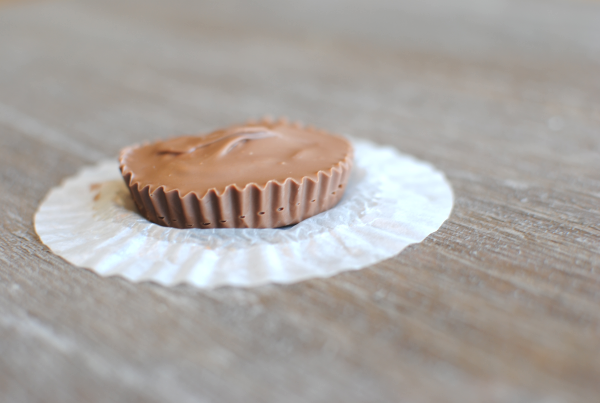
Mine weren’t perfect by any means, but here’s the inside. Oh my goodness, I want one right now y’all!

Let’s talk about how to make them…

CandyBar Week: Day 1- Homemade Peanut Butter Cups
Recipe Type: Candy, Dessert, Snack
Author: Pennywise Cook
With just 4 ingredients, create peanut butter cups that rival even the biggest peanut butter cup competitors.
Ingredients
  • 2 c. Milk Chocolate Chips
  • 1/2 c. Natural Peanut Butter
  • 3 Tbsp Powdered Sugar
  • 1 Tbsp honey
Instructions
  1. Melt 1 cup of the chocolate chips in a double boiler. Drop equal amounts into a lined mini muffin pan. Use a spoon to even it out into the crevices of the liner. Place in freezer for 5-10 minutes while you make the filling.
  2. With a mixer, whip together the peanut butter, powdered sugar, and honey. If you notice your filling being a little too thick, pour a few drops of the natural peanut butter oil into it to thin it out just a bit. It should be like dough and able to be rolled.
  3. Remove the chocolate from the freezer. Roll the filling into 1 teaspoon- 1 and 1/2 teaspoon balls. I used about 1 and 1/4 tsp for mine. Flatten them on the chocolate leaving a little space on the outside of the filling for the chocolate to go into.
  4. Melt the other cup of chocolate chips and even pour equal amounts on top of the peanut butter filling smoothing it out as you go. It’s best to do one cup at a time because the peanut butter can make the chocolate harden faster this time.
  5. Freeze for about 10 minutes then serve!

Like this post? SHARE it!

Related Posts Plugin for WordPress, Blogger...

Coconut Poke Cupcakes

I want to preface this post today with a warning to my sister. If you are reading….STOP right here.

And for everyone else, you might wonder why I say this to my sister. It’s because I’m going to expose a little family secret today. One that in her undisclosed amount of years on this earth, she has never found out. My grandmother has always made this incredible coconut cake almost every year around the holidays. It usually marks a special occasion. My sister always requests it and it just makes her day when she gets a piece.

To my surprise, I was told this family “recipe” around her birthday this year. My mom shared it with a coworker who made one of these cakes just for my sister’s birthday. She thought it tasted exactly like my grandmother’s coconut cake. No wonder, it’s actually very simple to make.  I realize that many people don’t like coconut, but if you are one of the few that do, you’ll want to learn about this cake. It’s soooo yummy and soft and will definitely put a smile on your face. My grandmother usually makes this in cake form, but to narrow the portion sizes (I can’t help myself), I made them into cupcakes this time around.

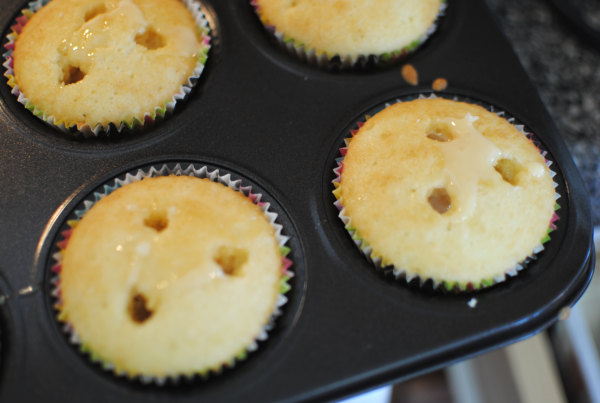
It starts with your favorite white cake mix. Yes, that’s right. Save yourself the hassle and let Betty Crocker help you out for once. I actually used the Coconut Supreme version this time around to give it more coconut flavor. Bake the cupcakes according to the package and while they are still warm, use a wooden spoon to poke 3 holes in the middle of each.

Pop open a can of sweetened condensed milk (I use fat free) and drizzle some down in each of the holes in each cupcake. As you drizzle, it will absorb and will seem to disappear. Don’t go overboard though or you can cause the cupcake to get extremely mushy.

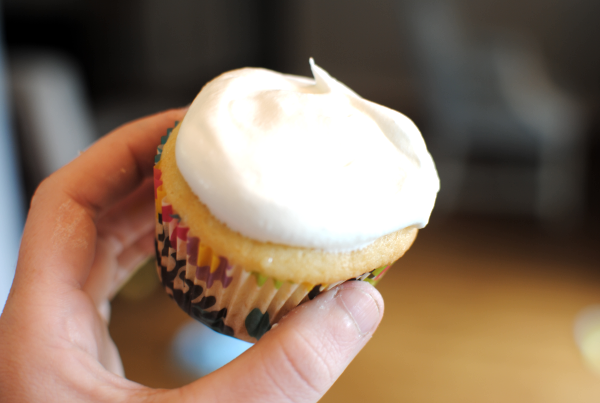
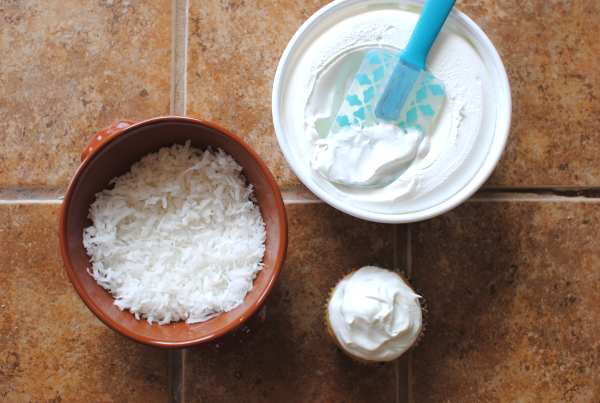
Place a dollop of whipped topping on each cupcake and even it out just a bit.

It’s time for the cupcake to take a coconut bath….

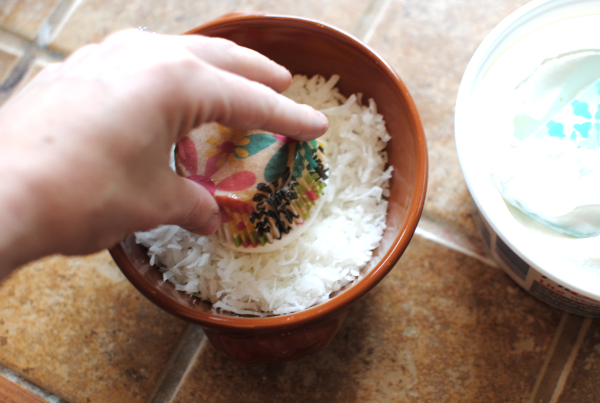
Dip that baby into the coconut and let it settle into the whipped topping. Don’t push too hard, it doesn’t take much for the coconut to catch on.

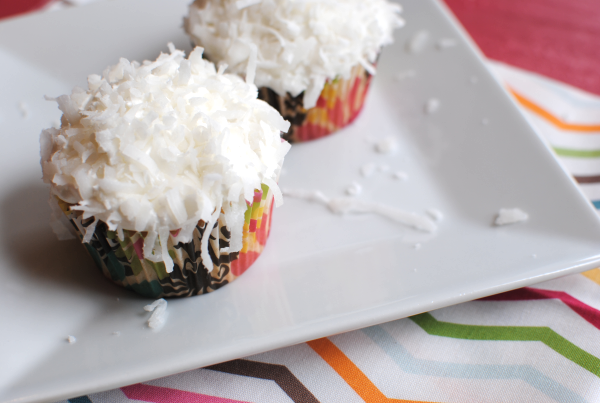
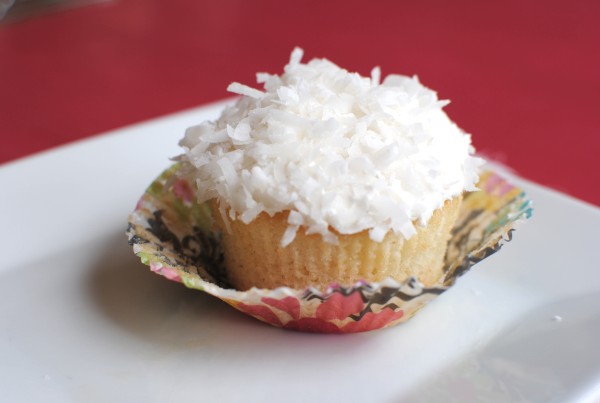
Oh my heavens, that’s it! From the outside you can’t even tell that it’s got a gooey and yummy center. But the fluffy, white coconut top is enough to get me to dive in.

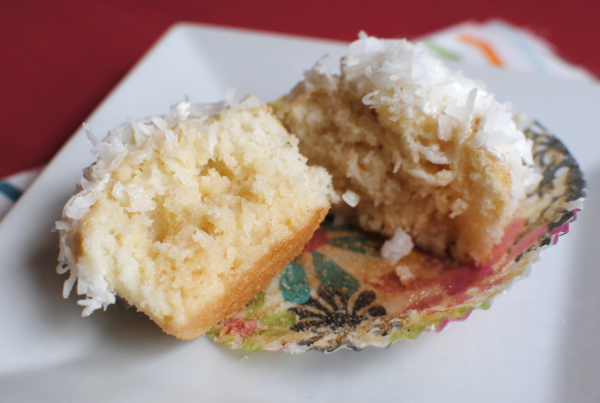
And when you do, you’ll see how moist the inside is. It’s like a fluffy cloud of coconut heaven y’all.

To my sister if you did continue to read on, I’m very sorry to have spilled the beans on this beloved cake. But I thought it necessary to share it’s simpleness with the world. It’ll be a blessing to coconut lovers like us everywhere. 🙂

Coconut Poke Cupcakes
Recipe Type: Dessert
Author: Grandma Johnson
This simple method creates a fluffy coconut cupcake made in heaven!
Ingredients
  • 1 Box White Cake Mix (Or Coconut Supreme if you’re feeling frisky)
  • 1 Can Sweetened Condensed Milk
  • 1 8oz Tub Whipped Topping
  • 1-2 Cups Coconut Flakes
Instructions
  1. Cook cupcakes according to package directions. DO NOT LET COOL.
  2. While cupcakes are still warm, poke each about 3 times most of the way down. Drizzle some sweetened condensed milk equally among them all being careful not to overdo it. The sweetened condensed milk will be absorbed so it may not look like it’s going in, but it is.
  3. Place a dollop of cool whip on top of each cupcake spreading it out a bit.
  4. Place the coconut flakes in a bowl and dip each whipped topping covered cupcake in the coconut flakes to coat.
  5. Serve! And keep refrigerated.

Like this post? SHARE it!

Related Posts Plugin for WordPress, Blogger...

Chocolate-Covered Strawberry Pizza

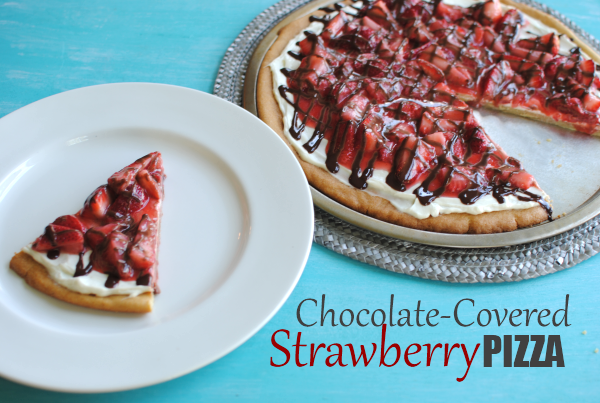
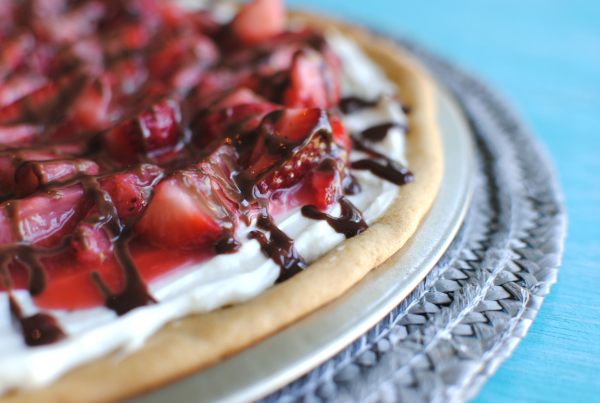
There are two things that you’ll notice right off the bat about the picture above. 1) That it’s pizza and 2) there are strawberries on that pizza! But the one thing you won’t exactly pick up from that picture is that crust isn’t just any crust.

It’s COOKIE.

Yes, we’re talking a soft and sweet tasty cookie to make the base for this incredible dessert pizza. And who needs tomato sauce when you can have a vanilla cream cheese sauce on top of your cookie crust? And instead of anchovies or ridiculous pepperoni, let’s top it with strawberries and then drizzle those with creamy chocolate ganache shall we?

And the next step is to make sure to alert the others in your household that it’s there. Otherwise you might find yourself eating this entire pizza yourself.

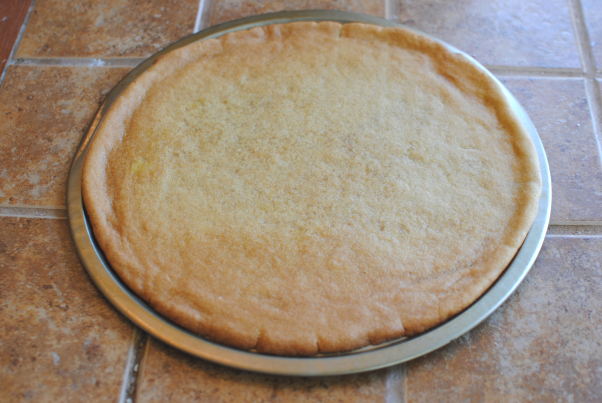
It all starts with something extremely easy, (dare I say) store-bought sugar cookie dough. I got lazy and this whole idea came to me when I was staring at the cookie dough section at the store. So feel free to make yours from scratch if you wish. I’m sure it will make it all that much tastier.

Simply place it onto a pizza pan and flatten away. Bake it according to the directions on the package or your recipe, you overachiever. 😉 I left mine just a tad bit soft so that it would still have some give similar to breaded crust.

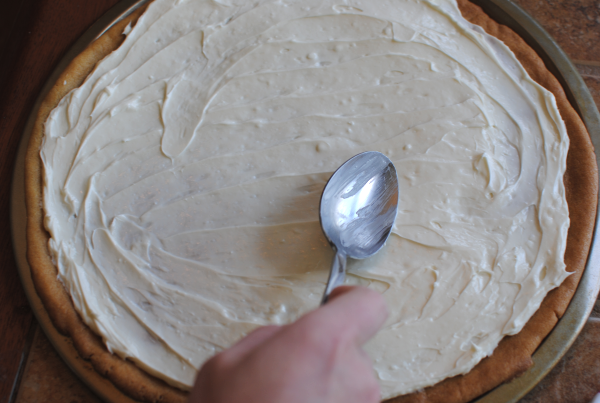
Then using a spoon that you’ve clearly been licking, spread the yummy vanilla cream cheese onto your crust.

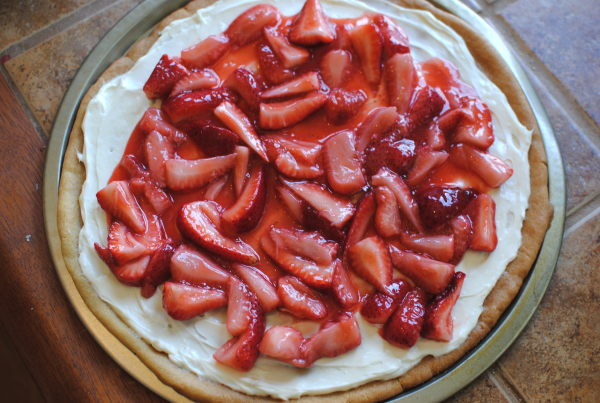
After making up your strawberry sauce, spoon it onto your cream cheese and get ready for the chocolate baby.

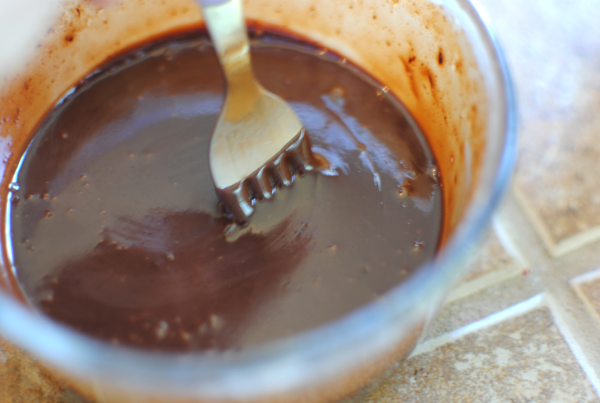
This chocolate ganache is as simple as it gets. Cream and semi-sweet chocolate chips are a match made in heaven. Drizzled over strawberries on this pizza, they are heavenly for sure.

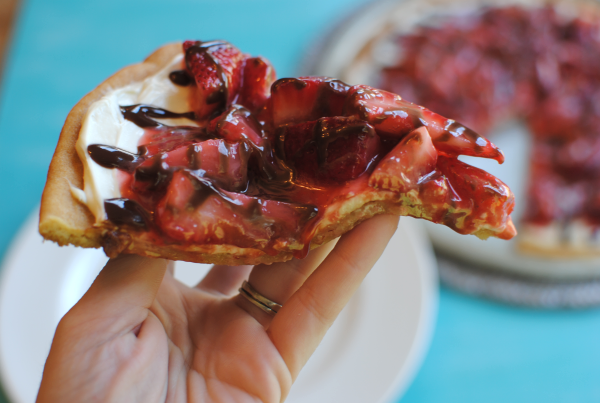
Do you see what I’m talking about? It just doesn’t get any better than this.

Well maybe it does. If you had a piece like this in your hand! Check out Aldi and their strawberry deals. They always have them cheap!

Chocolate-Covered Strawberry Pizza
Recipe Type: Dessert, Pizza
Author: Pennywise Cook
Pizza isn’t just dinner anymore, it’s dessert too!
Ingredients
  • 1 Package Sugar Cookie Dough
  • 2 Cups Capped, Hulled, and Chopped Stawberries
  • 1 8 oz Package Cream Cheese (I use 1/3 less fat kind)- Softened
  • 1/2 Cup Splenda + 1 and 1/2 Tbsp Splenda
  • 1/2 Cup Heavy Cream
  • 1/4 Semi-Sweet Chocolate Chips
  • 2 Tbsp Water
  • 1 Tsp Cornstarch
  • 1/2 Tsp Vanilla Extract
Instructions
  1. Prepare cookie dough according to directions, but place on pizza pan to cook. Let cool.
  2. Meanwhile, whip cream cheese, vanilla, and 1/2 c. Splenda together. Spread onto cooled cookie crust.
  3. In a small saucepan, combine 1 and 1/2 tbsp Splenda, strawberries, water, and cornstarch. Bring to boil, then simmer for 5-6 minutes. Let cool.
  4. Pour over cream cheese taking care to not cover the entire cream cheese area.
  5. In a microwave safe dish, heat cream for 1 minute or until boiling. Place chocolate chips in cream and let sit for 2 minutes. Begin to shake the bowl allowing the chips to begin to melt. Don’t stir just yet. Microwave another minute, then stir together. Allow to cool for a bit.
  6. Drizzle chocolate over pizza. Cut into slices and serve!
  7. Keep refrigerated.

Like this post? SHARE it!

Related Posts Plugin for WordPress, Blogger...

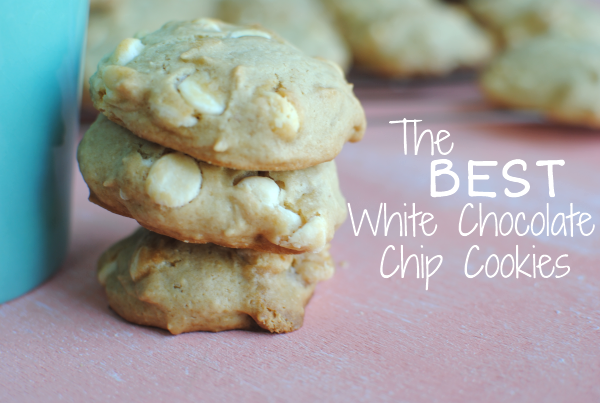
The Best White Chocolate Chip Cookies

It takes a lot to make a cookie worth the title The BEST White Chocolate Chip Cookies. Believe me, I’ve tried my share of them. I can’t tell you that these are the best in the world, but I can tell you that they are the best that I’ve made and I’ve been working on my recipe for a little while now. I am head over heels in love with white chocolate, but it doesn’t love me back. I cannot cook with it for anything so the fact that I was able to accomplish these cookies is a feat in itself. Therefore, they have been dubbed The BEST White Chocolate Chip Cookies.

…and because they also happen to be absolutely fabulous as well.

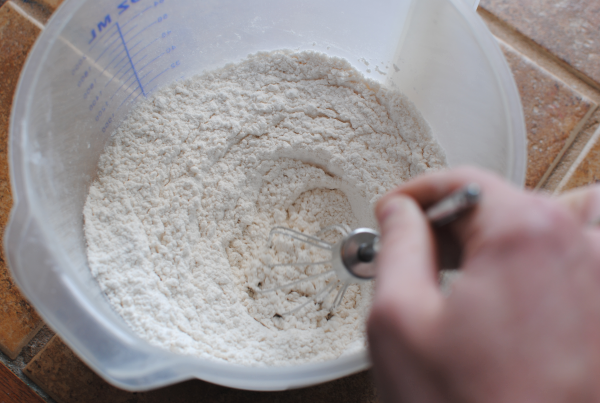
It starts with what you would expect from a cookie recipe, flour. Sift it together with some baking soda and a little salt. It would be good to use a sifter, but seeing as how mine is a piece of crap and the top won’t release itself from the bottom, I opted to use a wisk in a bowl.

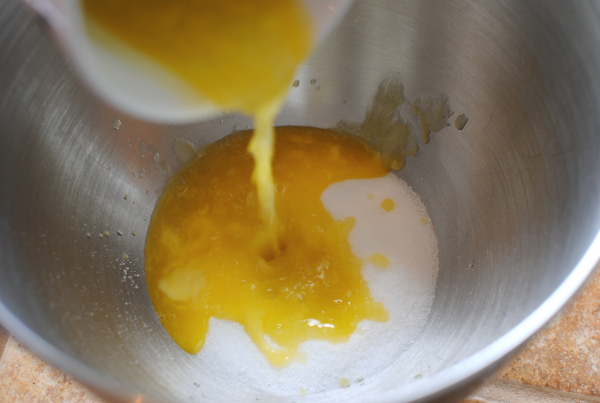
Here comes the yumminess. In your mixing bowl you’re going to add 2 different kinds of sugar (brown and white) along with some melted butter. I always use the Blue Bonnet Light because it makes me feel less guilty for using butter. Hey, whatever it takes right?

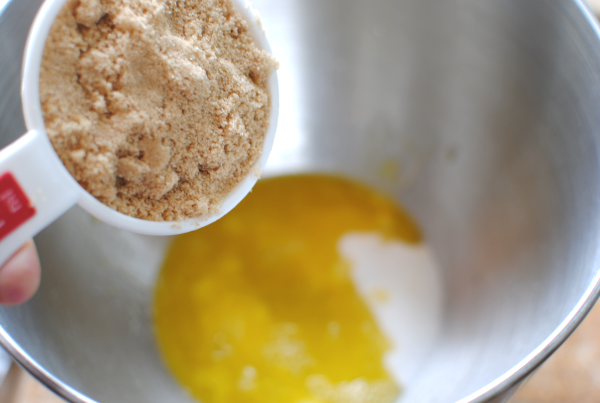
Oh look, there’s the brown sugar!

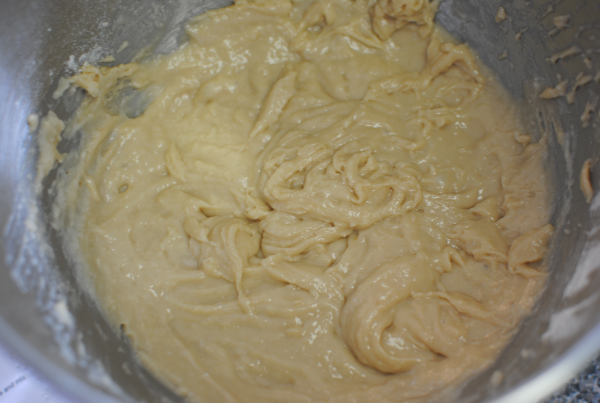
We’re going to fast forward just a bit. After you’ve mixed the sugars and the butter with the flour mixture, some eggs, and a secret ingredient- applesauce, this is what it will look like. It’s quite runny for cookie dough, but understand that this is normal. It’s going to be soft and cakey and that’s why.

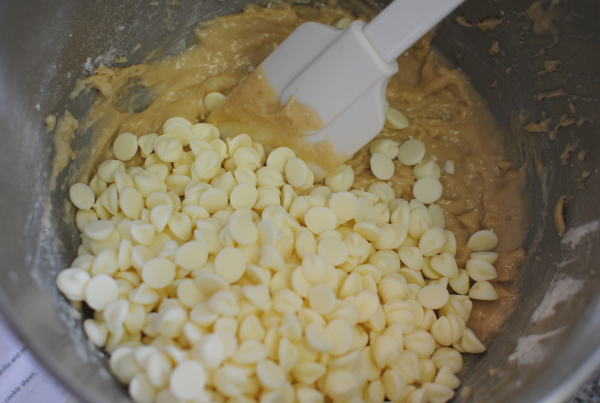
Then comes the star of our dough, the white chocolate baby! At this point, it takes everything I have not to just grab a spoon and inhale all of those white chocolate chips.

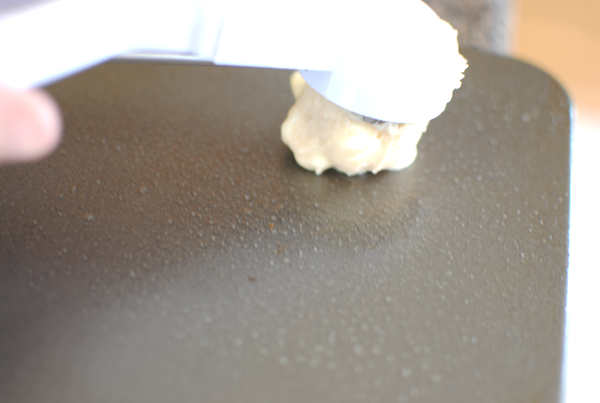
Then, I use my little cookie dough scooper to make perfect little dough balls on the baking sheet.

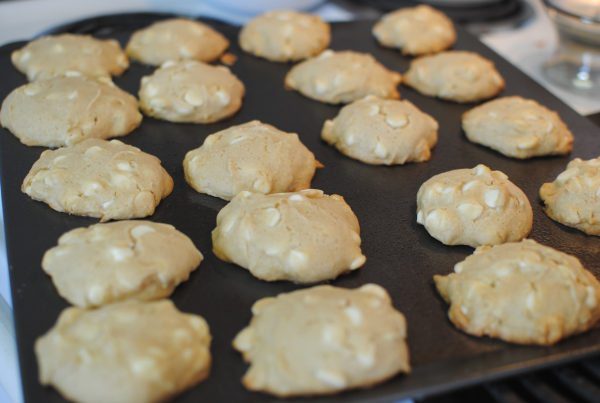
Within about 13 minutes, they will have made your home smell heavenly and your tummy rumble for their white chocolatey goodness. Always best when eaten a little warm, of course.

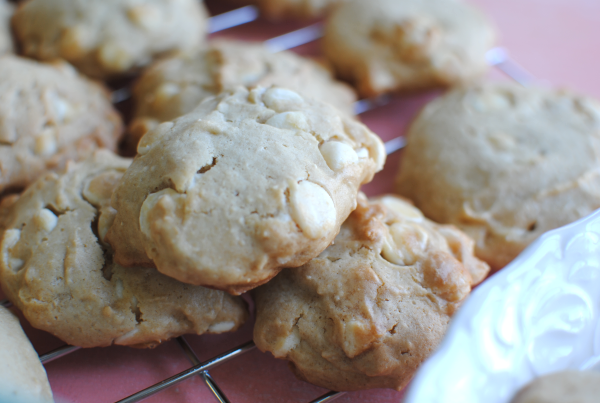
Tah dah! Enjoy 🙂

The Best White Chocolate Chip Cookies
Recipe Type: Dessert, Cookies
Author: Pennywise Cook
Yep. These are the BEST White Chocolate Cookies.
Ingredients
  • 2 c. All-Purpose Flour
  • 1/2 Tsp Baking Soda
  • 1/2 Tsp Salt
  • 6 Tbsp Butter, Melted
  • 1/2 c. Packed Brown Sugar
  • 1/2 c. Sugar
  • 1/2 Tbsp Vanilla Extract
  • 1/3 c. Applesauce
  • 2 Egg Whites
  • 2 c. White Chocolate Chips (1 bag)
Instructions
  1. Preheat your oven to 325 degrees. Grease your cookie sheets.
  2. Sift the flour, baking soda, and salt together and set aside.
  3. In a mixing bowl, cream the sugars and butter together. Add in the egg whites, vanilla, and applesauce and combine well.
  4. Add the sifted flour mixture slowly to the sugar mixture until just combined.
  5. With a spoon, stir in the white chocolate chips.
  6. Drop 1/8 cup or so of the dough around 2 inches apart on baking sheet.
  7. Bake for about 13 minutes or until they have begun to brown around the edges.
  8. Cool on wire rack.
Notes

The timing for these has been 13 minutes for me each and every time. Your oven may be different so I would watch to see how done they are around 12 minutes and add more time if needed.

The last time I made these, I counted them and was going to make a point to know how many servings this recipe makes. Of course my crazy brain forgot to write it down and now I have no idea. It’s a lot though! Maybe 2 dozen or so.


Like this post? SHARE it!

Related Posts Plugin for WordPress, Blogger...

Banana Cream Cheesecake

Happy FRIDAY pennywise cooks! May your day be filled with productivity and a little bit of fun, too. 🙂

It’s been just a little while since I shared a cheesecake recipe with you. I’m fond of cheesecakes to say the least. I’m not sure if it’s their creaminess or the fact that you can pair them with practically any sweet flavor that makes them so appealing to me. I’d eat them plain too.

There used to be this cheesecake shop where I used to live. Leonelle’s Cheesecakes. A slice was $2 and it was HUGE! A large cheesecake was $28 and the smaller versions were $19 and worth every single penny. They were low carb without any added preservatives or artificial gunk. He even used a natural sugar. Those were the best cheesecakes we’ve ever eaten. When we moved from that city and came back to visit, we found that his shop was closed. It made me sad. My husband and I would always grab one and eat the entire cheesecake in one night while watching a movie.

I guess it’s best that it’s no longer there…

I was talking to someone the other day and they told me about a banana cream cheesecake they had eaten recently. They raved about this cheesecake. My gears started turning and I knew I had to make one. You know me and my love of bananas.

I made a few changes to Kraft Foods’ recipe for Banana Cream Cheesecake. I adapted it to healthify it a bit. But believe me, it’s still incredible.

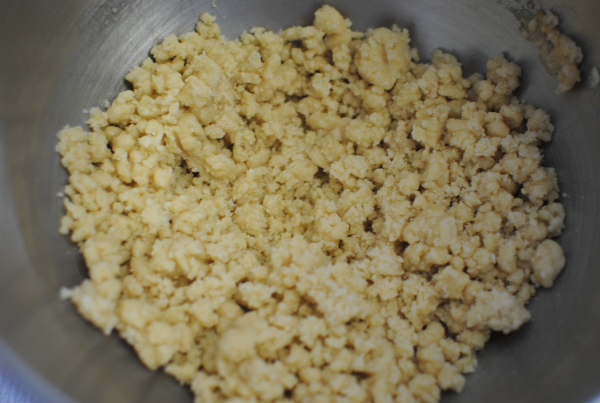
It starts off with white cake mix, egg, oil, and sugar made into this crumbled mixture. This is the crust. Never thought of using white cake mix as a crust before, but this was a great idea. It wasn’t cakey at all and tasted really good.

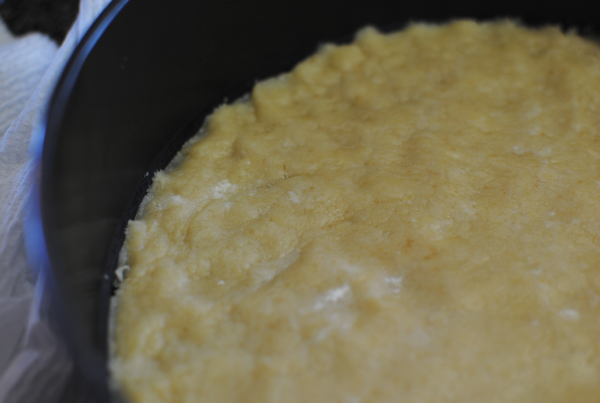
You press the crumbled mixture down into a springform pan to form the crust. Pardon my rippling fingerprints. You can make yours a little prettier I’m sure.

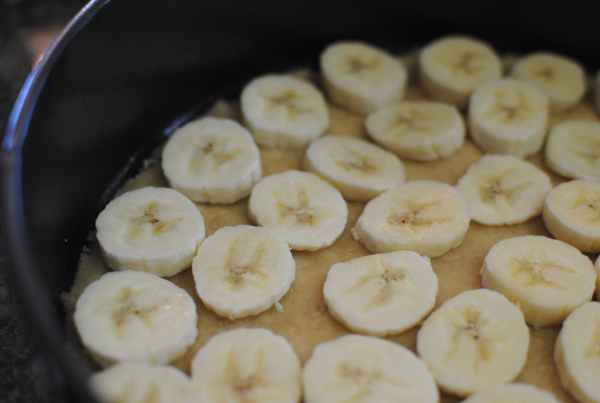
Next comes the nanners. This is really the only point in the entire cheesecake that bananas are involved. To be honest with you, I don’t really care for bananas being in there. I know, kinda weird huh? I have never liked real bananas being in my banana pudding. It’s a texture thing and it bothers me when the bananas get brown.

If you aren’t a banana person, I promise that this cheesecake would be just as amazing without them.

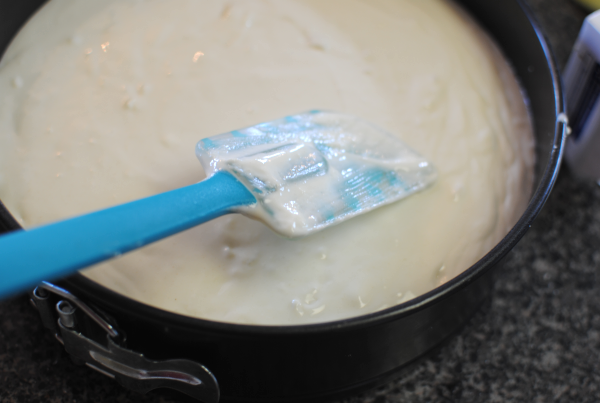
Then its time for the cream cheese mixture. It’s a little runny, even after reducing the amount of milk from the original recipe. But that doesn’t matter because it still bakes up correctly.

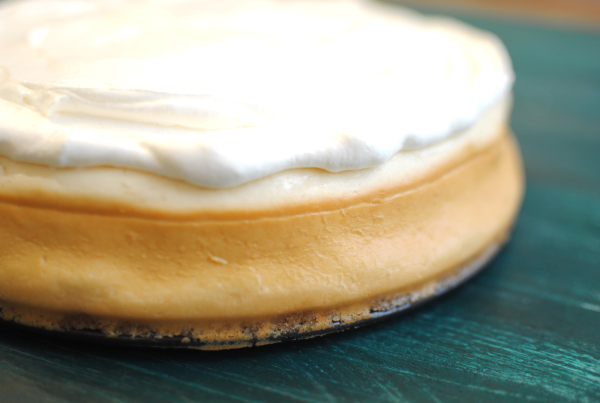
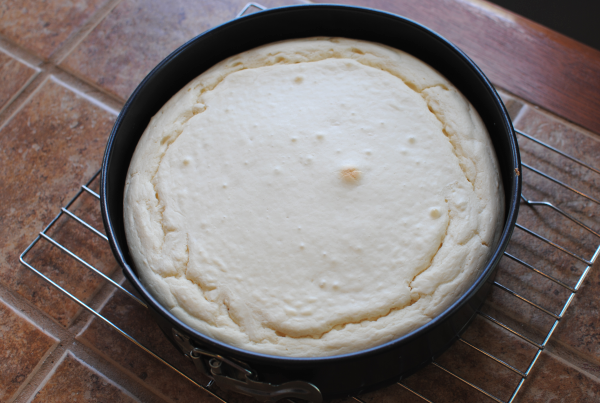
Here is it out of the oven! I could just dive right in with my fork right now. It could have cooked another 5-10 minutes I’m convinced, but it was practically done. I’ll add the additional time to the recipe for you.

I’m in love. With a cheesecake.

*cue the teasing “so why don’t you marry it”*

I will, thank you.

Banana Cream Cheesecake
Recipe Type: Dessert
Author: Adapted from Kraft Foods’s Recipe
Ingredients
  • 1 White Cake Mix
  • 2 Egg Whites
  • 2 Whole Eggs
  • 3 Tbsp Oil
  • 2/3 c. Packed Splenda Brown Sugar, divided
  • 2 Bananas, Sliced
  • 1 Package (8 oz) Fat Free Cream Cheese
  • 1 Package (8 oz) 1/3 Less Fat Cream Cheese
  • 2 Tbsp Lemon Juice
  • 1 c. Skim Milk
  • 1 and 1/2 c. Thawed Whipped Topping
Instructions
  1. Preheat oven to 300 degrees. Reserve a cup of cake mix. Mix the remaining cake mix with 1 egg, oil, and 1/3 Splenda brown sugar with a mixer. (will be crumbly) Press into a greased round springform pan or 9×13 baking dish to form the crust. Top with bananas.
  2. Beat cream cheeses and remaining sugar with mixer. Add the reserved cake mix, 2 egg whites, last whole egg, and lemon juice. Beat for about a minute, then add the cup of milk. Batter with be thin. Pour onto crust and smooth top.
  3. Bake 45-60 minutes or until the center is almost set. Cool and then refrigerate at least 4 hours.
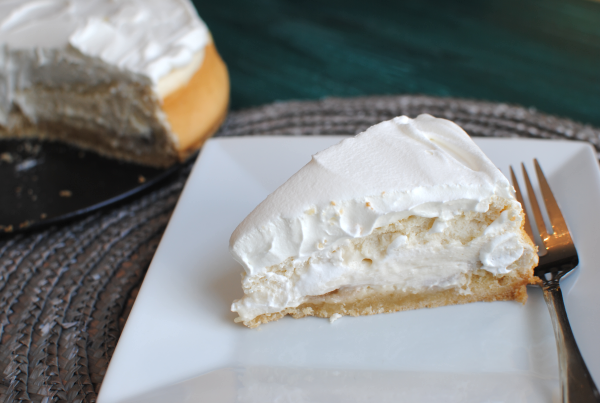
  4. Top with whipped topping and refrigerate leftovers.

Like this post? SHARE it!

Related Posts Plugin for WordPress, Blogger...

Peanut Butter Choco-Banana Ice Cream

I am an absolute ice cream fanatic. There, I said it. It’s in my top favorite sweets out there. I have issues practicing portion control when a tub is placed in front of me. So as you can imagine, I try not to get into that position very often.

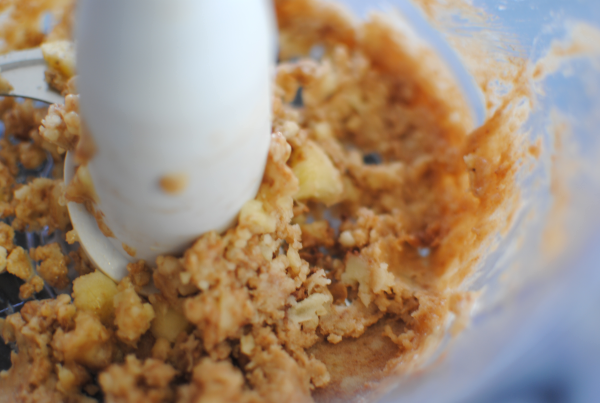
A while back, I shared a recipe for 1-Ingredient Banana Ice Cream over at Saving with Amy. For ice cream lovers like myself, this is quite a discovery that makes eating ice cream a little less guilt-stricken. You see, all it takes to make a batch of creamy and smooth no-add sugar banana ice cream is to freeze a few sliced bananas and then pop them into a food processor!  I know, right?

I can just feel you saying SHUT UP!


But around here, where there’s banana you’ll almost always find peanut butter. They go together like milk and cookies or Lucy and Ethel……..

….or perhaps me and ice cream.

I have a history of pairing peanut butter and banana together.

Exhibit A:

If you’re a fan of the duo, those are some recipes you could try.

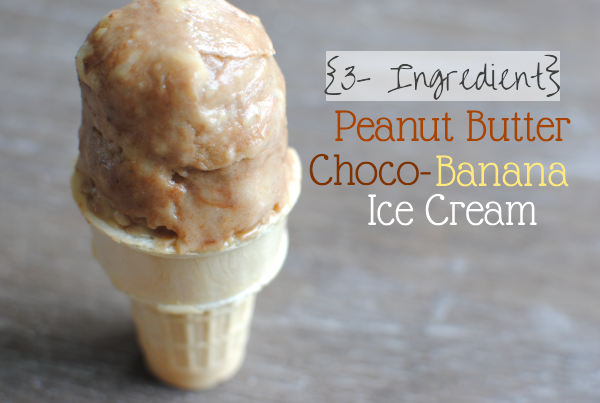
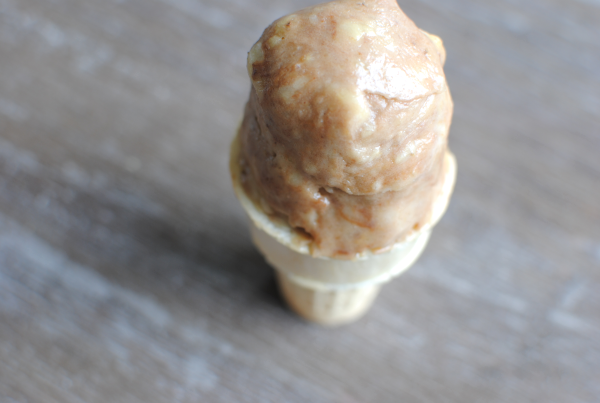
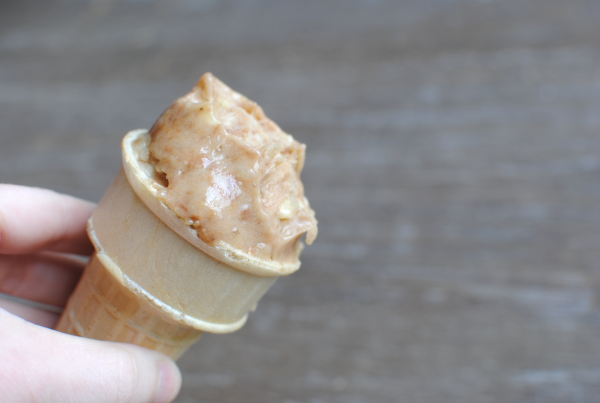
Not only did I add in some peanut butter, I also added in another fave of mine…chocolate! There is nothing better than the combination of those three in harmony taking a dip in my ice cream cone. So soft and creamy.

That’s the stuff! And I just love that this is available whenever I’m ready. The bananas can be frozen for weeks or sometimes even months in the freezer and then popped out to be made into ice cream when you have a craving. And of course, you probably have a little powdered cocoa in the pantry along with some peanut butter.

3- Ingredient Peanut Butter Choco-Banana Ice Cream
Recipe Type: Dessert, Ice Cream
Author: Pennywise Cook
The base of this natural ice cream is simply frozen bananas. Add in some yummy touches like peanut butter and cocoa for an extra treat!
Ingredients
  • 2 Cups Frozen Banana Slices
  • 1 Heaping Tbsp Peanut Butter (creamy)
  • 2 Tsp Cocoa Powder
Instructions
  1. Place the bananas in a food processor and pulse until the bananas start to break up. Add in the peanut butter and cocoa.
  2. Process until small beads are created then scoop into bowl and ice cream and serve!
Notes

I must admit that these are complete estimates for the peanut butter and cocoa. I did not measure exactly but I don’t see how you could really mess this one up. 🙂


Like this post? SHARE it!

Related Posts Plugin for WordPress, Blogger...