Homemade 3 Musketeers Bars

Oh man, I’m still on a sugar high from all of this week’s candybars. When you have bowls of fillings and melted chocolate in front of you, it’s impossible to resist. I’m just sayin’.

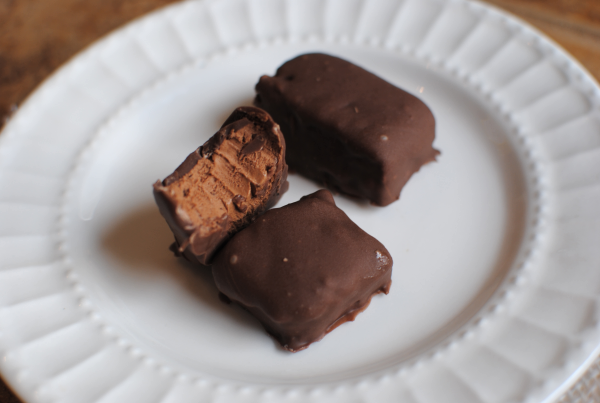
We’re going to go a bit lighter today on our candy bars and talk about how to make Homemade 3 Musketeers Bars. Once again, the simplicity of this recipe stunned me. There are once again just 3 ingredients in this one and it’s as simple as pie to make. Well, maybe not apple pie. It’s really not that easy to make apple pie from scratch is it?

I digress…

The main ingredient in the filling for these candybars is whipped cream. You don’t get much fluffier than that, huh. I think that’s why it’s so much lower in fat than most other candybars. It also explains it’s lighter than air texture.

You simply melt up 2 cups of chocolate chips. I used semi-sweet this time around, but I won’t be using those next time.

UPDATE- I tried the nougat part with milk chocolate and it made it WAY too runny, so I do not advise using the milk chocolate chips.

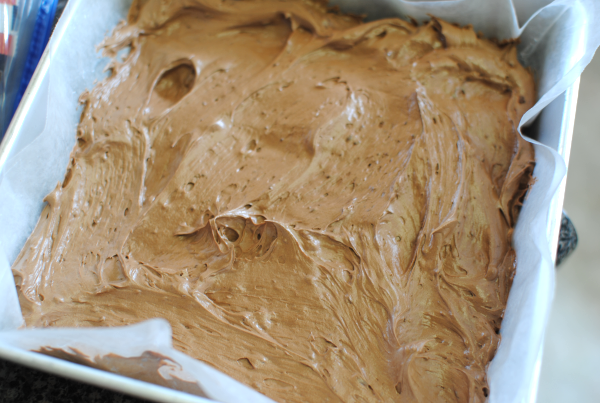
Anywho, melt those up in the microwave or double boiler (I prefer this method) and then give them a good whippin’ with your mixer. Beat in an 8 ounce container of cool whip just until combined and fluffy.

Pour into a lined square dish and freeze. The longer, the better. At least 30 minutes, but overnight is great!

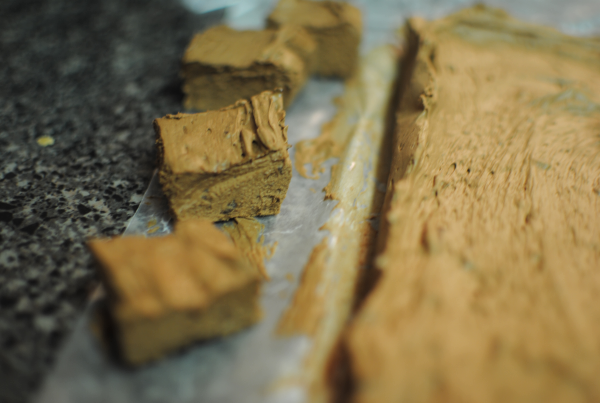
Sorry this picture is so dark. I got these put together at night and the lighting was just horrible. But you get the idea don’t you?

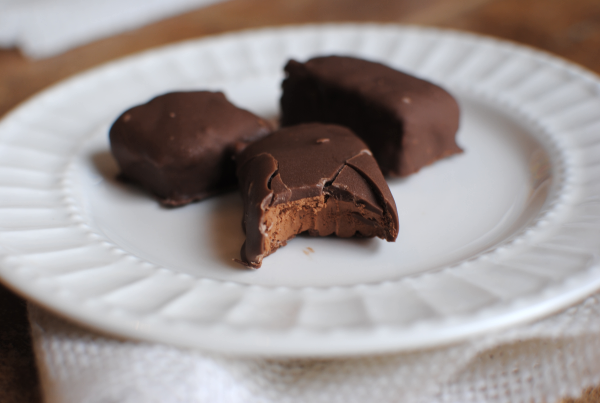
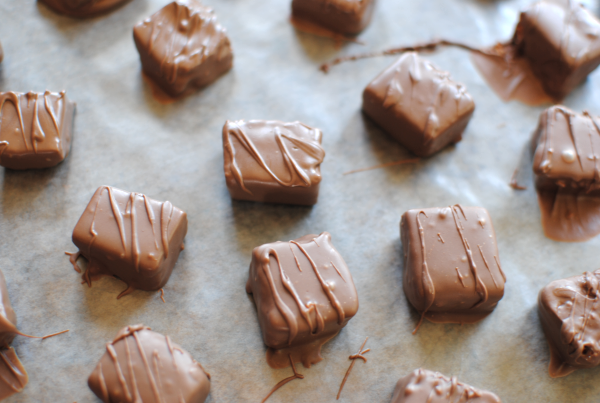
Once frozen, cut it into bite-size squares and dip into your melted chocolate wafers. I used a fork to turn and coat them well. These were a little more difficult to work with than the Butterfingers. These didn’t turn out as pretty for me, but they were still tasty!

Recipe from Monster Mama.

Homemade 3 Musketeers Bars
Recipe Type: Dessert, Candy, Snack
Author: Adapted from Monster Mama
Ingredients
  • 2 c. Milk Chocolate Chips
  • 1 8 oz Tub Cool Whip (You can even use sugar-free or fat-free!)
  • 2 c. Chocolate Melting Wafers
Instructions
  1. Melt chocolate chips in microwave or using a double boiler (I use this method). If you do use the microwave, it’s best to melt them on 50% power in 30 second intervals, stirring between each spurt.
  2. Beat your melted chocolate chips with a mixer for about a minute. Add in the cool whip and beat just until combined and fluffy.
  3. Pour into a lined 8×8 baking dish and freeze for at least 30 minutes. The longer, the better!
  4. Take out and cut into bite-size squares.
  5. When frozen, melt chocolate wafers according the package directions and using a couple forks, roll the squares until coated. Place on a wax-paper lined baking sheet. Place in the freezer to set.

Like this post? SHARE it!

Related Posts Plugin for WordPress, Blogger...

Homemade Butterfingers

We’re now on day number 2 of our CandyBar Week here at Pennywise Cook. It’s great making cakes and cookies and casseroles and all, but there is great satisfaction that comes when you have a batch of homemade candybars laying around. I’ve been using them for more than just eating by themselves. I’ve thrown a few in homemade ice cream a couple of times. They also make great bribery tools for the kids. And the husband…

Today’s homemade candybar is Butterfinger! Oh yeah, that’s right. Peanut Buttery, orange goodness. You might just be surprised by what exactly goes into these.

It’s possible that you may need to have a seat before you continue reading.

Almost everyone that tasted these could not guess what it was that these are made of. But they ALL said they taste exactly like the real thing.

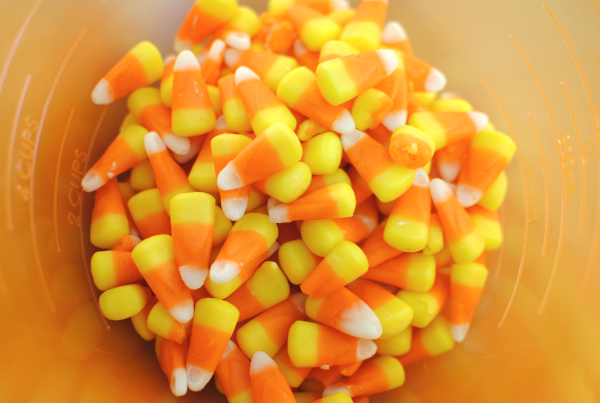
It all starts with the famous fall candy, candy corn. I’m a big fan of it myself, but just like coconut I know there are some who don’t like it. It doesn’t matter. If they like Butterfingers, they will like your candybars even though they contain candy corn. If you’re concerned about whether that will make a difference, just don’t tell them. It can be our little secret.

But you might just be dying to share this 3-INGREDIENT recipe with everyone.

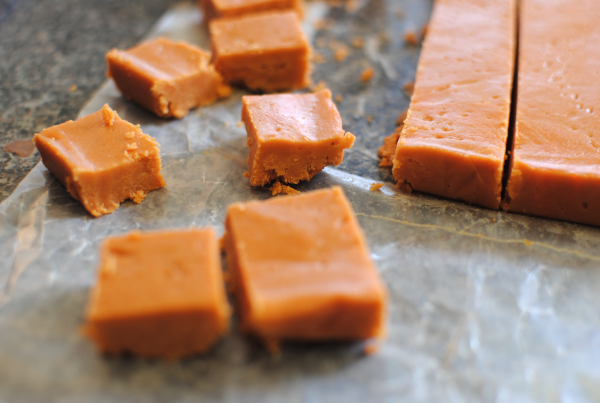
It starts with 1 pound of candy corn getting all smooth and melty in the microwave. I was a little surprised, but this was my first experience melting candy corn. It was fun. I was surprised at how quick it went back to being firm again.

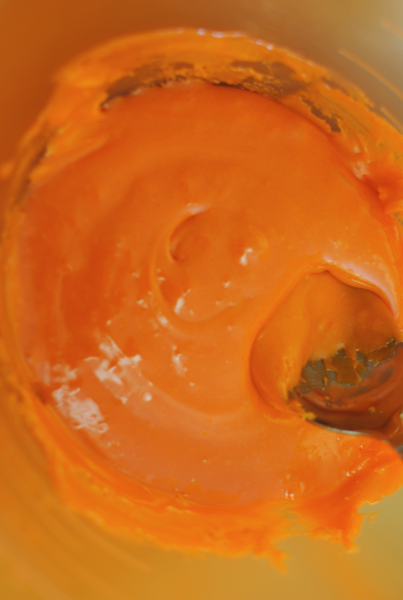
Here’s a view of the melted candy corn awaiting the arrival of peanut butter. That’s the next step once you get it melted. Stir in a 16 oz jar of creamy peanut butter.

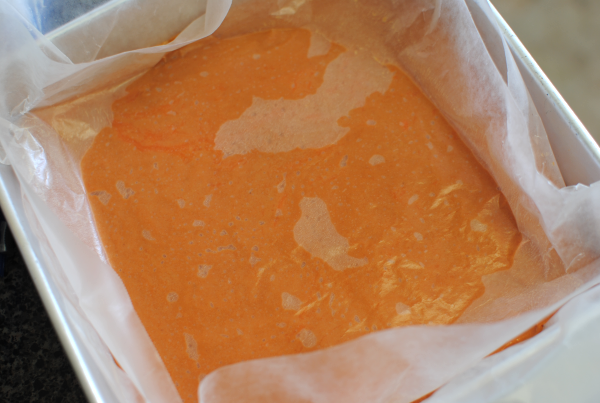
Then it’s time to pour it into a square pan to freeze. I used another piece of wax paper to smooth the top out and create a perfect square. I didn’t freeze it with the wax paper on top.

No need to freeze it long. Just let it get firm for about 15 minutes. You’ll find that the candy corn really firms up well.

Cut it into squares. You decide how big. Just eyeball it. I tried to make mine smaller so I could eat more. 🙂

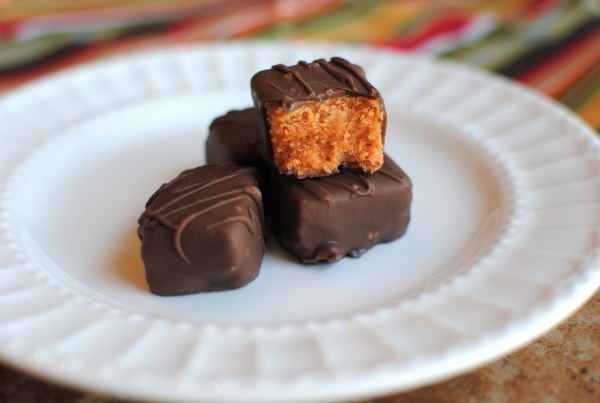
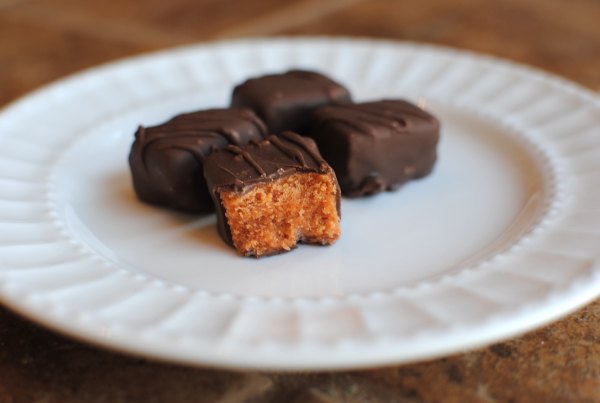
Then it’s all a matter of using two forks to roll the squares through melted chocolate wafers. When I started, mine were really ugly y’all. But as I went on, I got better and they began to look fairly similar to a candybar. I even used my fork to drizzle little lines on the top to mimic the real thing. Not perfect, but I think it was a nice touch.

And they turned out SO good! They taste so incredibly similar that it’s crazy. I was very impressed with them and I know you will be too!

Let me know if you make them!

Recipe adapted from Plain Chicken.

Homemade Butterfingers
Recipe Type: Dessert, Candy, Snacks
Author: Adapted from Plain Chicken
With just 3 simple ingredients, you can create your very own Butterfinger candybars!
Ingredients
  • 1 Pound Candy Corn
  • 16 oz Jar Creamy Peanut Butter
  • 2 Cups Chocolate Wafer Melts
Instructions
  1. Melt candy corn in the microwave on high for 1 minute. Stir then continue microwaving in 15-second increments until melted completely. Stir between each interval.
  2. Stir in the peanut butter until smooth. Pour into a lined or greased 8×8 square baking dish. Freeze for about 10 minutes. Place wax paper onto a cookie sheet.
  3. Cut into small squares. Melt chocolate wafers according to package. Using two fork, roll the square into chocolate coating all sides. Lay on wax paper and allow to firm. Freeze for about 10 minutes once all are coated.

Like this post? SHARE it!

Related Posts Plugin for WordPress, Blogger...

CandyBar Week: Homemade Peanut Butter Cups

Happy Monday! There are only about a million reasons why today is a GOOD Monday, y’all. First off, my oldest baby starts kindergarten today! It just doesn’t seem right. I’ve been at home with her since the beginning and it’s going to be really different around here without her energetic self. I might just be able to keep the house clean. 😉

Another reason that today is a great day is because I had a fantastic weekend and someone those always seem to make way for a good week. Enjoyed some time with all of my family. I got to snuggle my step-sister’s little boy and even worked a little Scrabble game in. My dad even made me up some homemade ice cream. You know, the automated cranked kind. (I must be really special, huh?!) It was such a wonderful weekend and makes me so thankful for my family.

The biggest reason that I’m so glad that it’s Monday is that I have now declared TODAY the beginning of CandyBar Week here on Pennywise Cook! Oh yeah, we’re talking homemade versions of your favorite candybars that take very little time, money, and effort. I had no idea how easy my favorites were to make! I’m so glad to share these with you this week. I hope you enjoy them as much as I have.

And my entire family and friends have. I have now shared some of my candybars with most of my family by request. They were all in aw of how close they were to the real thing! And by the ingredients too….you might be surprised what it takes to make them. But I’ll shut up now and start you off today with Homemade Peanut Butter Cups!

I can already tell you that you will love these Homemade Peanut Butter Cups. Much like the original Reese’s Cups, these are much more special because they are made with love and ingredients from your very own kitchen. Can’t you just imagine them as perfect Christmas gifts?

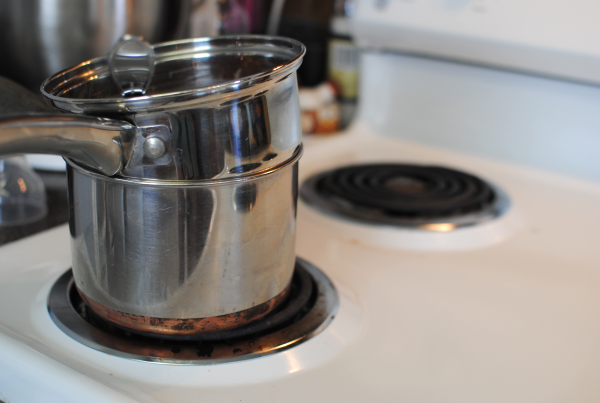
Grab your old trusty double boiler, or perhaps your two small saucepans like I do. Throw some hot water in the bottom one and get it going on a slow boil. Melt up a cup of milk chocolate chips. Or use your microwave if you’re brave. I’m not, so I use my saucepans.

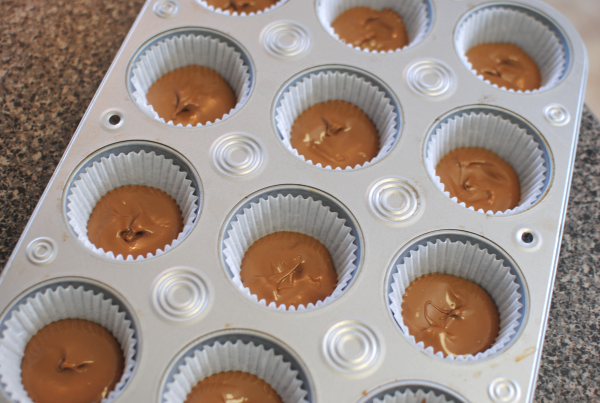
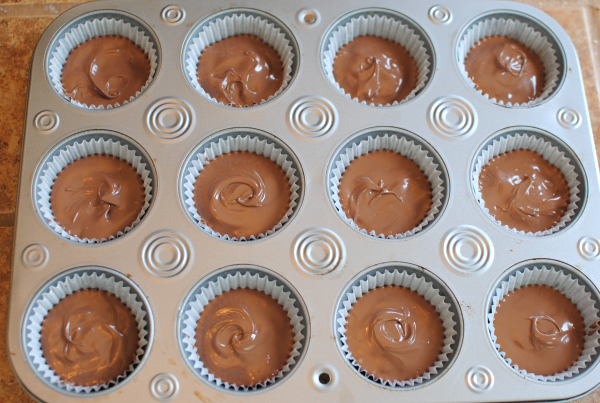
Line a muffin tin with liners and drop a thin amount of melted chocolate into each cup. Use your spoon to get it into each little crevice of the liners. This is what really makes it look like a peanut butter cup. Then pop them in the freezer for a bit while you whip up the filling.

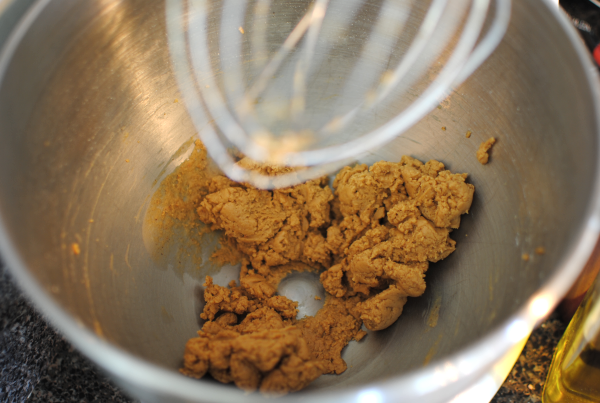
The filling is super easy. In a mixer, mix together natural peanut butter, powdered sugar and honey. Voila! It’s ready to be rolled and then flattened into your frozen bottoms.

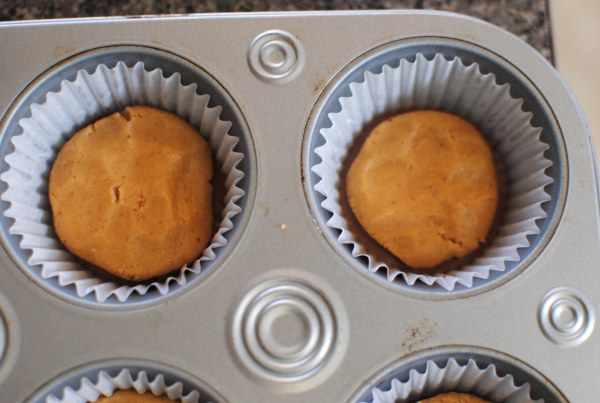
Use about a teaspoon of the filling per cup. Roll it up into a ball, then flatten onto the chocolate leaving a little space around the outside. This way the chocolate can ooze down in there to create a smooth outer shell.

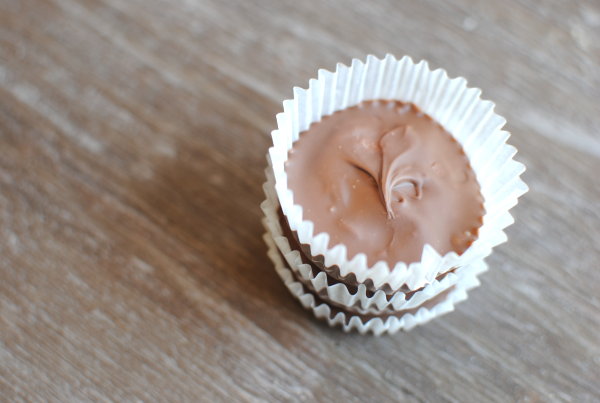
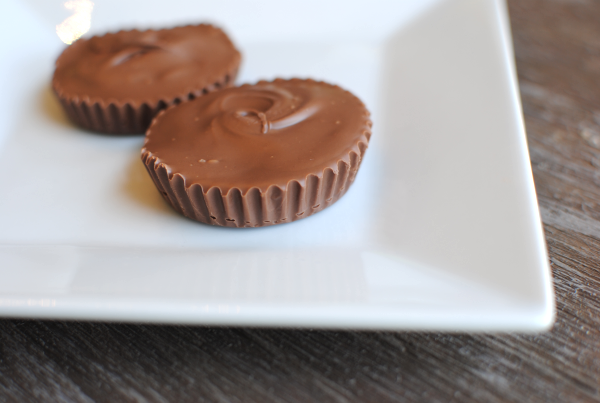
Melt another cup of chocolate chips and smooth it on top of each cup and freeze for a little bit longer and you’re done!

So tasty and so close to the original thing that you’ll believe that’s just what you’re eating.

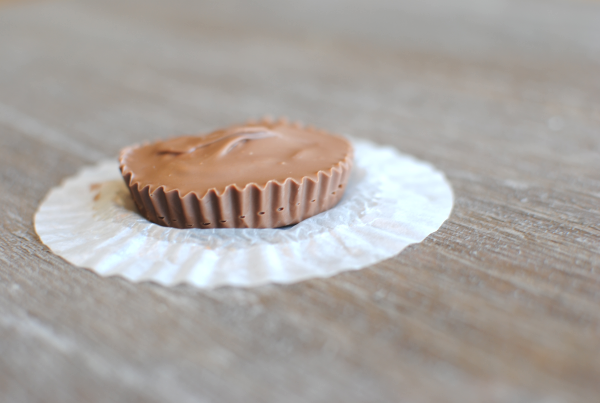
The first time I made them, I used semi-sweet chocolate chips for the coating. It was ok, but not near as good as the milk chocolate. We liked the ones made with them a lot better. I also made them in the mini muffin tins the first time and the second batch was in the larger ones. After having it both ways, my hips told me to go back to the smaller muffin tins next time. 🙂

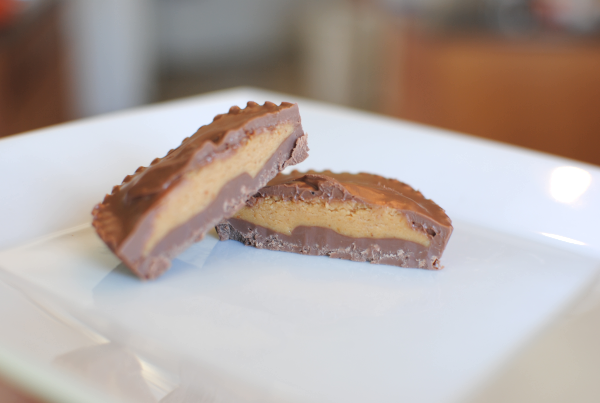
Mine weren’t perfect by any means, but here’s the inside. Oh my goodness, I want one right now y’all!

Let’s talk about how to make them…

CandyBar Week: Day 1- Homemade Peanut Butter Cups
Recipe Type: Candy, Dessert, Snack
Author: Pennywise Cook
With just 4 ingredients, create peanut butter cups that rival even the biggest peanut butter cup competitors.
Ingredients
  • 2 c. Milk Chocolate Chips
  • 1/2 c. Natural Peanut Butter
  • 3 Tbsp Powdered Sugar
  • 1 Tbsp honey
Instructions
  1. Melt 1 cup of the chocolate chips in a double boiler. Drop equal amounts into a lined mini muffin pan. Use a spoon to even it out into the crevices of the liner. Place in freezer for 5-10 minutes while you make the filling.
  2. With a mixer, whip together the peanut butter, powdered sugar, and honey. If you notice your filling being a little too thick, pour a few drops of the natural peanut butter oil into it to thin it out just a bit. It should be like dough and able to be rolled.
  3. Remove the chocolate from the freezer. Roll the filling into 1 teaspoon- 1 and 1/2 teaspoon balls. I used about 1 and 1/4 tsp for mine. Flatten them on the chocolate leaving a little space on the outside of the filling for the chocolate to go into.
  4. Melt the other cup of chocolate chips and even pour equal amounts on top of the peanut butter filling smoothing it out as you go. It’s best to do one cup at a time because the peanut butter can make the chocolate harden faster this time.
  5. Freeze for about 10 minutes then serve!

Like this post? SHARE it!

Related Posts Plugin for WordPress, Blogger...