The budget cuts aren’t just for the US government these days. Here at our house, we’re working on a new budget with the intent to save as much as humanly possible! I’ve always considered us a money-minded and frugal family, but we are working to try and be even more watchful about unnecessary spending.
Man, I really do sound like the US government now.
What is more frugal than a grilled cheese sandwich? Hmmm, I wonder if grilled cheese could be the answer to the US’s debt crisis?! Maybe if all the lawmakers up in Washington would agree to eat them, then we could start saving some REAL money around here. They could put them in their lunchboxes. Now THAT would be a sight!
I saw this idea over at Chin Deep as I was preparing some ideas for Addie’s lunchbox. I can’t claim I came up with these gems, but I knew I had to make them as she has recently found a deep love for grilled cheese. She gets that from her father. I hated them as a kid!
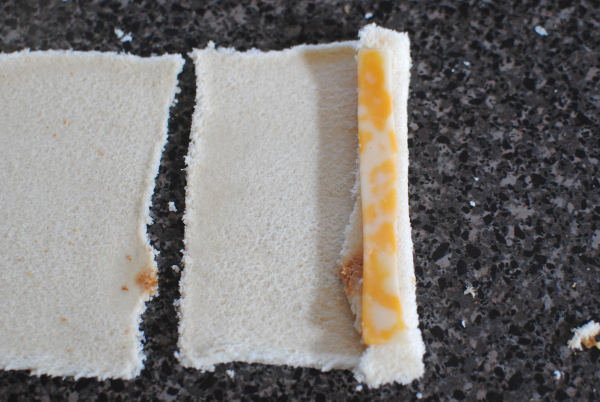
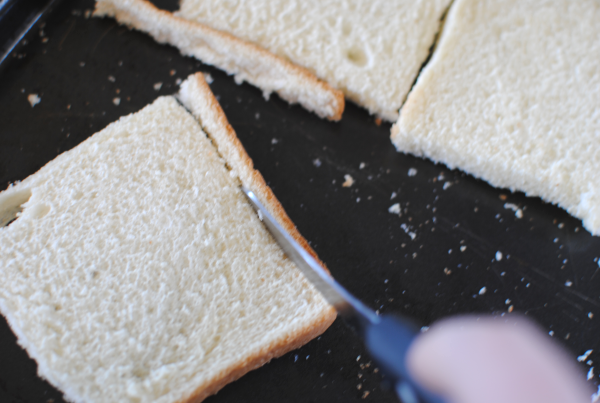
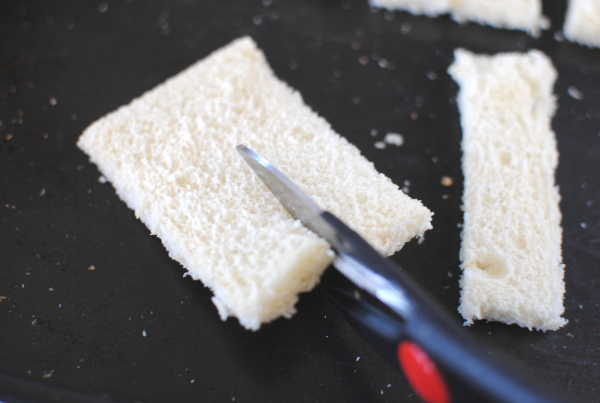
It all starts with some plain and simple sandwich bread. Whatever you can find or afford. Cut off all of the crust leaving as much of the meat of the bread as you can. You’ll also need the sliced cheese of your choice. I cut mine in half and then cut those halves 2 more times to equal about 8 small pieces from each slice.
It’s a pretty simple process. I spared you most of the step by step pictures as to not insult your intelligence. Place a piece of cheese on the very end. Roll. Add another little piece. Roll. And continue in this manner until you’ve come to the end of the bread. I used about 4 pieces for each of mine. Yours may differ depending on the size of your bread.
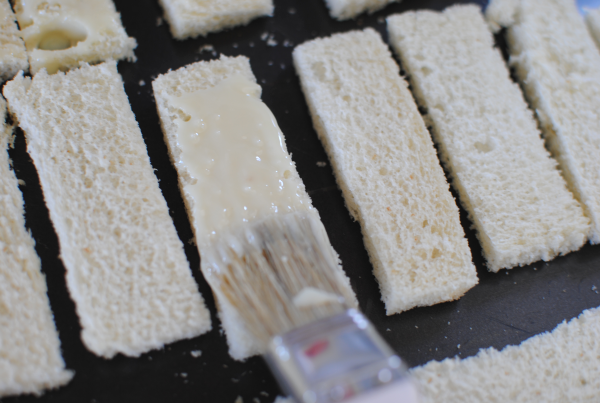
You can use a little bit of water on the end to help attach it and close it up for frying.
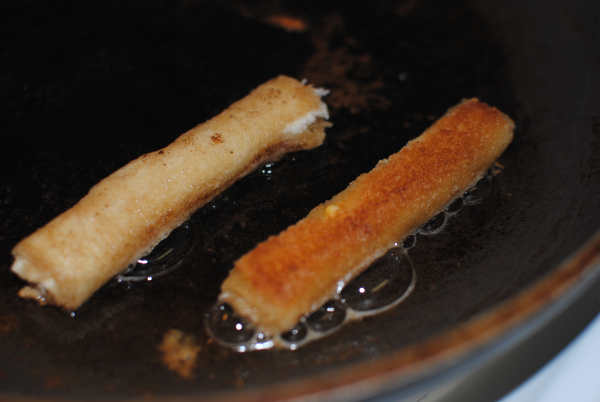
Heat up 2 tbsp of butter over medium heat.
This is where things get hot. The butter absorbs, the cheese melts, and the bread browns! It’s heavenly. It’s around 2 minutes or less on each side. You’ll just need to watch it and determine your favorite color of brown. 
As a side note: you may need more butter depending on how many of these you are planning to make. The butter does absorb pretty quick so it’s possible you’ll have to refill a few times.
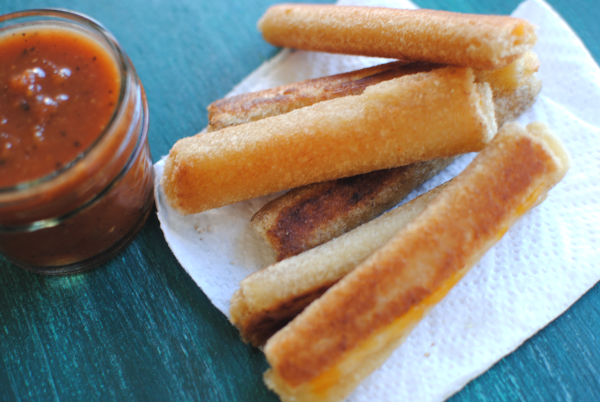
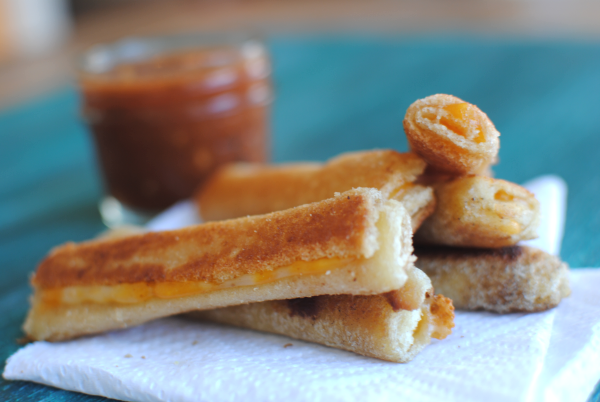
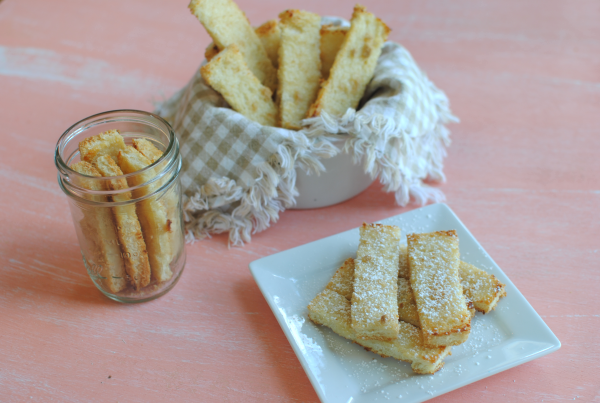
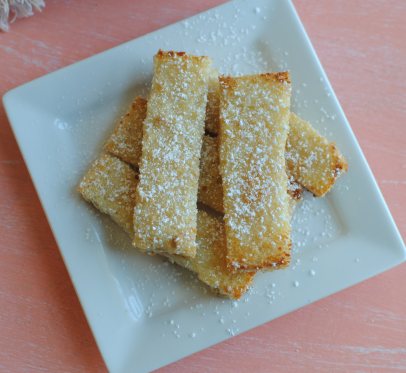
Voila! These are so simple and tasty. They would be great for eating with my Homemade Tomato Soup! These would also make a great finger food for a kid’s party.
UPDATE: After seeing how these fared in her lunchbox, we have decided that putting them in the microwave for a few seconds before placing them in the lunchbox helps. My Addie doesn’t prefer them to be cold, but room temp is fine. We’re going to keep trying and figure out a way to make them work. And if you have any ideas, they are surely welcome!
Recipe Type: Snack, Lunchbox
Cuisine: American
Author:
A new way to enjoy grilled cheese and the perfect idea for the lunchbox!
- 6 pieces white bread
- 3 pieces sliced cheese of your choice
- 2 tbsp butter
- Tomato soup or marina sauce for dipping (optional)
- Remove the crusts from your bread leaving as much as you possibly can.
- Roll them flat with a rolling pin or with your preferred method of flattening.
- Cut your slices of cheese into smaller little slits. I was able to get about 8 out of each of my slices.
- Heat 2 tbsp butter in a skillet over medium heat.
- Layout your bread and place a piece of cheese longways on the edge of the bread. Roll inward. Place another piece of cheese and then roll inward again. Until you’ve come to the end of your bread. Using a little bit of water, try to crimp the end so it attaches and closes up the rollup. It doesn’t have to be perfect, it just helps the frying process.
- Place the rollups in the skillet and fry each side for about 2 minutes or until desired brownness.
- Let cool on paper towels and serve with tomato soup or marina sauce!

Like this post? SHARE it!
 |


