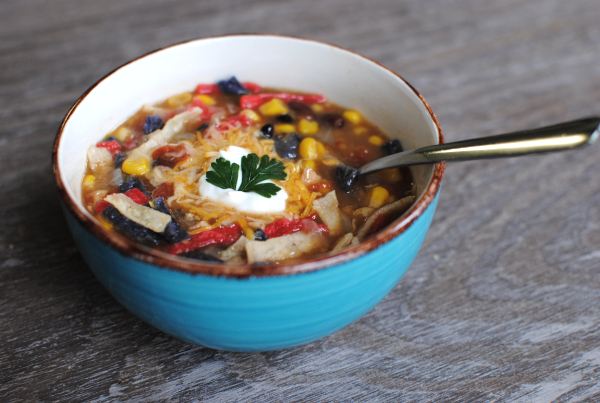
First of all, just let me say HELLO THERE! I’ve been just a little preoccupied lately with some personal things and have neglected you. I know…bad blogger, bad. But I’m going to work real hard to make it up to you…I promise.
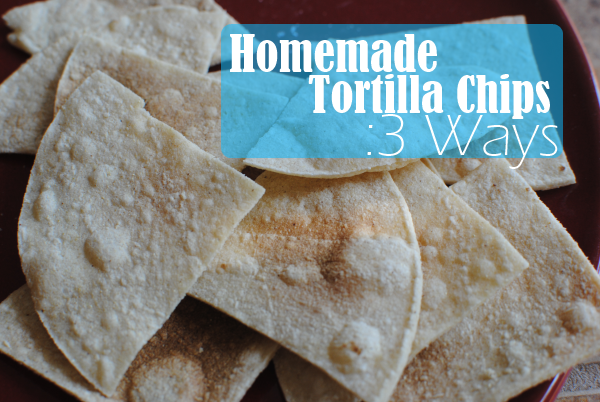
I thought I’d start this back-to-school season with a simple recipe for something that everyone likes, tortilla chips! The reason that I ever made these in the first place can be credited to my husband. Bless his heart, he almost never gets an urge to cook anything. So when he came to me and said he wanted to “cook up” some homemade tortilla chips, I was ON IT!
There could not be a simpler thing to make that tastes so very close to what you buy in the store. And they are so much cheaper this way as well. One big bag of corn tortillas will run you between $1- $2, but will make the equivalent to probably 2-3 bags of tortilla chips from the store.
Plus, YOU get to take the credit for calling them homemade!
Here are 3 different ways to make your crunchy corn tortilla beauties. I’ll tell you my favorite when we’re done…
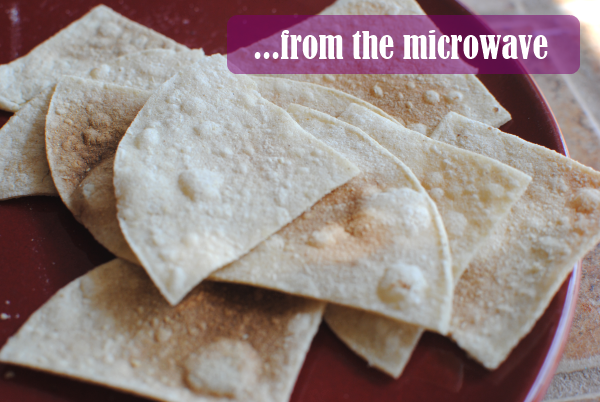
As you can probably imagine, this is the quickest and easiest method for making your chips. No preheating, no baking sheet, no chips, and no oil. Are you paying attention? Of course you need chips, you silly head. Get it together!
Just making sure you’re paying attention…
You’re going to need to make these in batches, a tortilla or two at a time.
1) Cut the tortillas into desired chip size.
2) Place tortilla pieces evenly (not overlapping) on a large microwave-safe plate.
3) Heat 45 seconds. Remove and flip. Heat another 45 seconds.
4) Remove from microwave, salt (if desired) and let sit for a minute or two. They will crisp even more!
Voila! It’s simple. Each microwave is different, so your microwave may need less or perhaps more cooking time to get them just right. You want the chips to brown, but not burn so be sure to keep your eye on the batches as you make them.
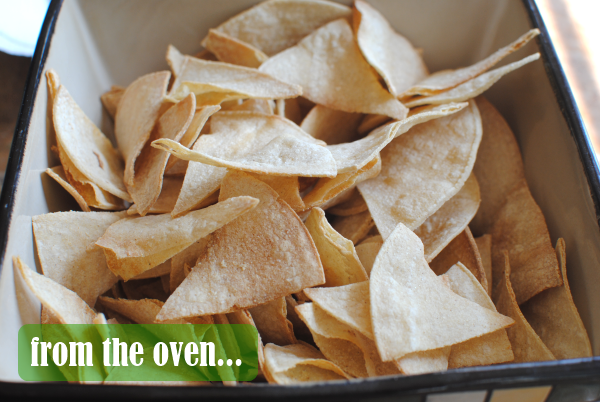
Ok, I said I was going to wait until the end to tell you my favorite method, but I’m sure by now that you realize I have no patience. And if you didn’t know that, you do now! This was my favorite method. The perfect crispness with a light and airy feel. These taste most like what you buy at the store. To me anyways..
Let’s do this:
1) Preheat oven to 350°.
2) Cut your tortillas into desired size.
3) Place pieces evenly over baking sheet. No need to grease it.
4) Bake for 6-8 minutes. Flip chips over and bake for another 6-8 minutes until golden and crispy.
5) Remove from oven. Season and serve! They will crisp a little more as they cool.
Once again, you’ll want to be sure to keep an eye on them. If they are turning dark brown, they are close to burning. You want them golden, not brown.
The last method is from your skillet or fryer! This is still a really simple way to make them. It’s also fairly quick. It’s just not as healthy as the other methods. My husband liked these the best!
1) Cut tortillas into desired size pieces. Place a few paper towels on a large plate to dry the chips when they finish frying.
2) Pour enough oil of choice (I used vegetable oil) into skillet that it goes 2/3 the way to the top. You need enough for the chips to swim in. Heat to medium-high. I didn’t check the temperature of my oil, I just made sure that the oil bubbled when I placed my wooden spoon in it.
3) Place 4-5 chips at a time into the oil. You don’t want to overcrowd, so make sure they aren’t overlapping. Fry them for approximately 2 minutes flipping them over to brown both sides if desired. I did this at first, but got lazy and quit flipping eventually. The chips lived.
4) Place on paper towels and continue frying in batches.
Voila!
All of these methods can be adjusted based on your microwave, oven, and oil temperature. You may even come up with tricks and techniques to make them better. This is just a good starting point for making your own homemade tortilla chips.
Let me know what you think about these in the comments below! 🙂

Like this post? SHARE it!
 |

