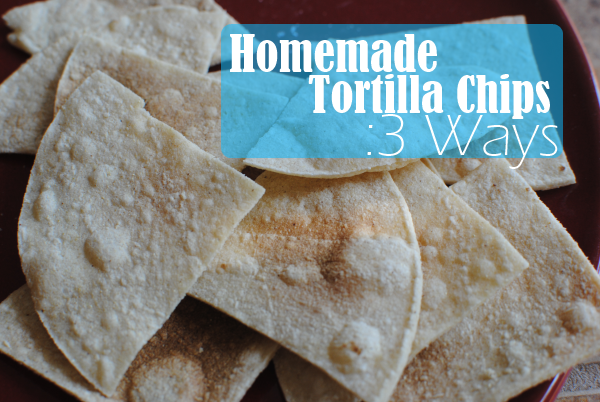
Homemade Tortilla Chips: 3 Ways

First of all, just let me say HELLO THERE! I’ve been just a little preoccupied lately with some personal things and have neglected you. I know…bad blogger, bad. But I’m going to work real hard to make it up to you…I promise.

I thought I’d start this back-to-school season with a simple recipe for something that everyone likes, tortilla chips! The reason that I ever made these in the first place can be credited to my husband. Bless his heart, he almost never gets an urge to cook anything. So when he came to me and said he wanted to “cook up” some homemade tortilla chips, I was ON IT!

There could not be a simpler thing to make that tastes so very close to what you buy in the store. And they are so much cheaper this way as well. One big bag of corn tortillas will run you between $1- $2, but will make the equivalent to probably 2-3 bags of tortilla chips from the store.

Plus, YOU get to take the credit for calling them homemade!

Here are 3 different ways to make your crunchy corn tortilla beauties. I’ll tell you my favorite when we’re done…

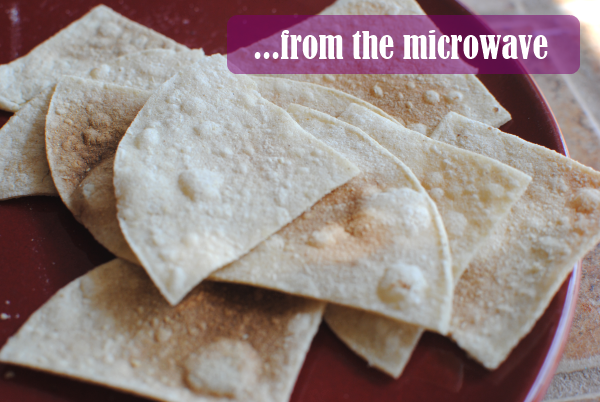
As you can probably imagine, this is the quickest and easiest method for making your chips. No preheating, no baking sheet, no chips, and no oil. Are you paying attention? Of course you need chips, you silly head. Get it together!

Just making sure you’re paying attention…

You’re going to need to make these in batches, a tortilla or two at a time.

1) Cut the tortillas into desired chip size.

2) Place tortilla pieces evenly (not overlapping) on a large microwave-safe plate.

3) Heat 45 seconds. Remove and flip. Heat another 45 seconds.

4) Remove from microwave, salt (if desired) and let sit for a minute or two. They will crisp even more!

Voila! It’s simple. Each microwave is different, so your microwave may need less or perhaps more cooking time to get them just right. You want the chips to brown, but not burn so be sure to keep your eye on the batches as you make them.

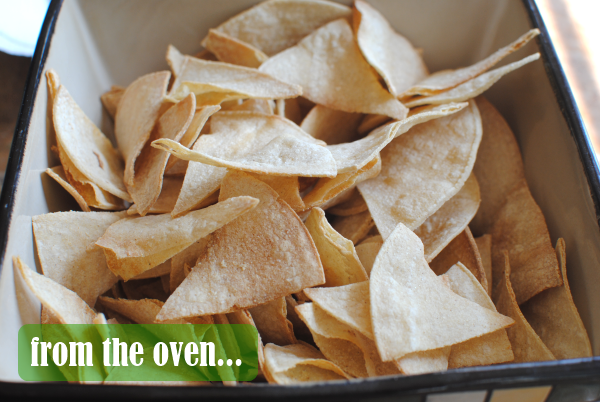
Ok, I said I was going to wait until the end to tell you my favorite method, but I’m sure by now that you realize I have no patience. And if you didn’t know that, you do now! This was my favorite method. The perfect crispness with a light and airy feel. These taste most like what you buy at the store. To me anyways..

Let’s do this:

1) Preheat oven to 350°.

2) Cut your tortillas into desired size.

3) Place pieces evenly over baking sheet. No need to grease it.

4) Bake for 6-8 minutes. Flip chips over and bake for another 6-8 minutes until golden and crispy.

5) Remove from oven. Season and serve! They will crisp a little more as they cool.

Once again, you’ll want to be sure to keep an eye on them. If they are turning dark brown, they are close to burning. You want them golden, not brown.


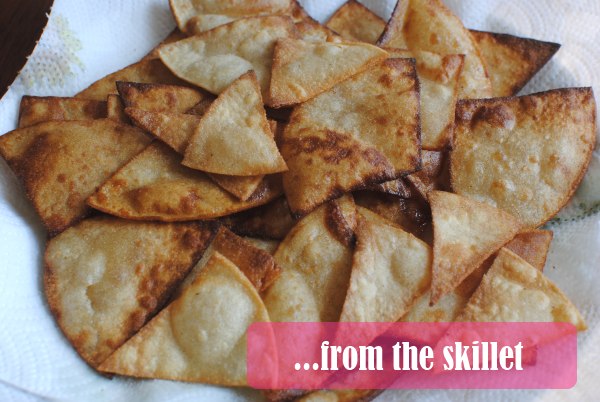
The last method is from your skillet or fryer! This is still a really simple way to make them. It’s also fairly quick. It’s just not as healthy as the other methods. My husband liked these the best!

1) Cut tortillas into desired size pieces. Place a few paper towels on a large plate to dry the chips when they finish frying.

2) Pour enough oil of choice (I used vegetable oil) into skillet that it goes 2/3 the way to the top. You need enough for the chips to swim in. Heat to medium-high. I didn’t check the temperature of my oil, I just made sure that the oil bubbled when I placed my wooden spoon in it.

3) Place 4-5 chips at a time into the oil. You don’t want to overcrowd, so make sure they aren’t overlapping. Fry them for approximately 2 minutes flipping them over to brown both sides if desired. I did this at first, but got lazy and quit flipping eventually. The chips lived.

4) Place on paper towels and continue frying in batches.

Voila!

All of these methods can be adjusted based on your microwave, oven, and oil temperature. You may even come up with tricks and techniques to make them better. This is just a good starting point for making your own homemade tortilla chips.

Let me know what you think about these in the comments below! 🙂


Like this post? SHARE it!

Related Posts Plugin for WordPress, Blogger...

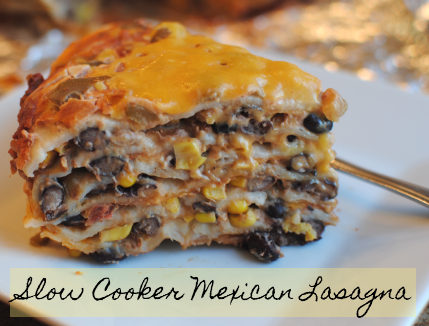
Slow Cooker Mexican Lasagna

I’m not always a patient person.

Ok, I take that back. I’m never a patient person.

I know it’s a virtue and all, but why did something so difficult have to be a virtue? Couldn’t one of the virtues be to eat lots of chocolate? I could really follow that virtue without any hesitation.

The crockpot is my best friend when it comes to impatience. You all know how much I really love that thing. Popping dinner into the crockpot in the morning and not looking at it again until that evening when it’s time to eat is truly the best way to go.

I got a hankering the other night.

A mexican hankering.

I honestly wanted this mexican lasagna that my friend Laurie has made for me a few times. It’s really tasty and seemed easy enough to make. But since I’m cursed with impatience, instead of giving her a call or even a text message, I just made up my own in hopes to coming somewhere close to her’s. I kinda had inklings on what ingredients might have been in it so I just went to work adding things as I thought would taste good.

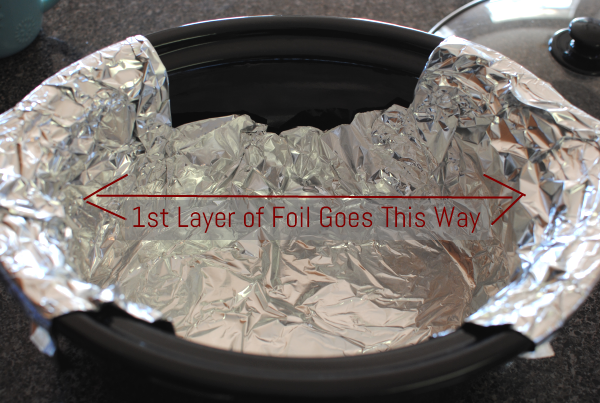
I want to introduce you to the Slow Cooker Sling. No, it’s not something that you have to go out and buy at Bed, Bath, and Beyond. It’s something you can make in 2 seconds. This is the easiest way to remove your mexican lasagna without mess. It also makes it super easy to cut into pretty pie pieces.

Take a piece of long foil LONGER than your crockpot and let the ends hang out. Push it into the crockpot and form it into all the nooks and crannies.

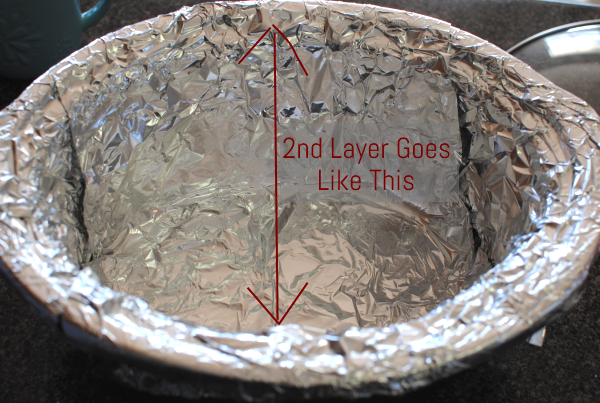
Then take another layer of foil and go the other way with it. Depending on your crockpot, it may not need to be as long as the first piece. Once again, form it into your nooks and crannies. We wouldn’t want to leave any nooks or crannies out!

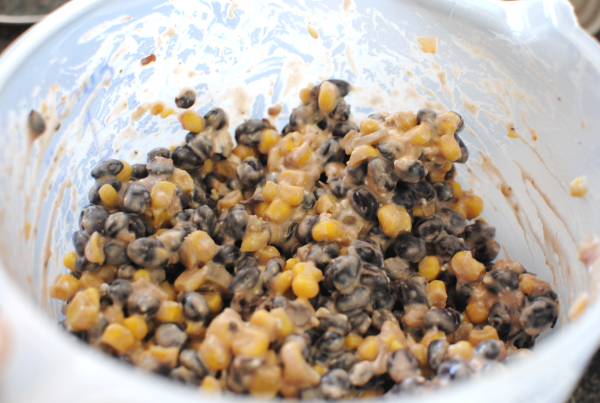
Then it’s time to whip up the filling for our lasagna. This is SO simple and incredibly tasty. It took everything in me to keep from eating all the filling. Unlike some crockpot meals, you’ll be happy to know that there is NO chopping and NO browning of meat in these steps.

That means it’s really easy y’all.

Flash forward past your laborious mexican lasagna stacking and it’s ready for the easy part…waiting. But the waiting is easy! Go play outside or enjoy a movie, or go to work. You know, whatever you normally do.

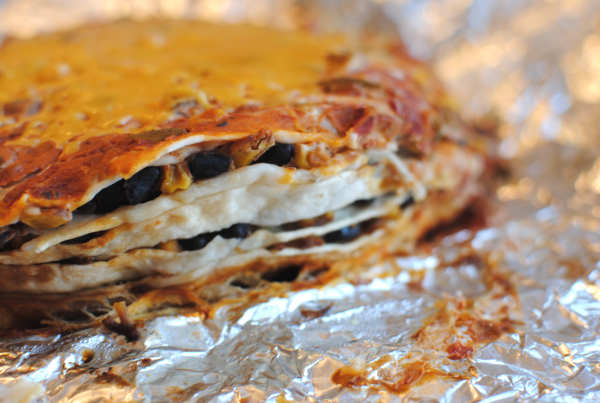
When you come home, plop a little shredded cheese on top to melt up and get ooey gooey. Then use your handy foil sling to pull it out.

NOTICE: Objects on foil are bigger than they appear! It may seem small when you first get it out, but I assure you, when you start to slice it into pieces it will be much bigger.

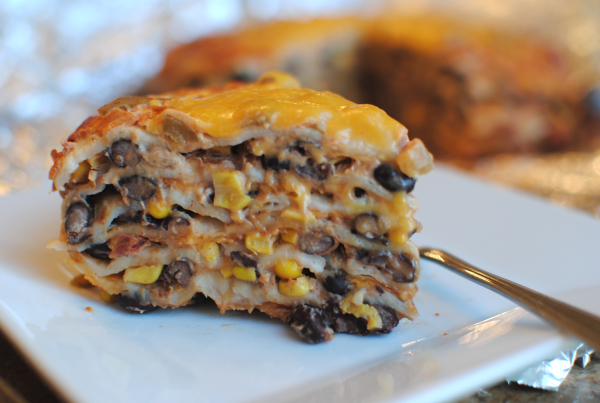
Yeah, like this big. Each and every single bite is heavenly.

When I first started making this I was considering calling it Mile High Enchilada Pie because it slices like pie. But when my daughter was describing it, she said “Momma, is this pasta?”. That’s how soft the tortillas get. They are almost like pasta which taste a lot like noodles and hence the “lasagna” name.

I don’t know if this is exactly like my friend Laurie’s but it’s quite tasty anyways! We ate every single leftover and I will be making this one on a regular basis!

Let me know if you make this. I’d love to hear your thoughts!

Slow Cooker Mexican Lasanga
Recipe Type: Main Dish, Slow Cooker
Author: Pennywise Cook
No cutting, no chopping, no browning, no baking. Just a simple slow cooker mexican lasagna for a busy weeknight meal!
Ingredients
  • 28 oz Can Black Beans
  • 4 oz Cream Cheese, Softened
  • 1 can Corn
  • 1 Jar Salsa, Divided
  • 1/4 tsp Cumin
  • 1/2 tsp Chili Powder
  • Dash Salt
  • 6 Flour Tortillas
  • 1 and 1/2 c. Shredded Cheese- Divided
  • 1/4 c. Sour Cream
Instructions
  1. Begin by creating your foil sling in the bottom of your crockpot.
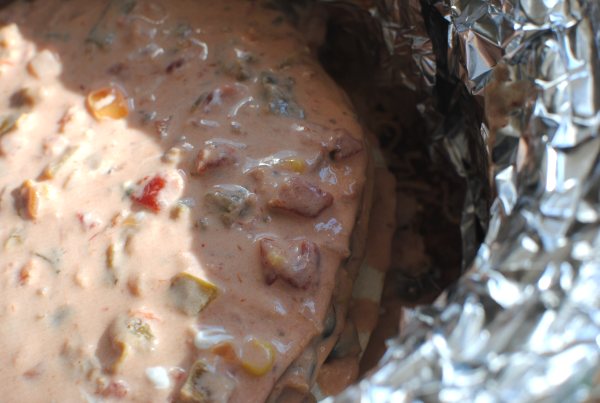
  2. In a large bowl mix the filling together- black beans, cream cheese, corn, 1/3 c. salsa, cumin, chili powder, and salt.
  3. In bottom of the crockpot pour 2/3 c. salsa. Place 1 tortilla on bottom. Top with 1/2 c. filling, then 1/4 c. shredded cheese.
  4. Layer another tortilla then 1/2 c. filling and another 1/4 c. shredded cheese. Continue until you have a total of 5 layers and 6 total tortillas. End with the tortilla.
  5. On top, mix the rest of the jar of salsa with 1/4 c. sour cream to create a creamy mixture. Cover and cook on low for 6-8 hours.
  6. When close to done cooking, top with 1/4 c. shredded cheese and allow to melt. Remove with sling and slice into pieces to serve.
Notes

You can adjust how hot or mild you make this by using your preferred heat salsa.


Like this post? SHARE it!

Related Posts Plugin for WordPress, Blogger...